Packaging Fiber Art
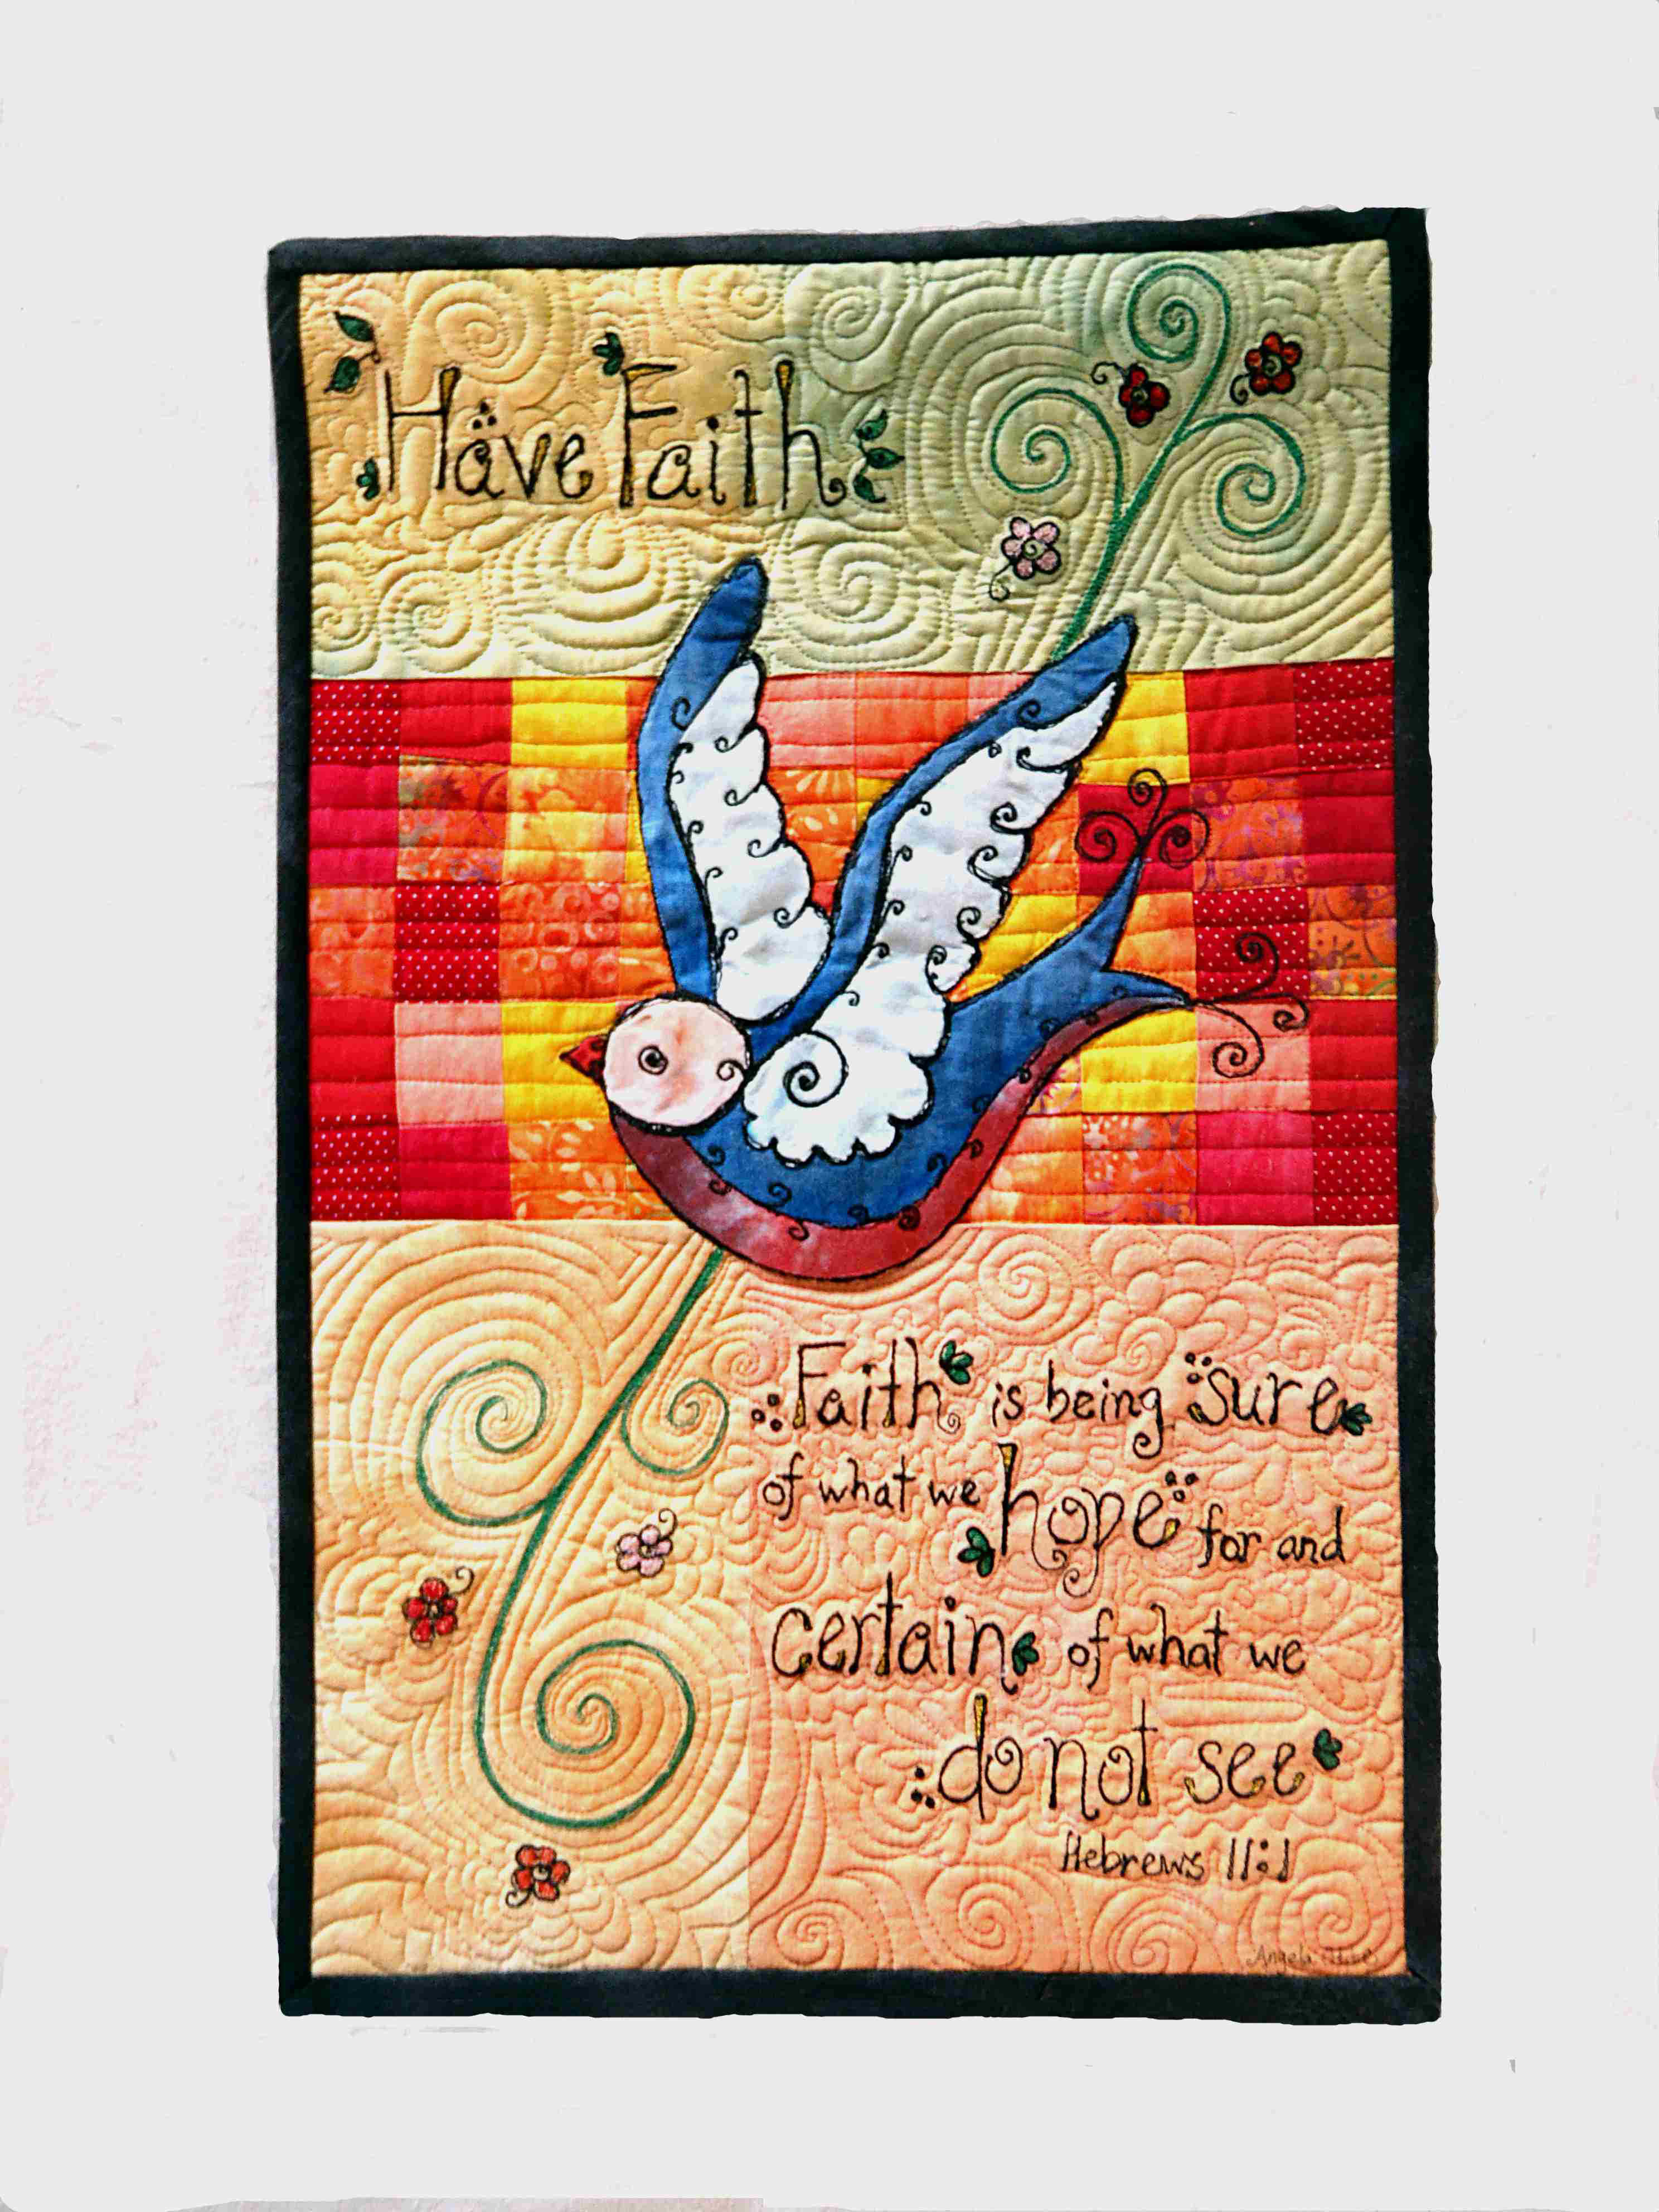
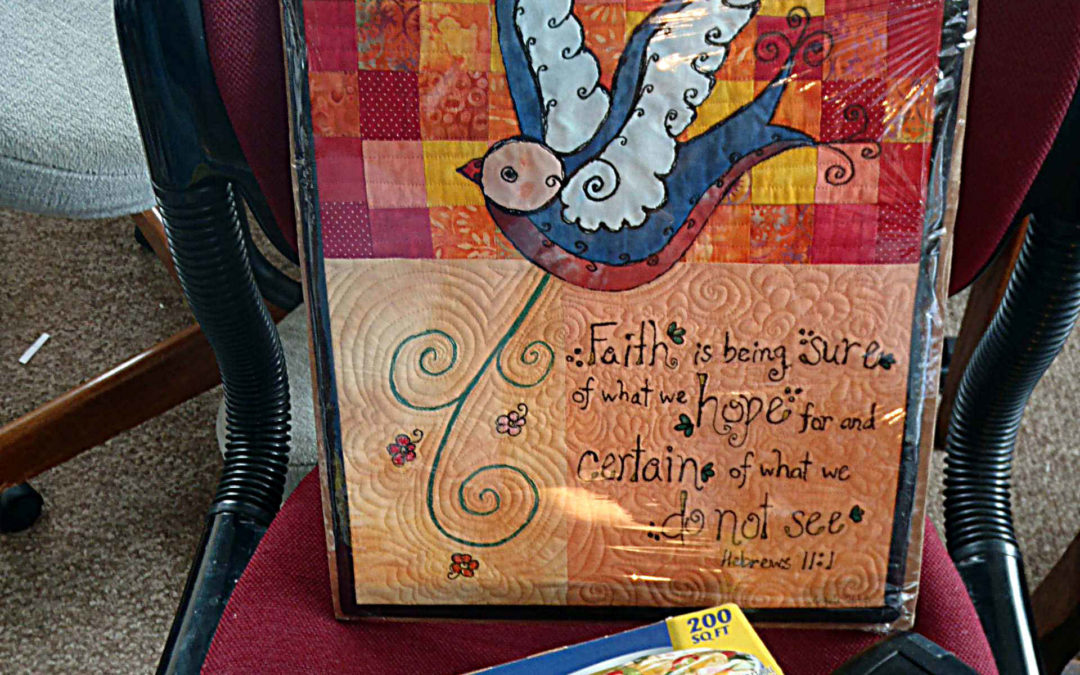
“Faith” Art Quilt by Artfully Sew
One of the challenges of selling fiber art is packing for shipping. When a customer purchases one of my pieces, I want to be sure of a couple of things:
1. The art quilt is protected during shipping.
2. Because of the embroidery and embellishments my quilts often have, I also want the art quilt to be secure, unable to be bent or folded.
3. That the art quilt is packaged creatively so that it is beautiful and fun to open when received.
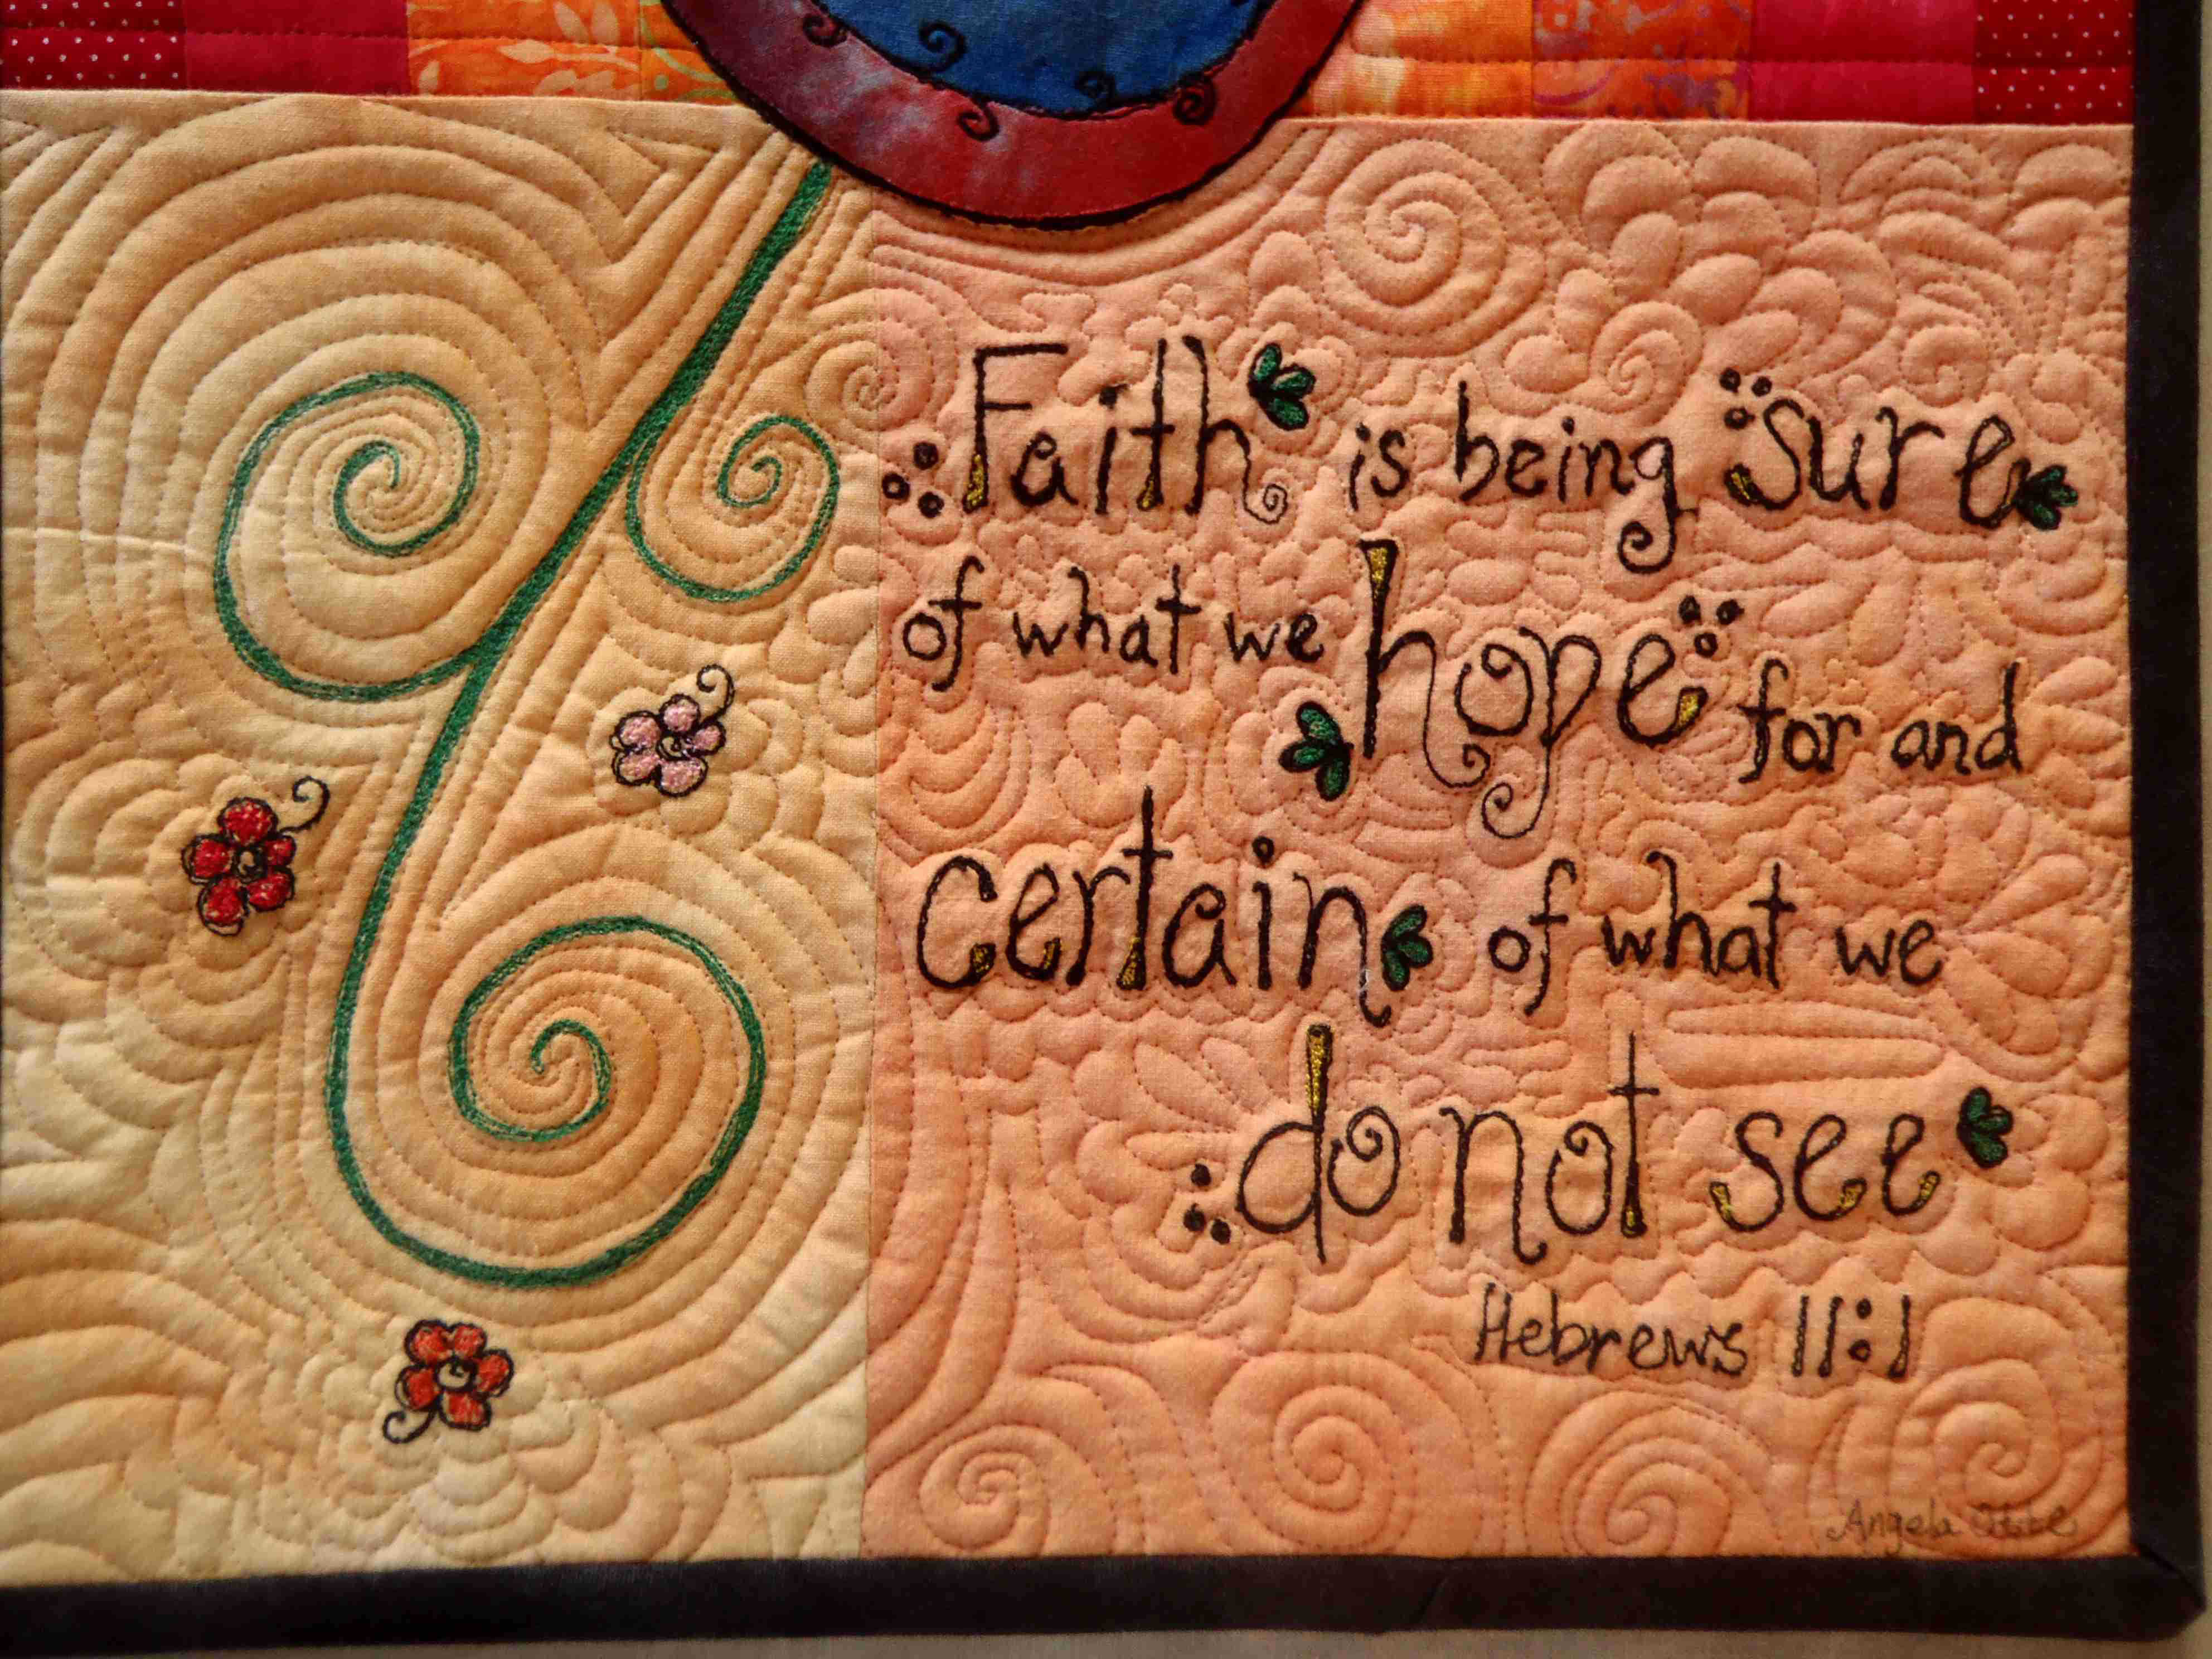
This verse from Hebrews 11:1 has been such a help to me!
Since each quilt is individually made, I very seldom have two art quilts the same size but usually do not exceed 20” – 24″. Postage rates change frequently, so I always use the postage calculator at usps.com. You can put in the exact size of your package/envelope and know what to charge for shipping (I totally underestimated the shipping on this piece!).
The shipping charges increase if your package is over 12″ long. I think it’s worth the extra money so the art quilt isn’t folded. Folding these quilts makes creases that can become almost permanent because of the embellishing I do to the fabric.
Supplies

Simple supplies work great for packaging art quilts.
Most of the supplies I use are things found around the house:
- Plastic wrap
- Stiff cardboard (usually from a box of some sort)
- Tape
- Bubble wrap
- paper bag (grocery bags work great)
- Dress pins (I save pins from new shirts etc)
Cut the cardboard to about 1/4 inch wider than the quilt. Tack the quilt to the cardboard with dress pins, one in each corner and one or two on each side. This prevents shifting. Note: try to keep the point of the pin in the cardboard without poking out the backside. You don’t want to prick your customer!
If you’d like, you can attach the receipt, a note, a bonus gift and etc to the backside of the cardboard. Sometimes I even cover the cardboard with wrapping paper to give it a better look. It’s up to you!
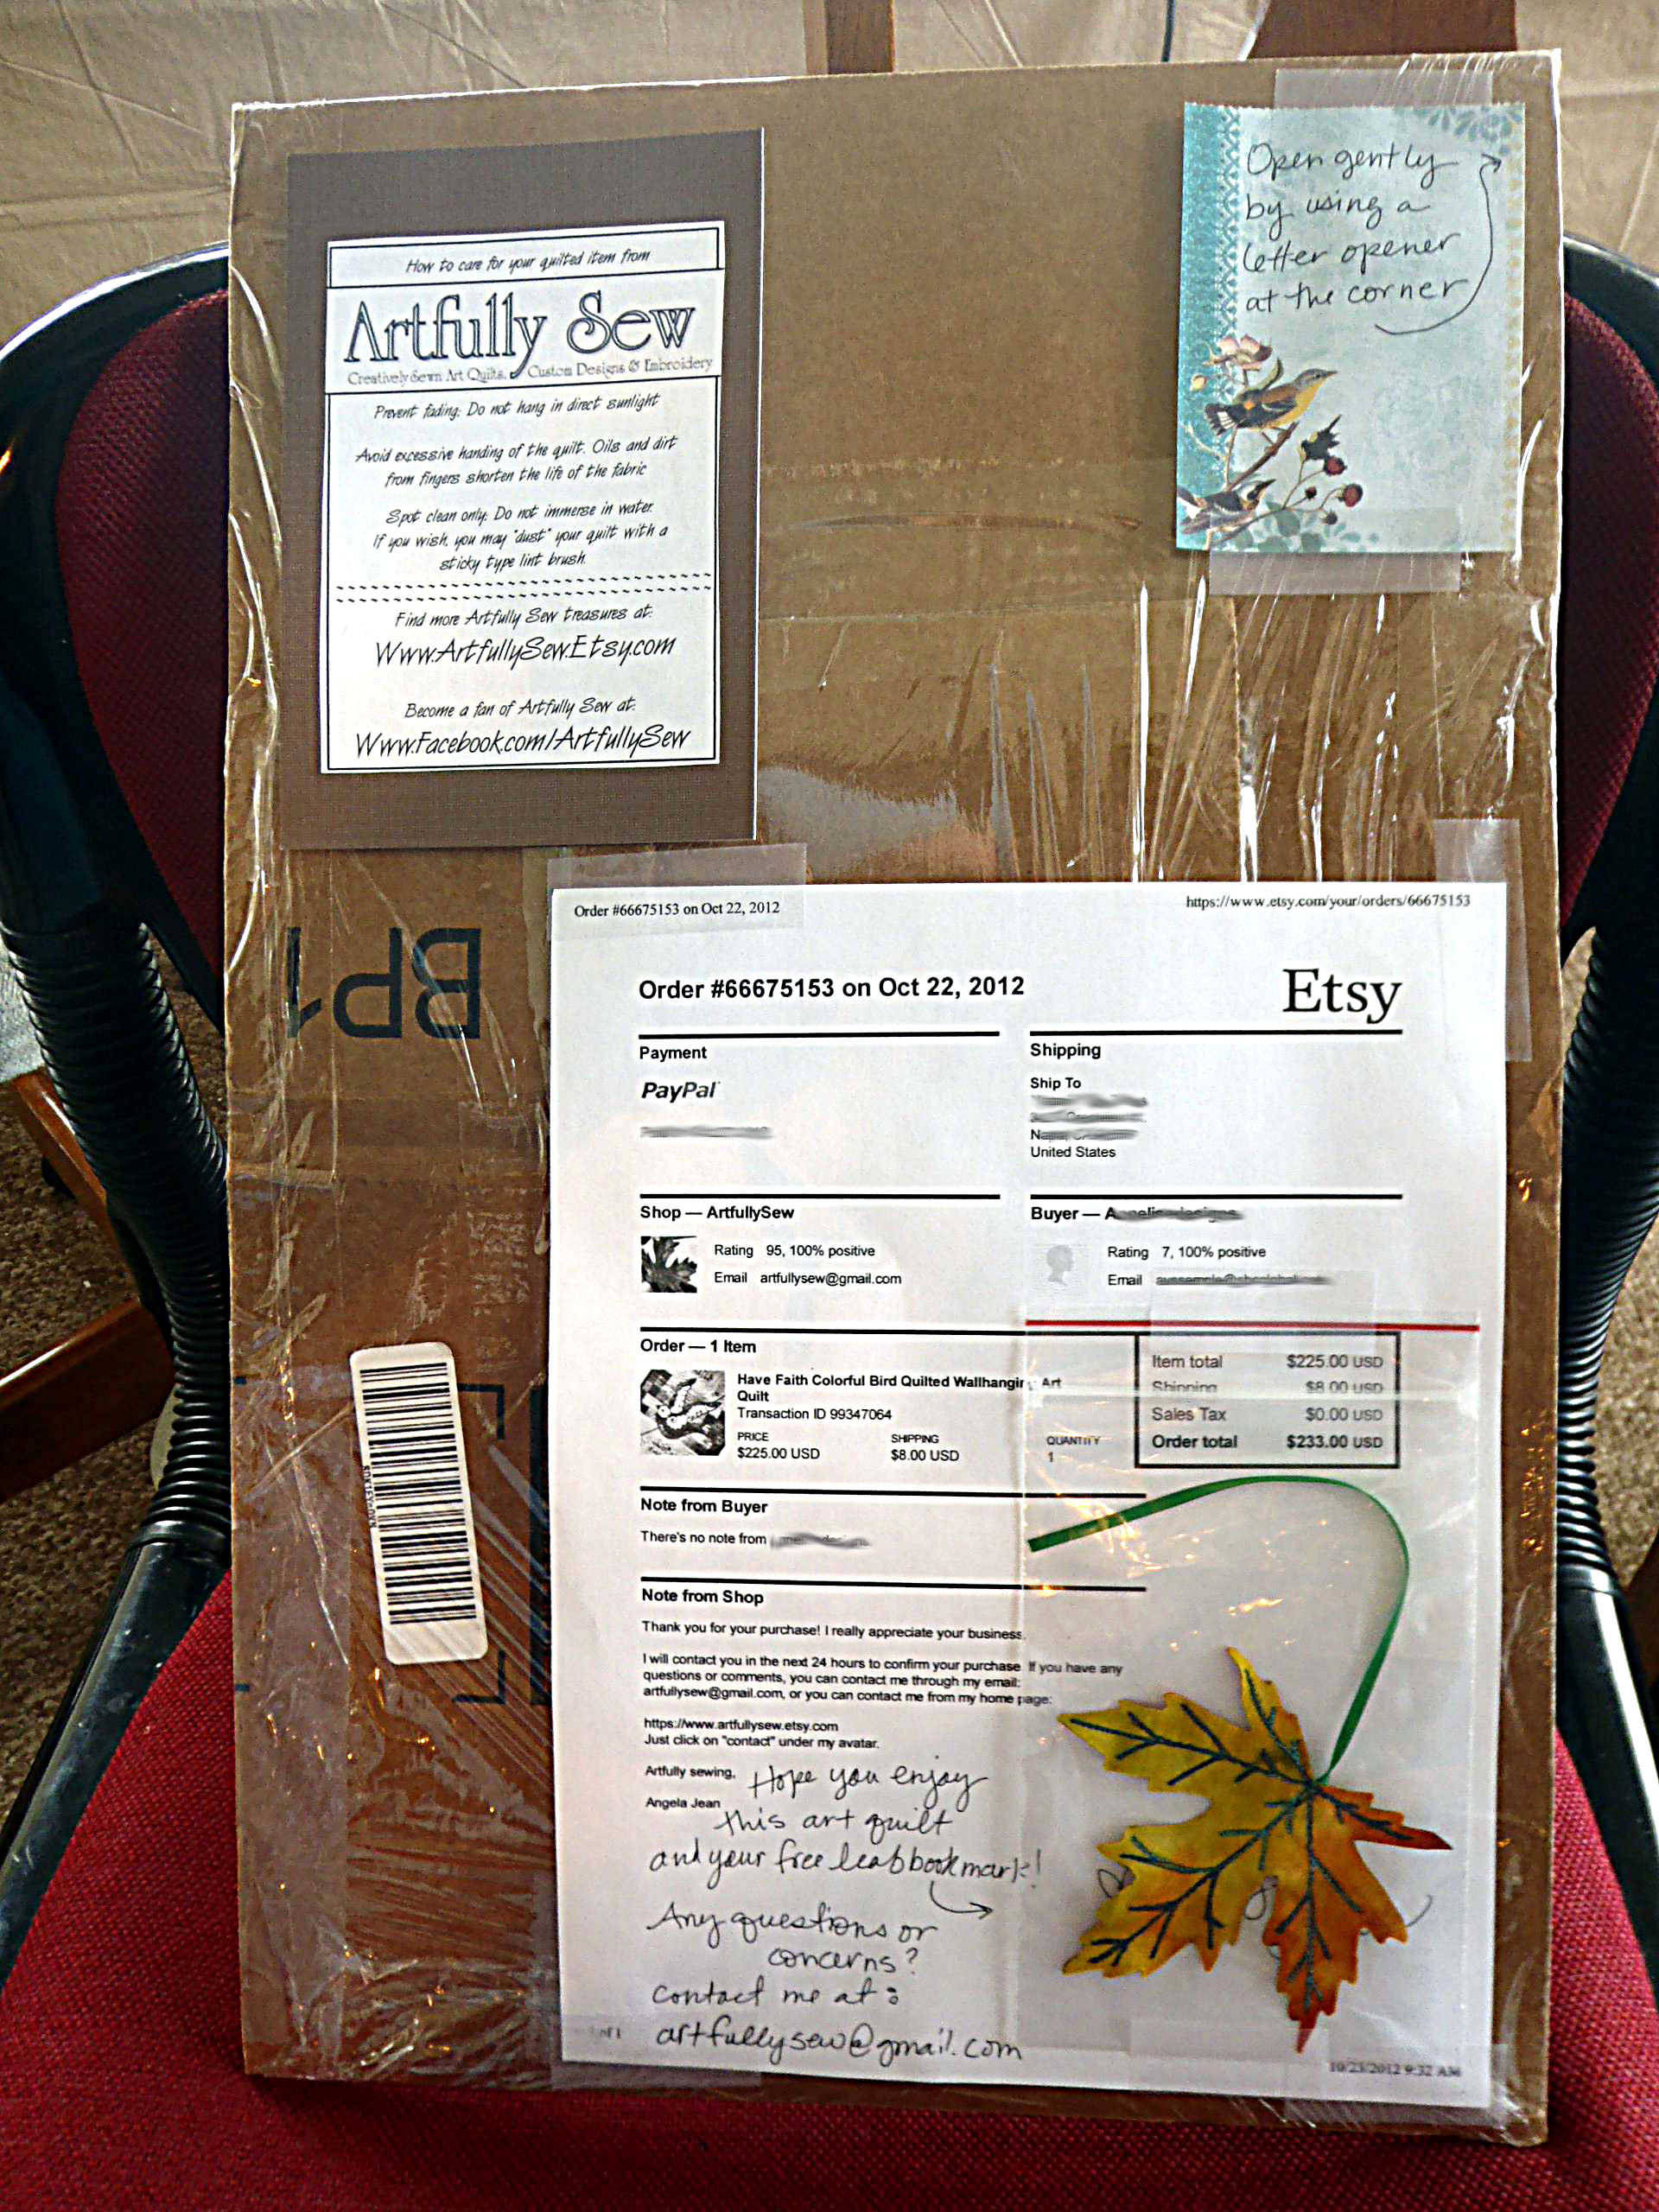
I love writing a little note to my customers, instructions for care and even a bonus gift on the backside.
Once you have the front and back set, it’s time for the plastic wrap. I use plastic wrap for a couple reasons. One, it protects my quilt from dampness and dirt and secondly, helps keep the quilt securely in place. I also think it makes the quilt look nice and well cared for.
I wrap the wrap just like wrapping a present, securing it with tape on the backside. You might want to get a friend to help – plastic wrap can be clingy.
Next I wrap that in a layer of bubble wrap, giving it some extra cushion.
Finally, I wrap the whole thing with brown paper from a shopping bag. I love using brown bags because it’s upcycling something, plus it thick and adds protection to my package.
The easiest way to turn a paper bag into packaging is to first cut down the seam of the bag to the bottom. Cut along the bottom edges, around all four corners until the bottom is completely cut off. Open up bag and, voila! You have nice, big piece of packaging paper.
If there are graphics on the bag, I usually keep them on the inside of the package so that I have a clean surface to write the address. But sometimes grocery stores have really nice graphics that can add to the creativity of packaging. Aldi sometimes has a pretty tree or at back-to-school time some stores have doodles for kids to use as book covers. Many possibilities!
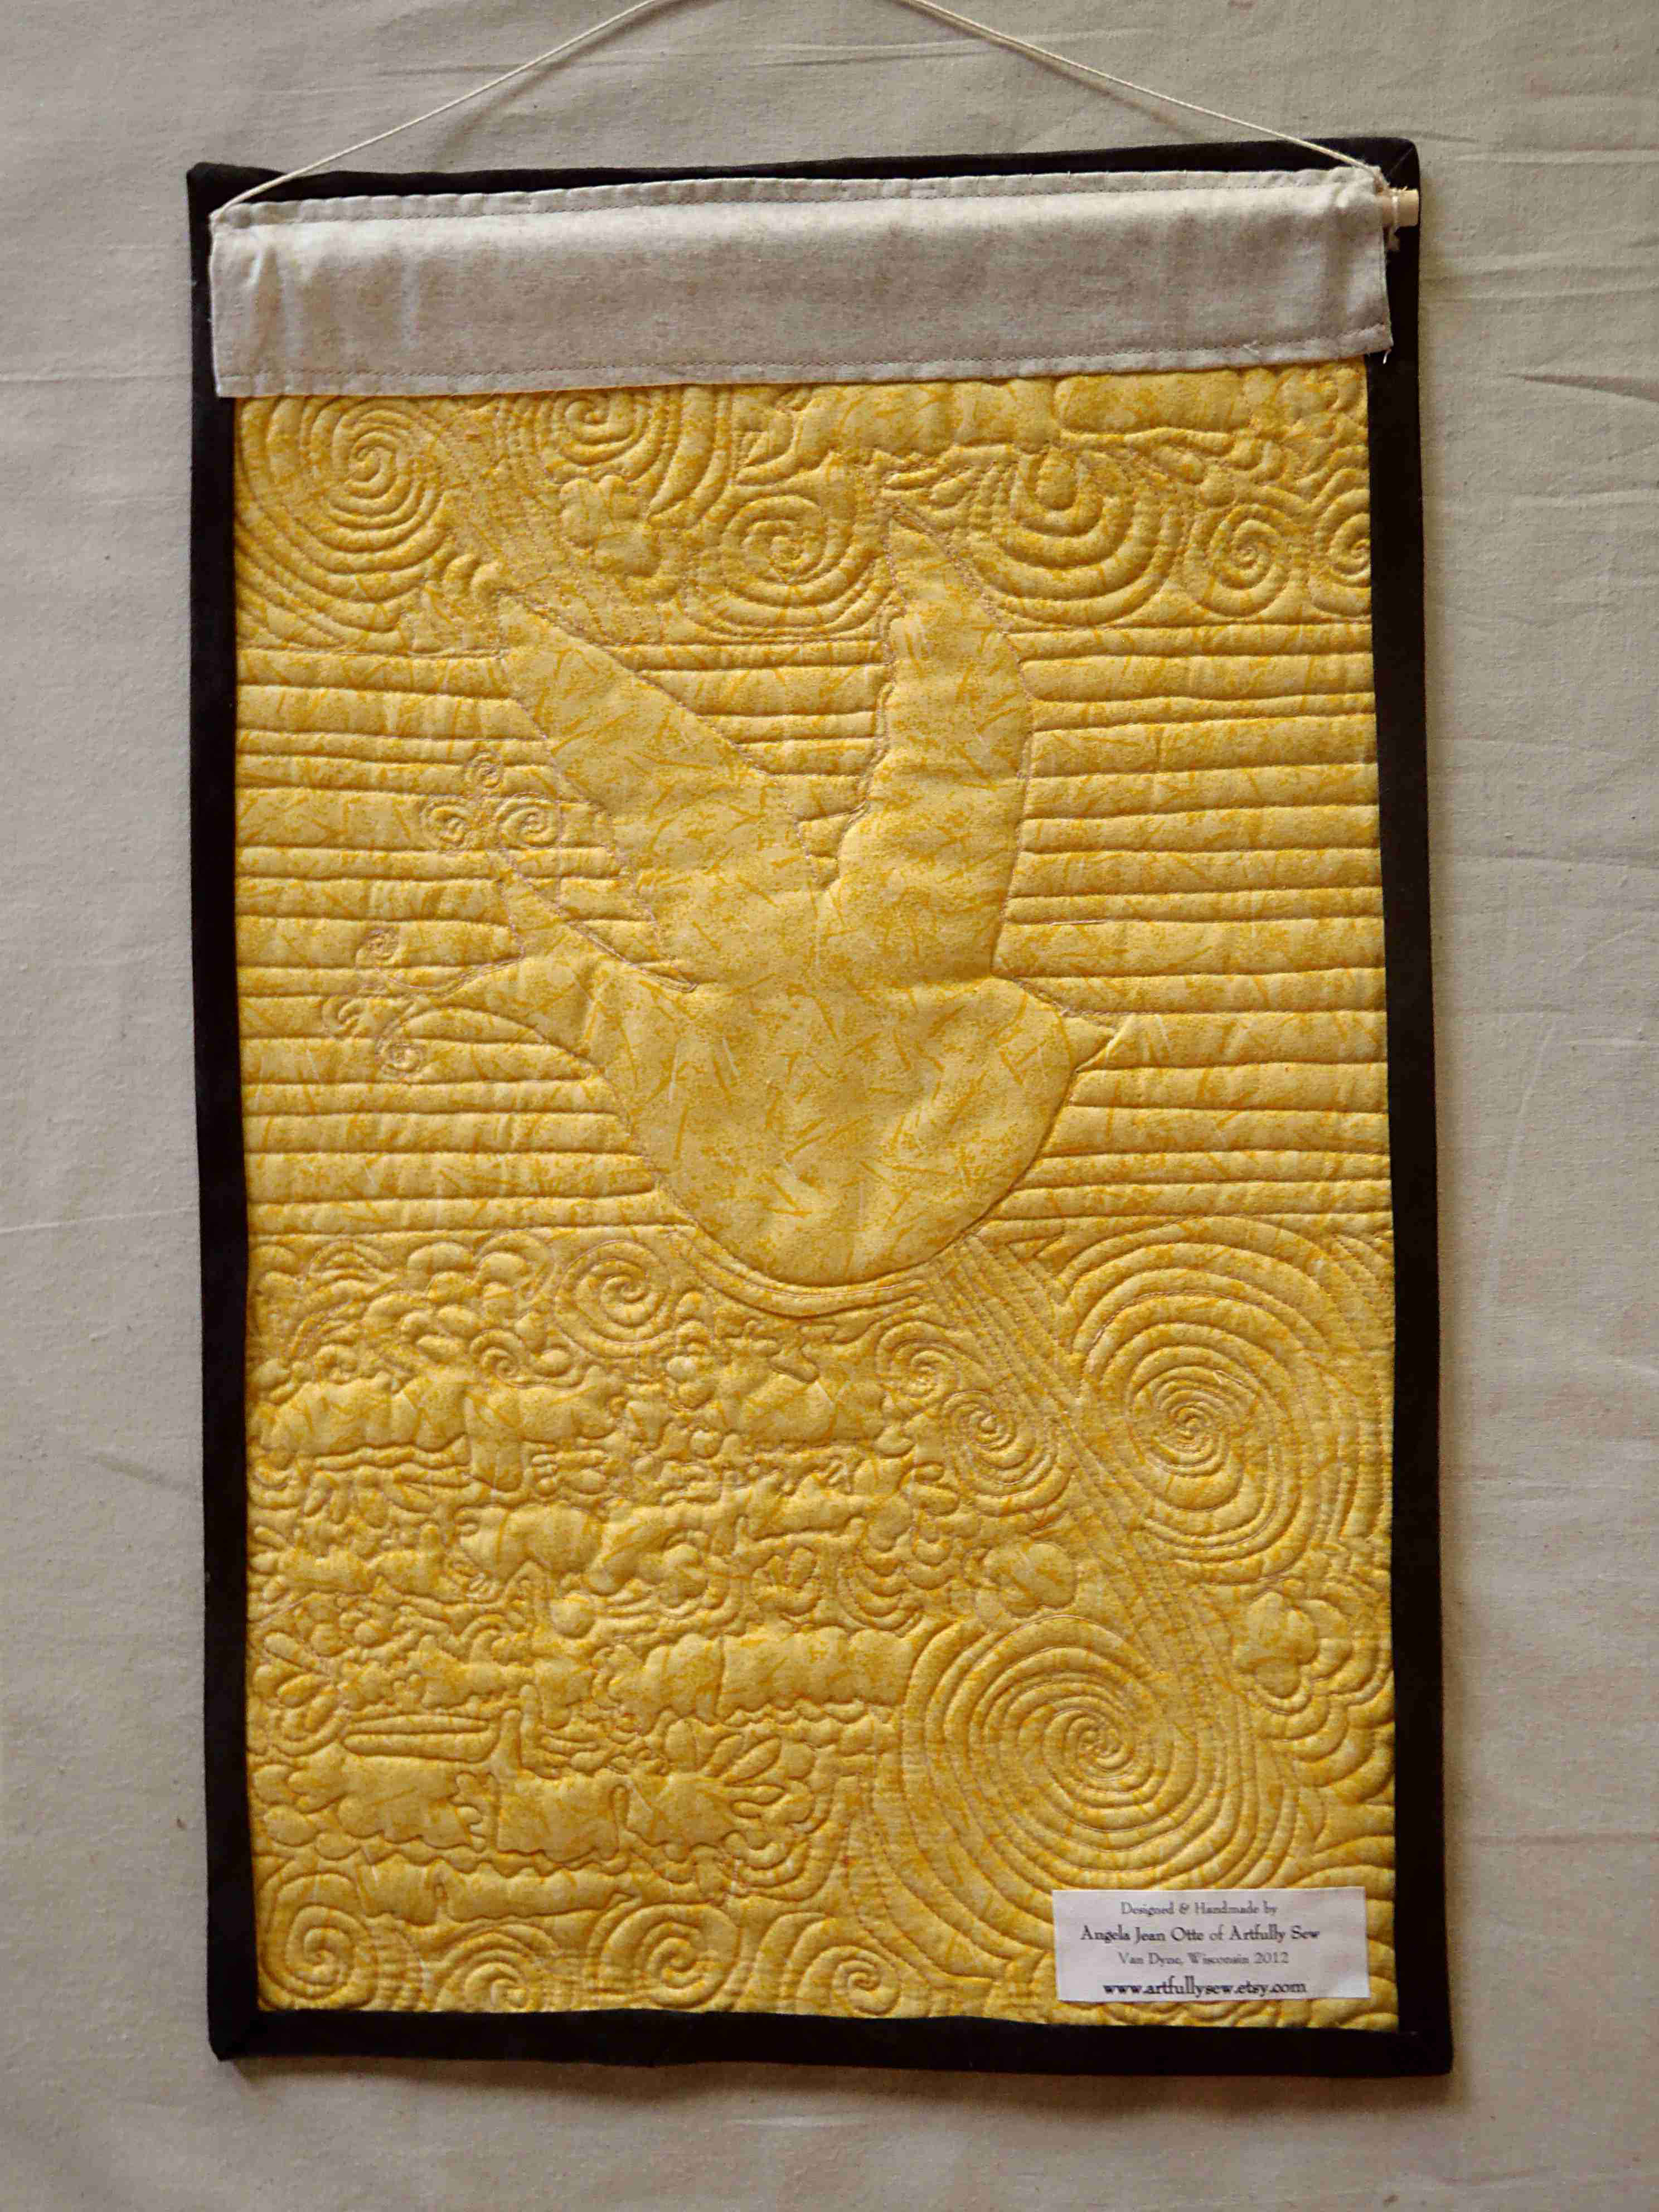
Sometimes I love the back of the quilt as much as the front.
How do you package your items? I’d love to hear your ideas! Share your tips in the comments below.
Artfully sewing,
Angela Jean