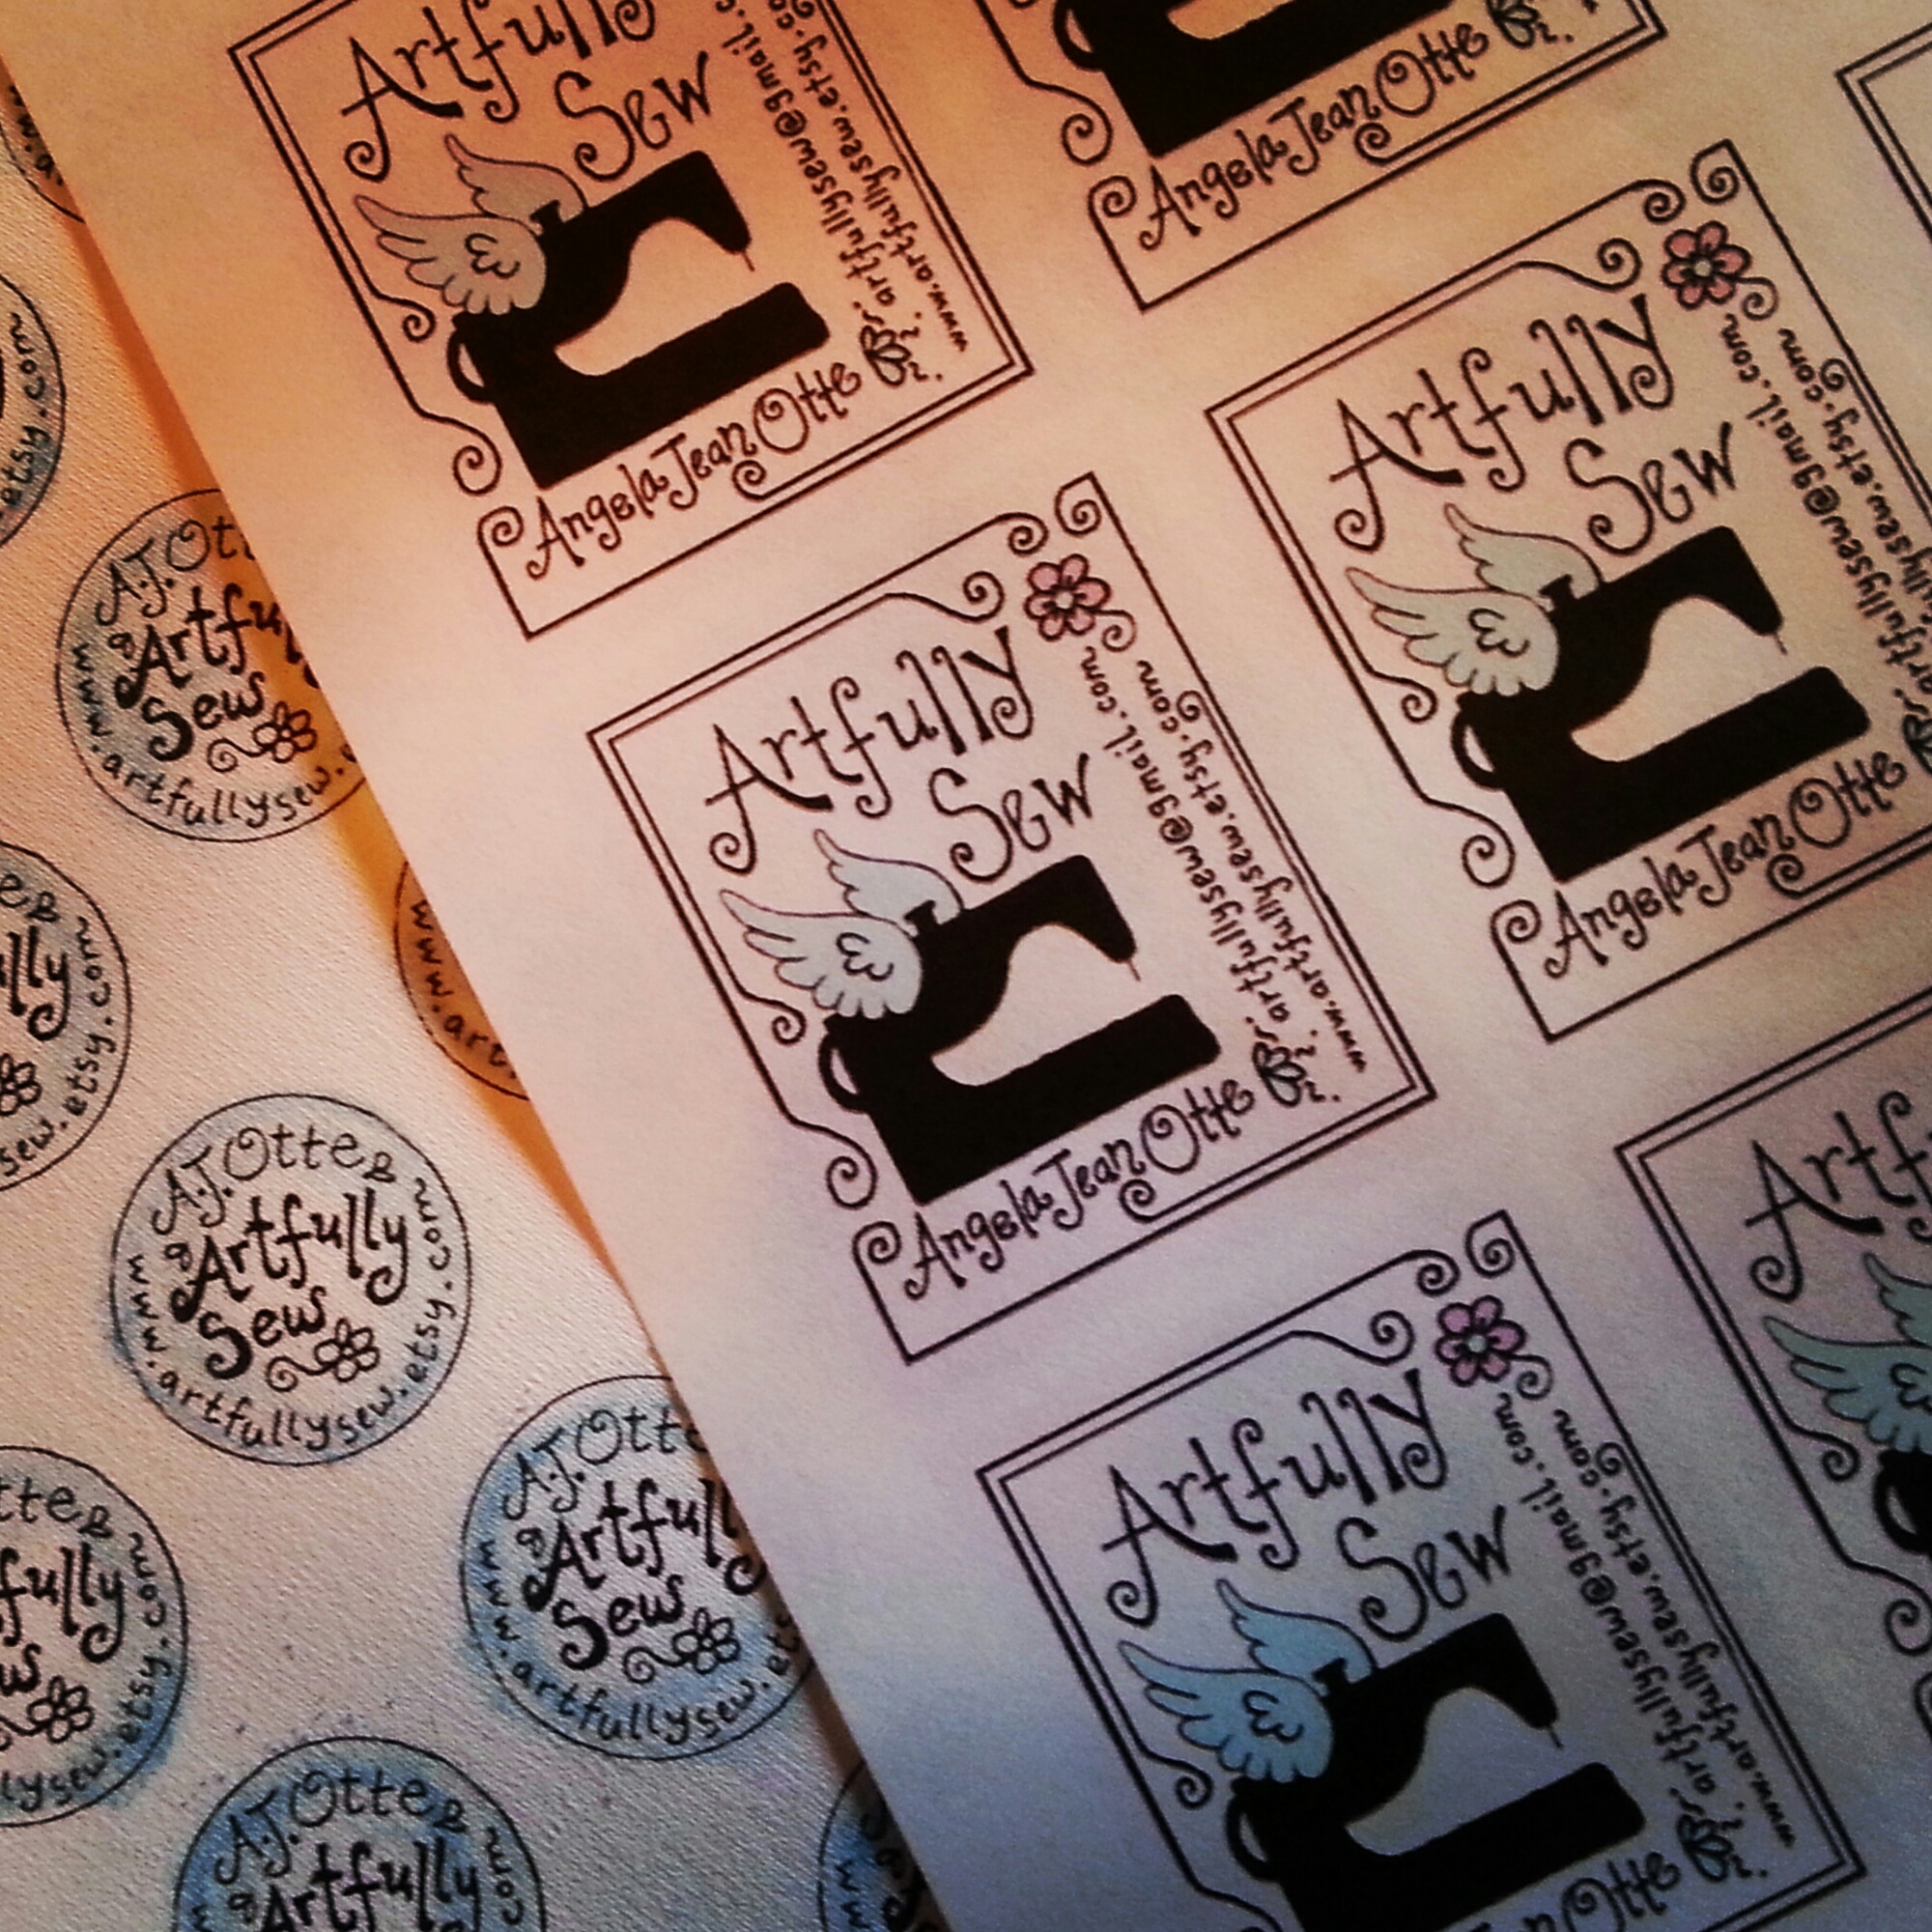
This morning I printed off my newly designed labels. The larger one is for aprons and the circular one is for the back of my ornaments. I love running fabric through my ink jet printer for not only labels but also for transferring embroidery patterns. Here’s my method:
To print the labels on fabric, first find a nice cotton fabric that has no print. For these labels I’ll probably use a light tan color to create a vintage look, but you can experiment to find what suits your niche. Press the fabric with a hot iron and starch for best results. Cut the fabric a little bit larger than a regular piece of paper, about 8 1/2″ x 11 1/2″.
Take a piece of freezer paper and cut it about the same size as your fabric. Iron the freezer paper to the backside of your fabric. Make sure the glossy side of the freezer paper is facing the fabric or it will stick to your iron!
Cut the paper-lined fabric down to exactly 8″ x 11″. Set it in your printer the same way you would regular paper, making sure the printed side will transfer to the top of the fabric NOT the freezer paper side. (I find it helpful to run a test through with regular printer paper first to see what direction it comes out so I can set the fabric up correctly). Print as usual. The printer should grab your fabric and print. You may have to trouble shoot, like helping feed the paper through by hand or changing the paper thickness setting on your printer, etc. Experiment to find the best way for your printer.
Remove the freezer paper and iron with a hot iron to set the ink. Don’t use steam or it may make the ink bleed. You may want to add fusible webbing to the back of the newly printed fabric to make it easy to fuse the labels.
Some printers work better than others! I have had success with a Canon Pixma and a HP Officejet printer. What works for you?
Leave any questions or comments below and I’d be glad to help you out. Now to find that perfect fabric…
Artfully sewing,
Angela Jean

