One of the reasons I love selling on Etsy is the community. Whenever I have a question, whether about quilting, selling, shipping or fabric, Etsy’s forums is often the place I find my answer. One time when I was searching the discussions I found someone who talked about using coffee filters as a stabilizer for applique. I have struggled to find something that works well, so this sounded like an interesting idea. Now I use coffee filters for more than making my coffee. They are my usual solution when sewing down my applique. Here’s how to do it:
Make straight edges
When using stabilizer, you want it to cover the back of the entire piece of applique. Since coffee filters are round they don’t line up nicely together. Layering them can make it too thick and more difficult to remove. To prevent that, trim a right angle to make a corner on one edge. This way you can use many if the applique is bigger than the filter.
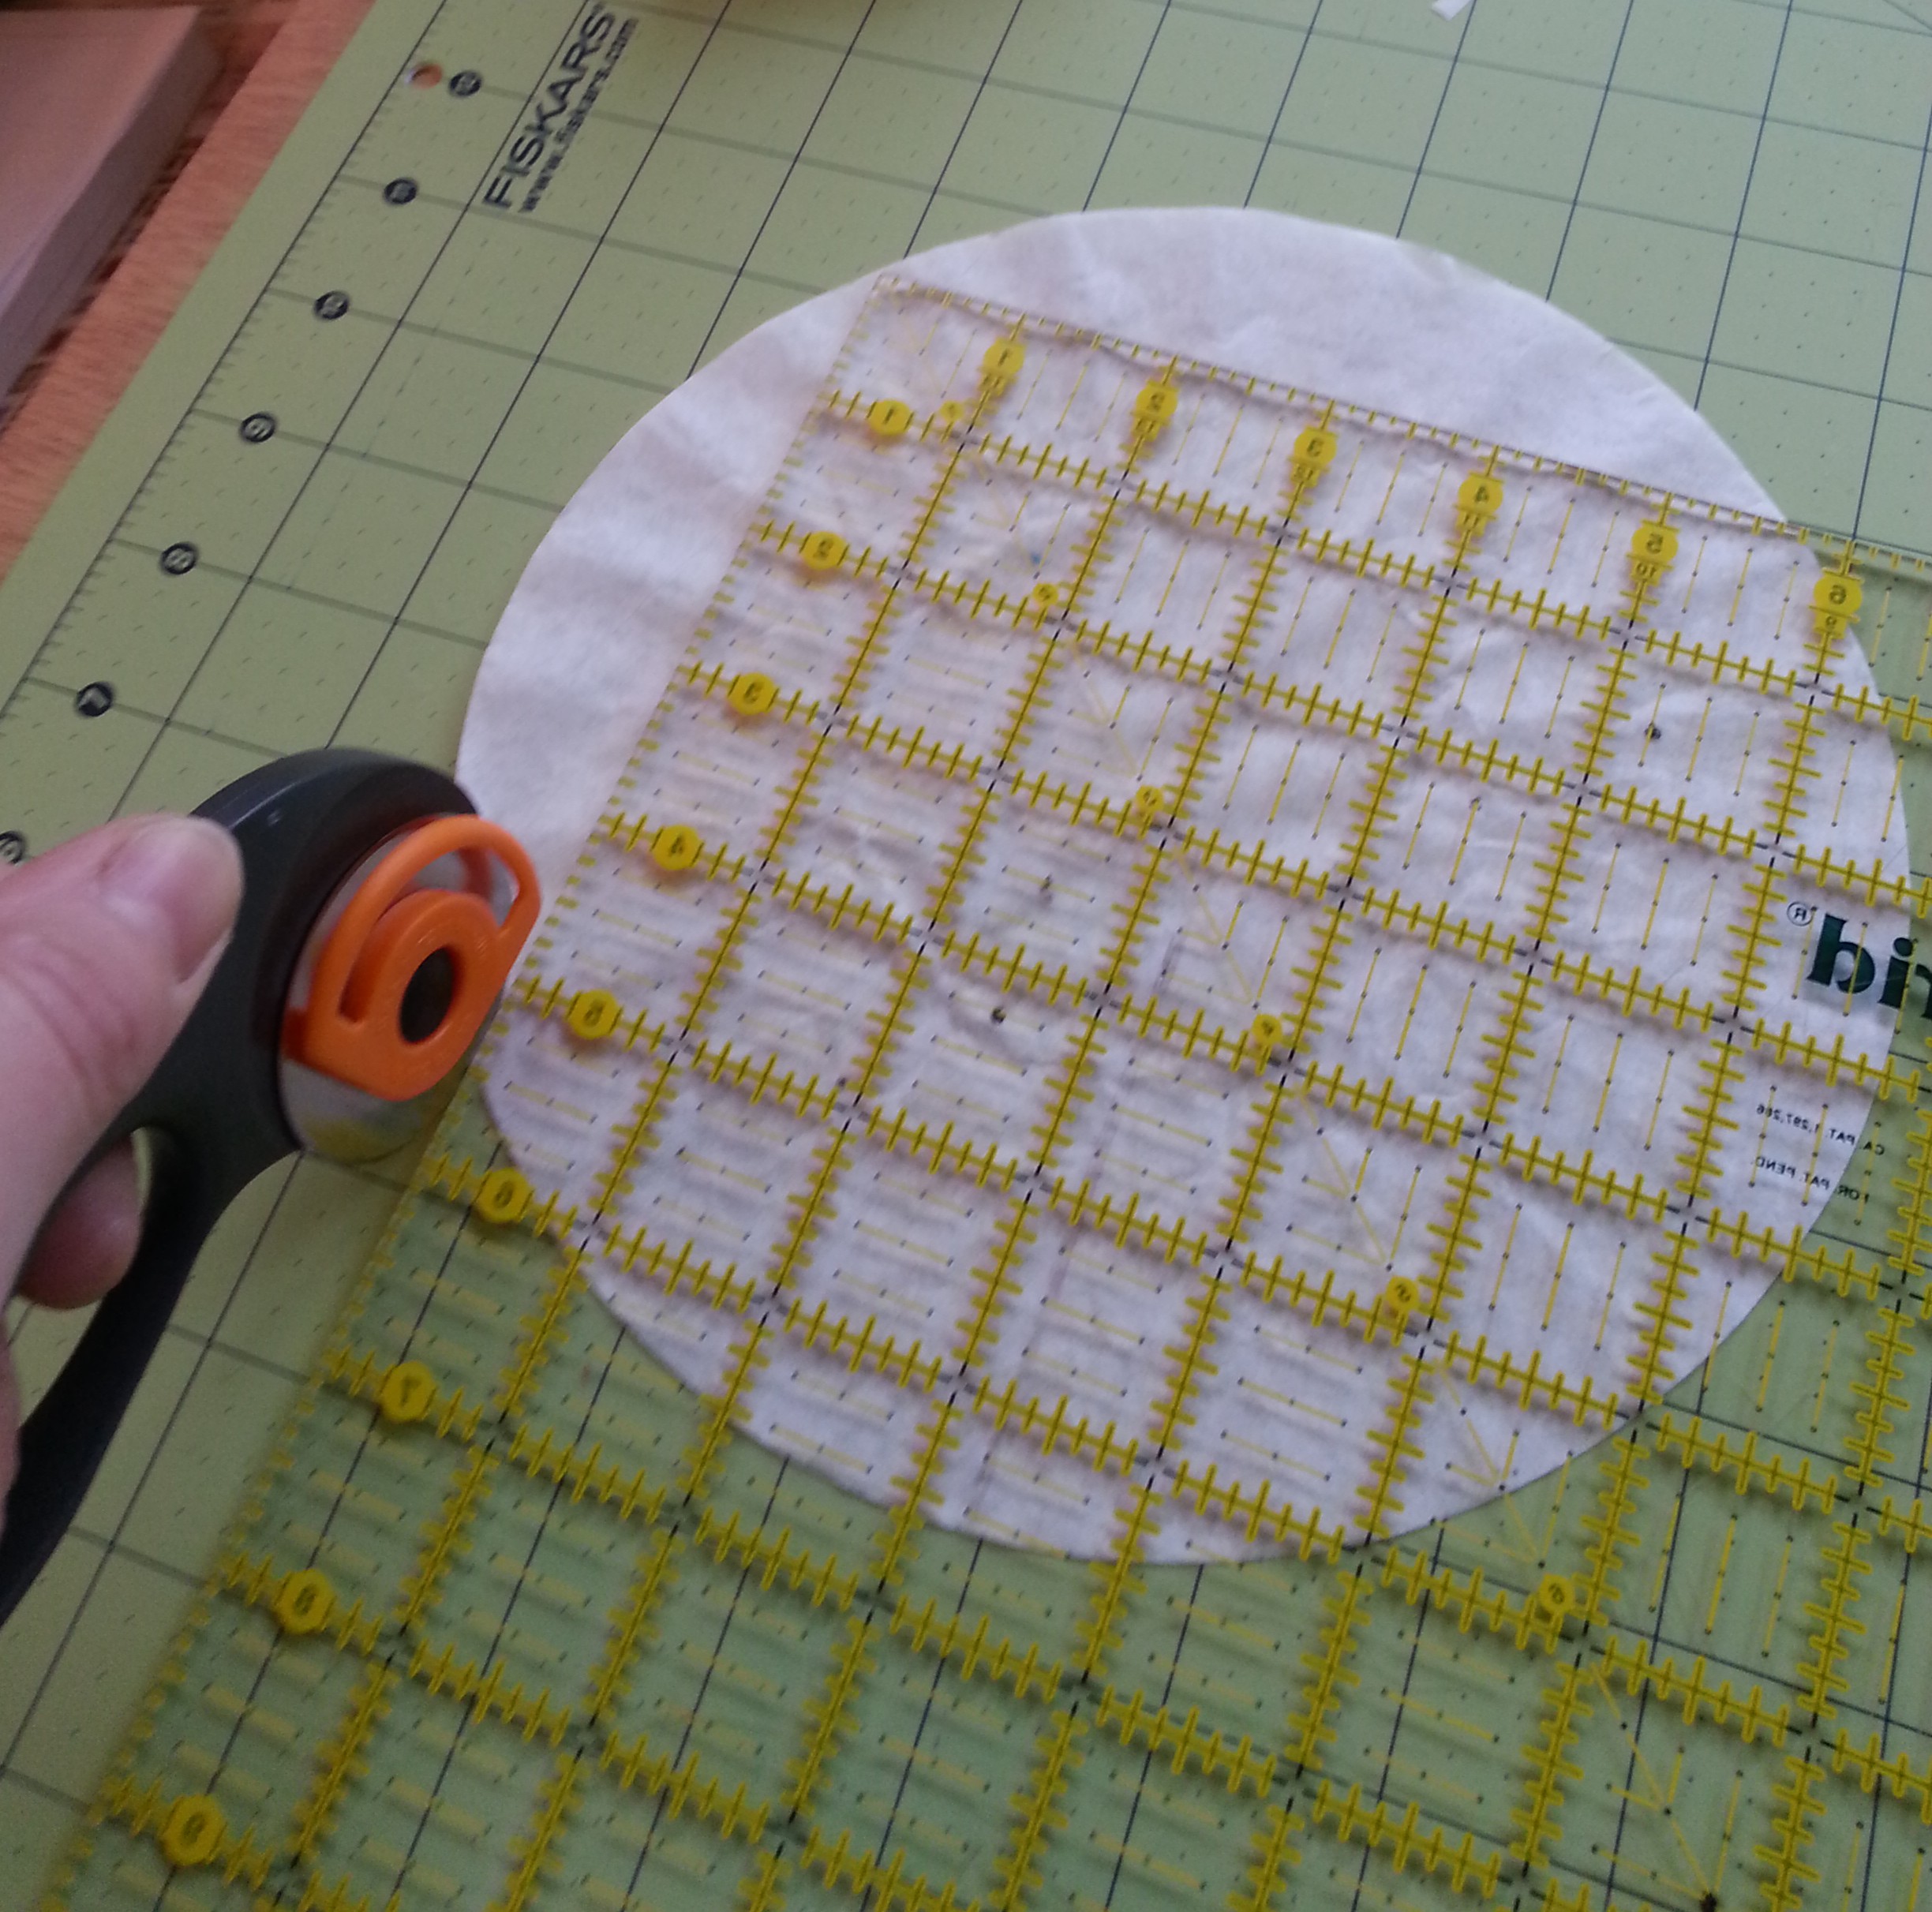 Before trimming, use a warm iron to press the filters flat. It will also help with estimating how many you will need and also make it easier to pin them later.
Stabilizing the stabilizer
Once you have enough filters to cover the back, turn your quilt top so the back side is facing up. Line up the straight edges of the filters so that it’s difficult to see the seams. Lift each corner and use a small dab of glue stick to hold in place. I use ordinary Elmer’s glue sticks cause they are water soluble and much cheaper than the fancy fabric glue sticks at JoAnn Fabrics. Plus they work just as well.

Flip your quilt top over. Use straight pins to pin the filters to your top piece. Using pins are important because the glue is only to keep the filters in place for pinning and is not enough to keep it from shifting.
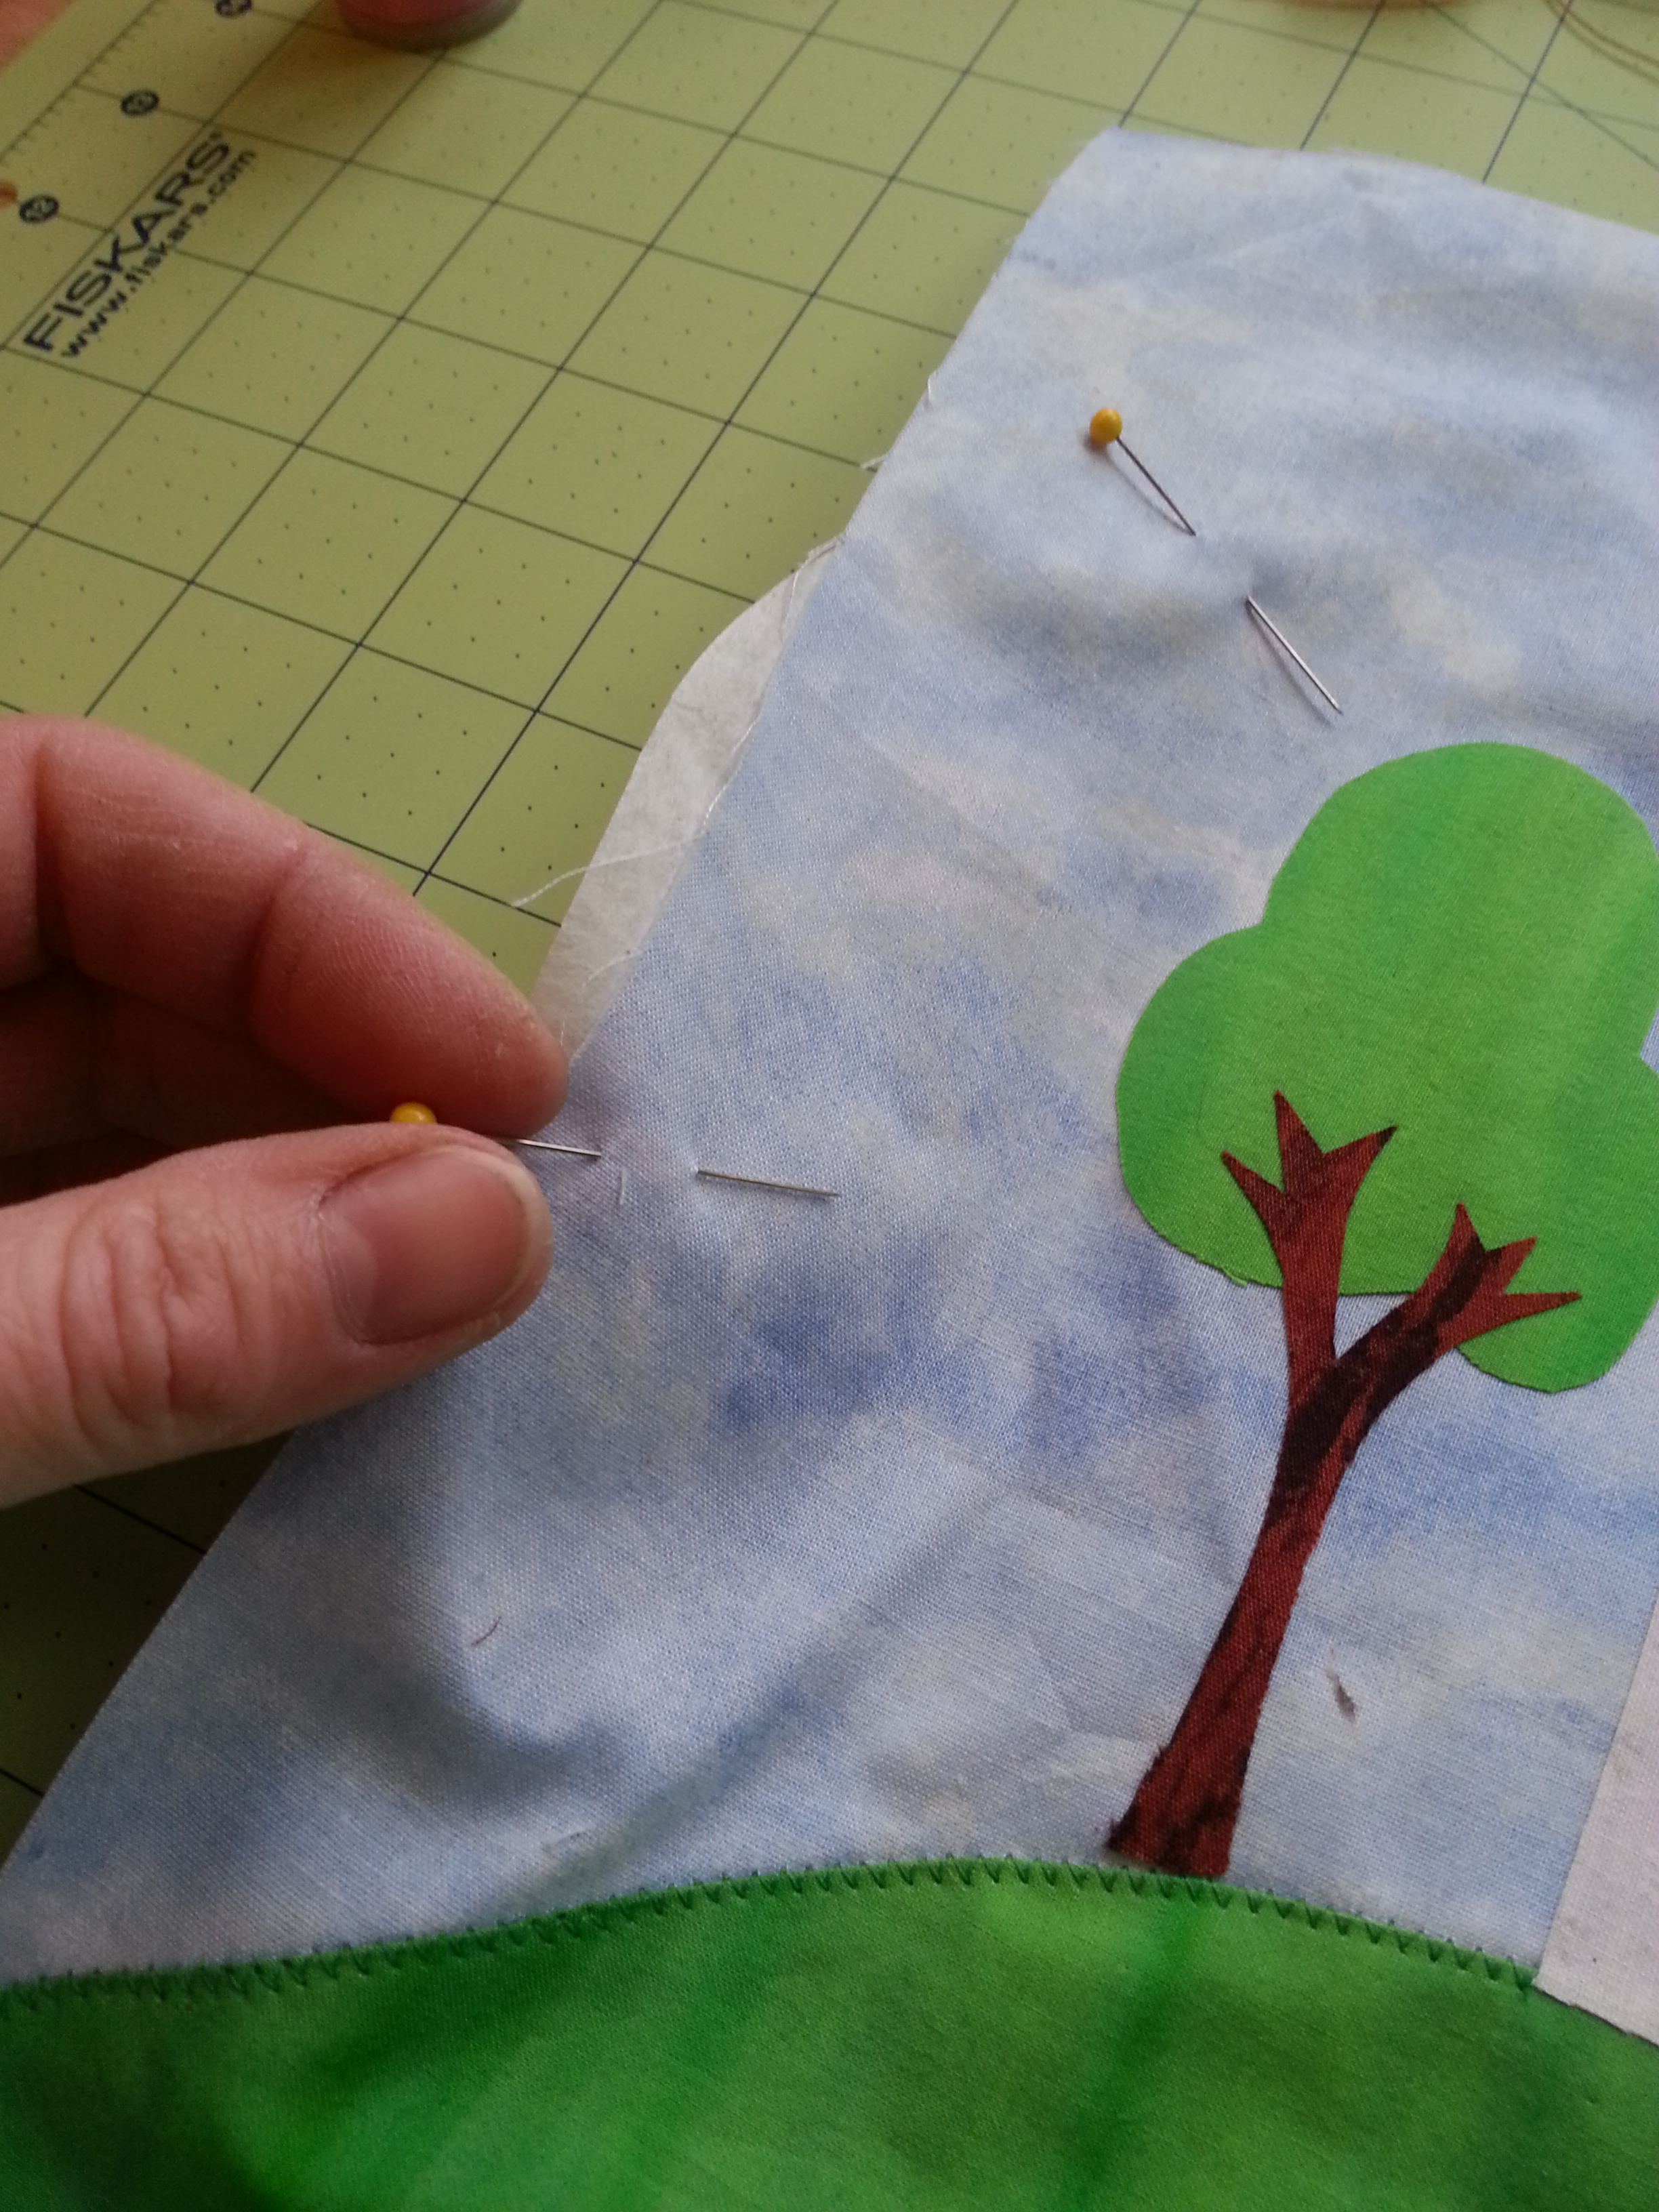
Make sure that you especially pin the places where the filter edges meet. This will help keep things from shifting.
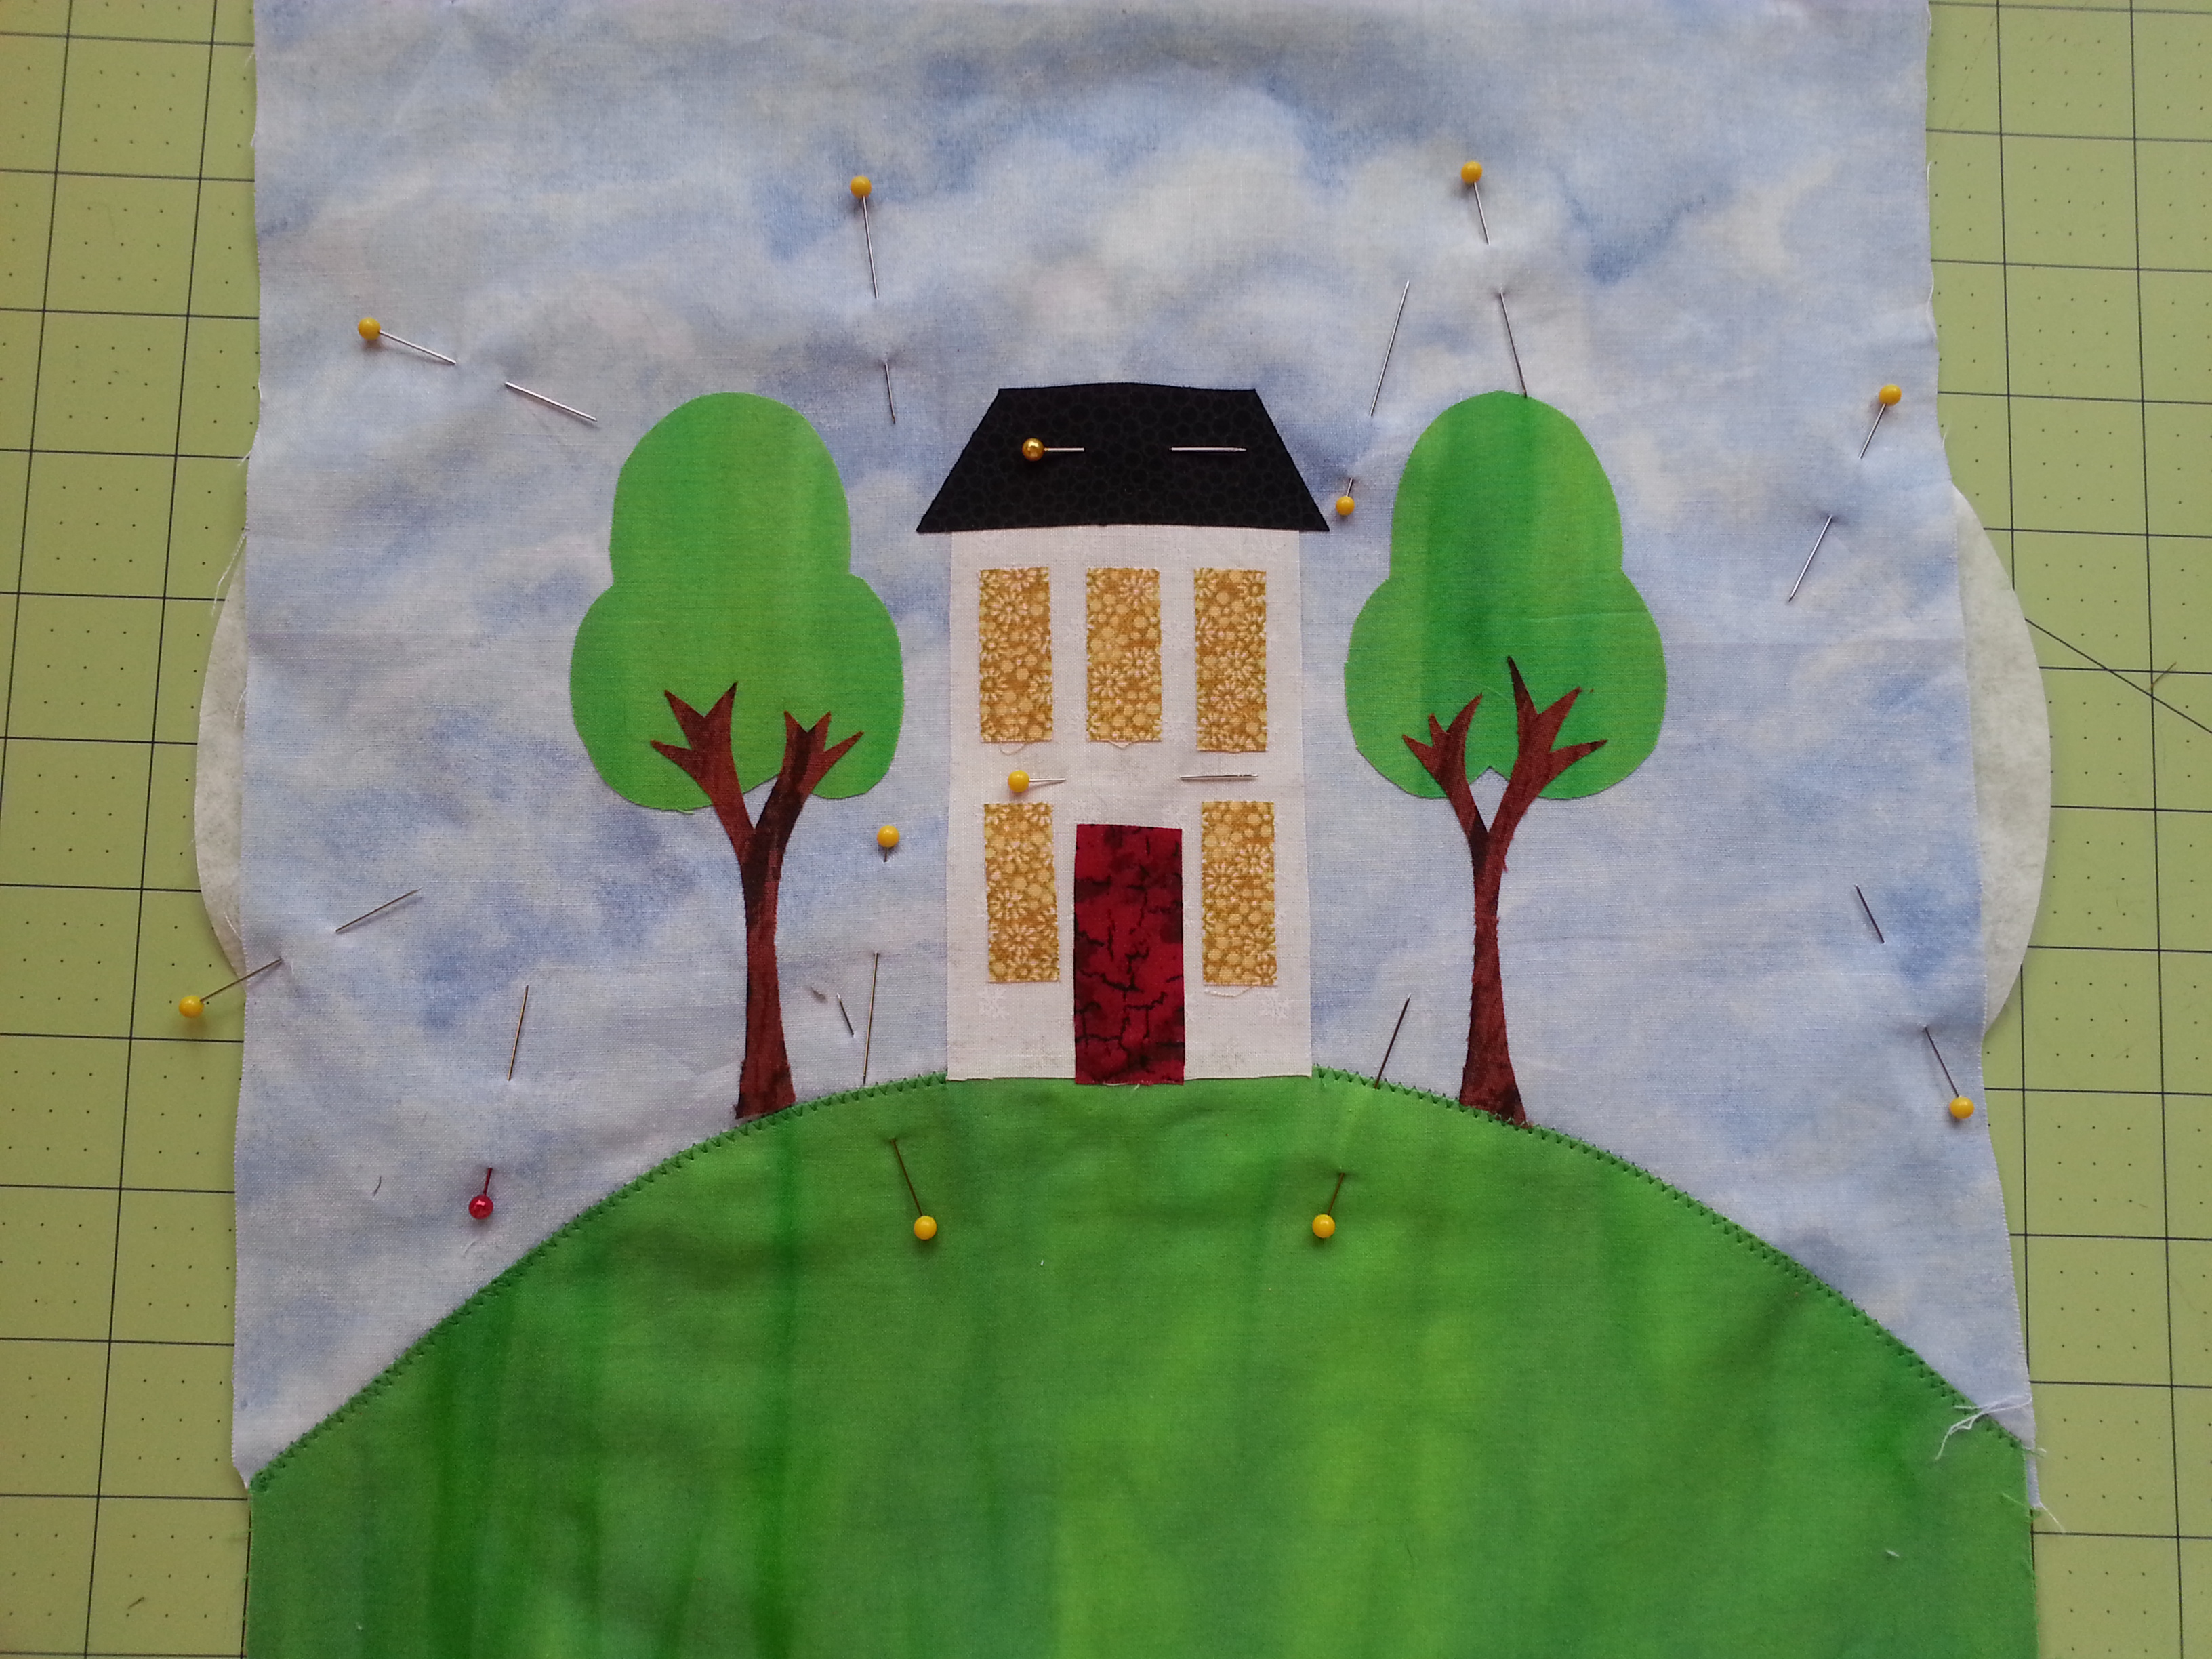
Stitch as desired
Now that the filters are stabilized, stitch the appliques. The photo below shows the backside after stitching. If you look closely you can see the seam of the filters down the center of the house. I only needed two filters for this project.

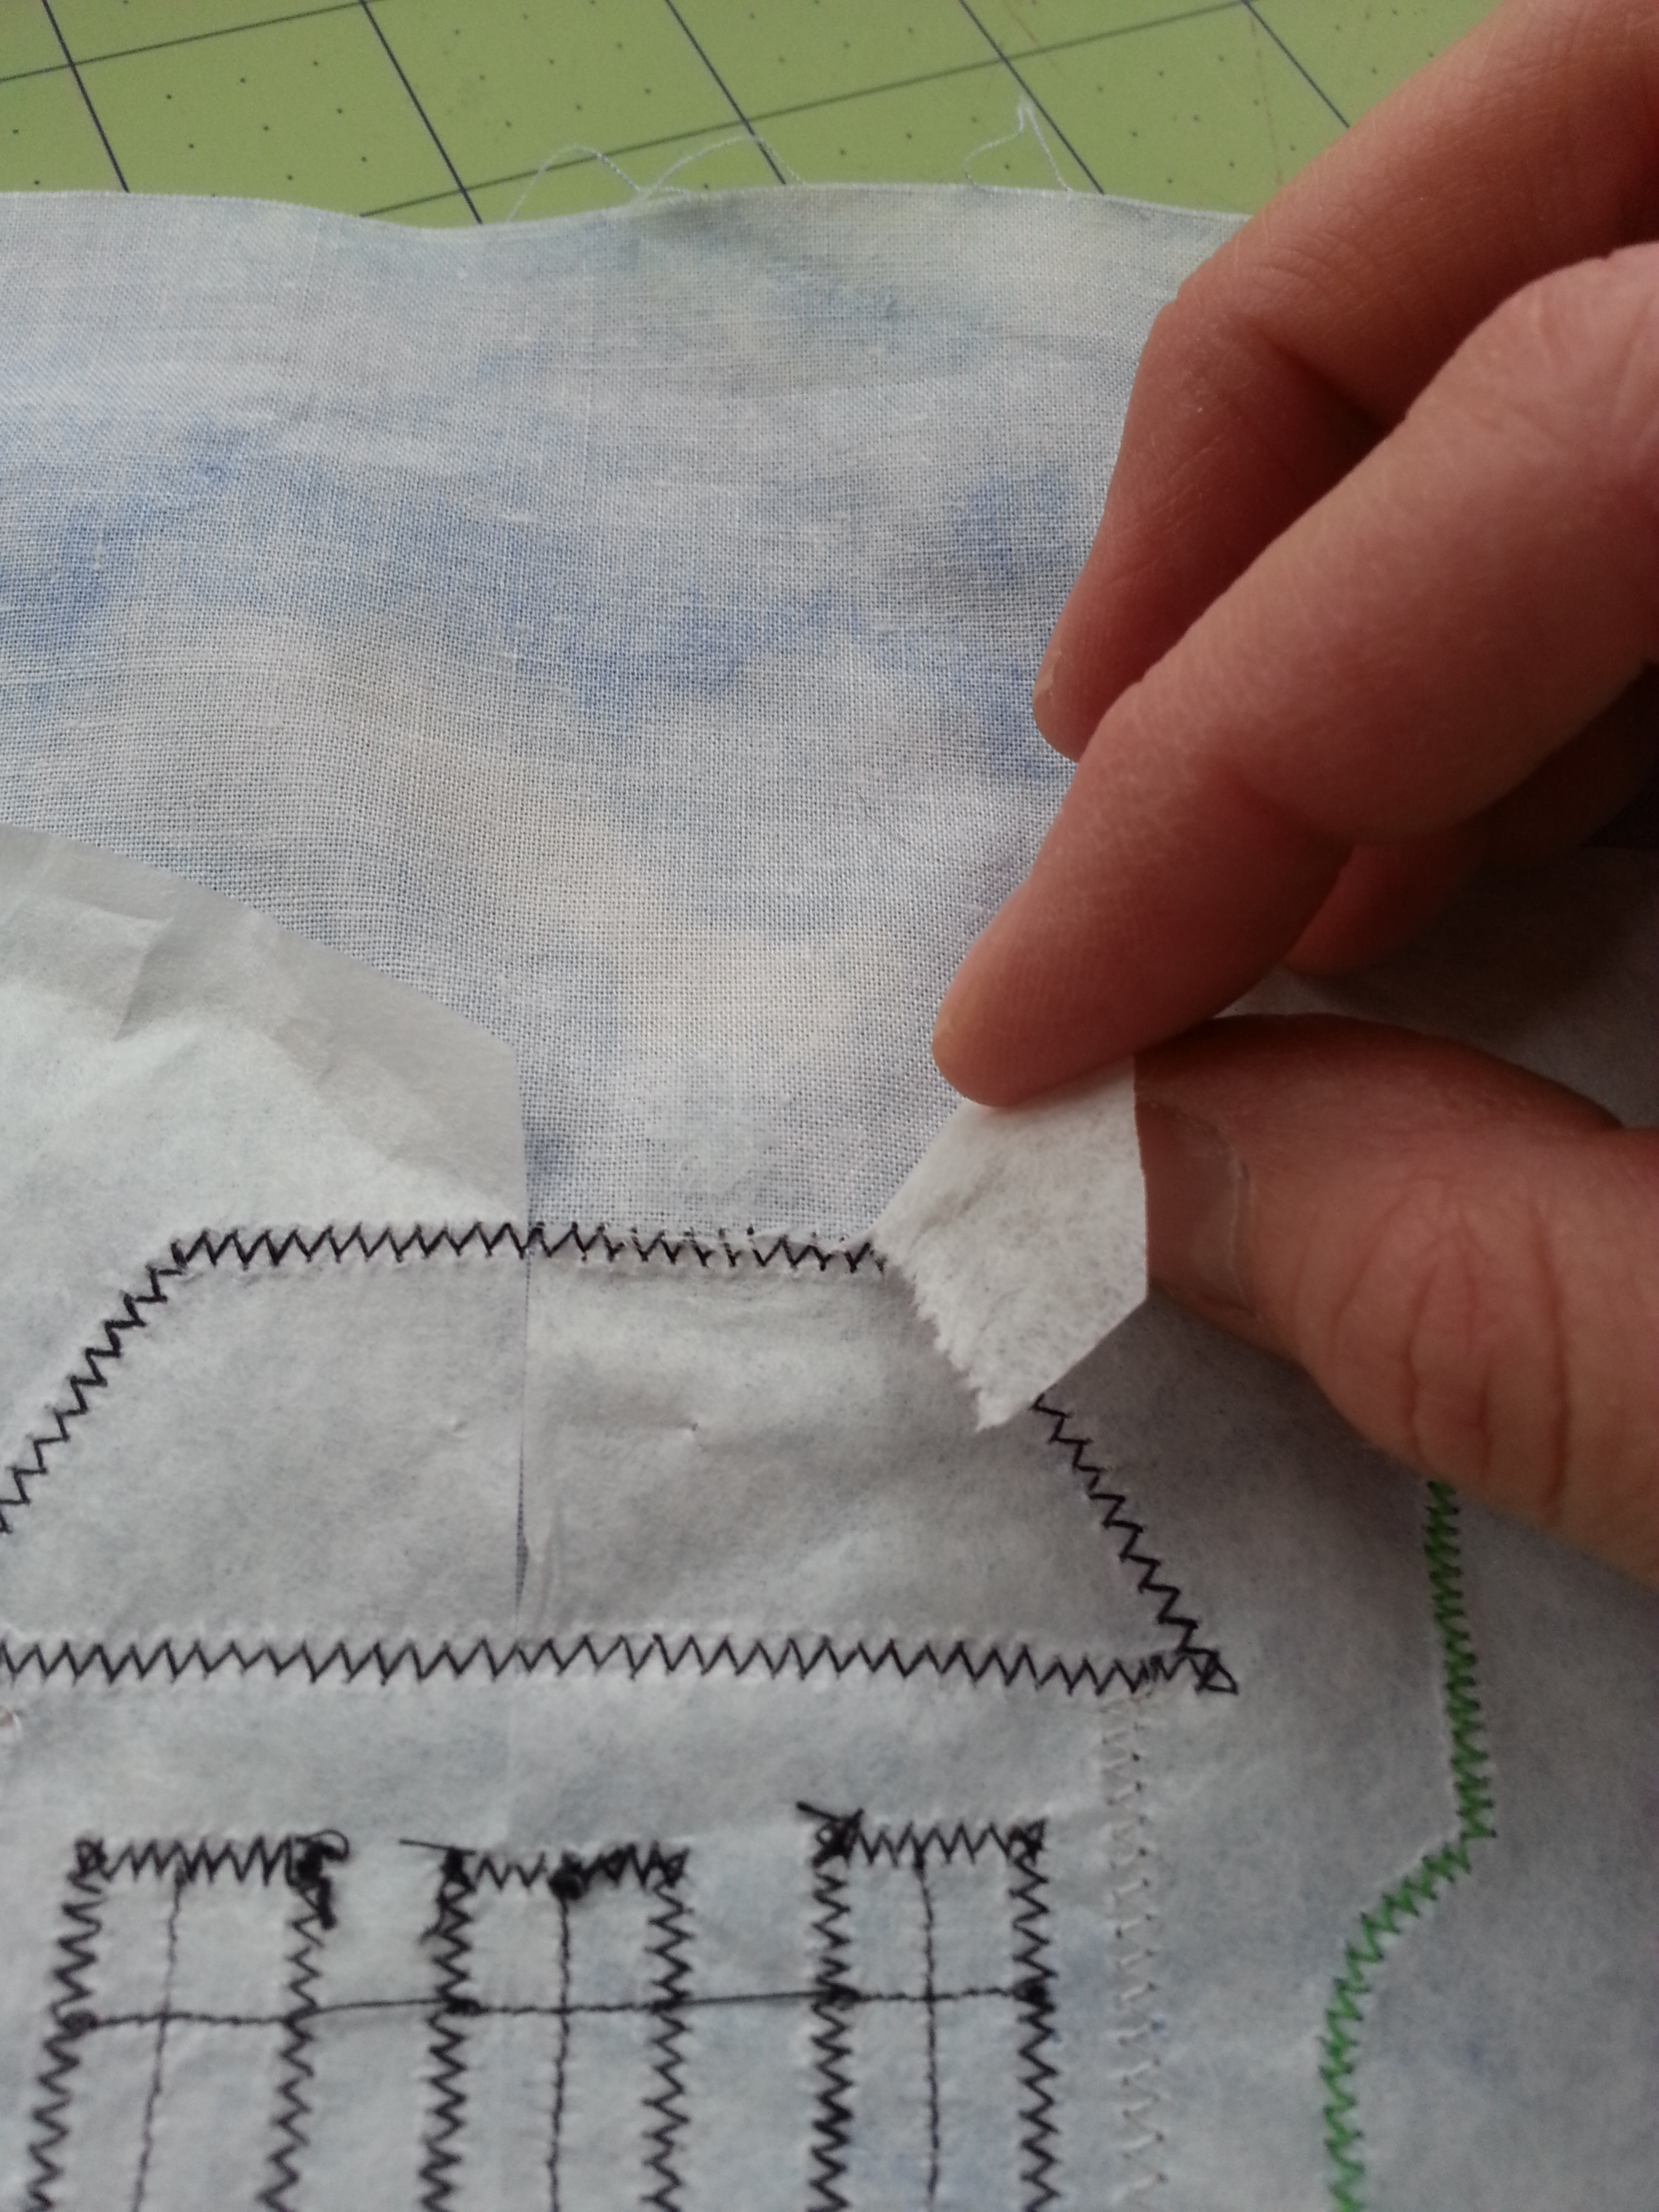
After stitching, gently rip away the filters. A pin may be used to score the stabilizer for easier removal. I also like to have a tweezers handy for any stubborn or hard to reach places.
Now you try it! Grab a cup of coffee and a few extra coffee filters and get to it.
Do you have any magical tips on stabilizing? Feel free to comment below.
Artfully sewing,
Angela Jean