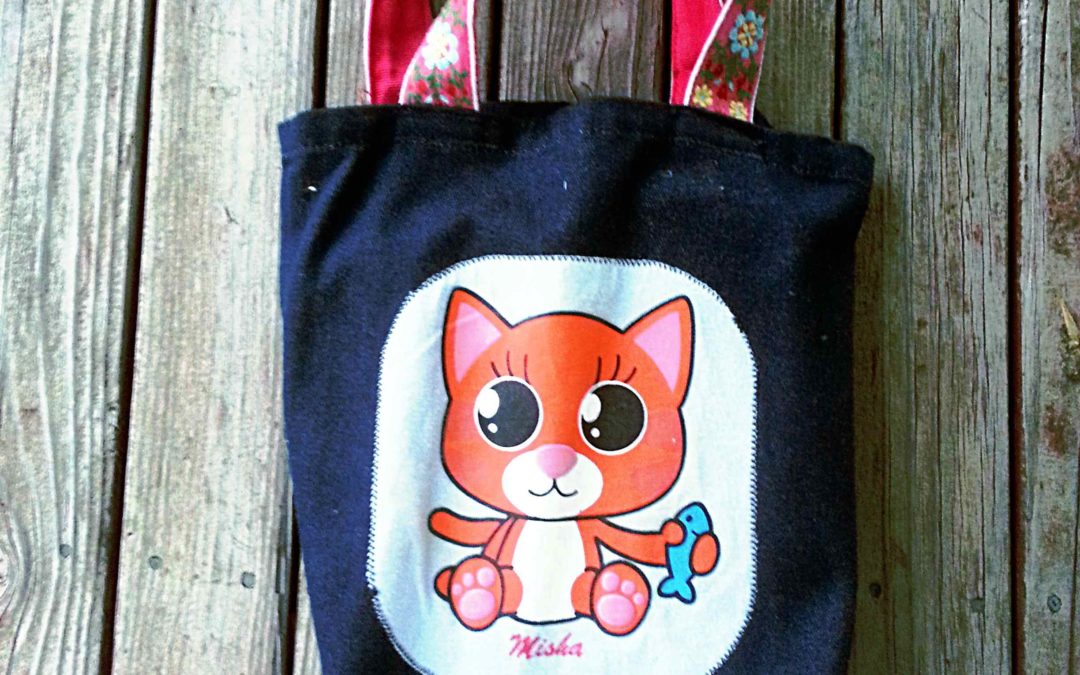
[contact-form][contact-field label=’Name’ type=’name’ required=’1’/][contact-field label=’Email’ type=’email’ required=’1’/][contact-field label=’Website’ type=’url’/][contact-field label=’Comment’ type=’textarea’ required=’1’/][/contact-form] I’m sure everyone has a stack of kids clothes from years gone by that have become treasured keepsakes. Eventually I would like to make a T-shirt quilt for each kid but Nora had a toddler shirt that was just too cute to pack away. I also really like the back of the T-shirt and didn’t want it to get lost in a quilt top. After a bit of brainstorming, I decided to make a cute little book bag.
Materials used
Nostalgic Toddler T-shirt (a backside print is optional)
Blue Jean Skirt
Embroidered Belt
OTHER MATERIALS:
Fusible webbing (I use Pellon Wonder Under 805)
Scissors
Clear Ruler
Sewing Machine
Thread
Before you cut
Making that first cut is always so hard because it feels wrong to cut up something you really love. Sometimes it’s wise to listen to your gut because not every piece of fabric or clothing should be re-purposed. Before you make a cut, answer these questions to decide to save or cut:
- Is the original fabric free of stains or rips?
- If it’s clothing, will it something that will pretty much never go out of style?
- Will the new project be used less than it’s original design?
- Does my child mind if I cut it up for a project?
If you answered “YES” to any of the questions it may mean you are not ready to re-purpose this item. The shirt I used in this project did have a few permanent stains and although it doesn’t seem to be something that would go out of style, Nora really loved this shirt and didn’t want to part with it. It seemed more useful to re-purpose it instead of tucking it away in a box.

As you can see in the above picture, I cut up the sides of the shirt and around the sleeves. I also cut away the seams because they are bulky and weird looking. I did the same on the backside of the shirt.

Add the webbing to make an applique
Before cutting the final shape I wanted for the applique, I took the unfinished shirt and cut a piece of webbing to attach. My favorite fusible webbing is Pellon 805, but use whatever you like. You will want webbing that is able to be sewn through or you will gum up your sewing machine.
Helpful Tip: Be sure to measure the webbing with the glue/rough side facing the back of your shirt. Lightly iron the webbing to make it stick slightly to the shirt. You can permanently fuse it later.
 Once the webbing was lightly attached I used my clear ruler to cut the applique down to about 10” X 12″. Trimming the rectangle to a rounded edge gave the piece a softer look.
I did the exact same for the backside piece/applique. Now on to the bag.
Make a simple bag
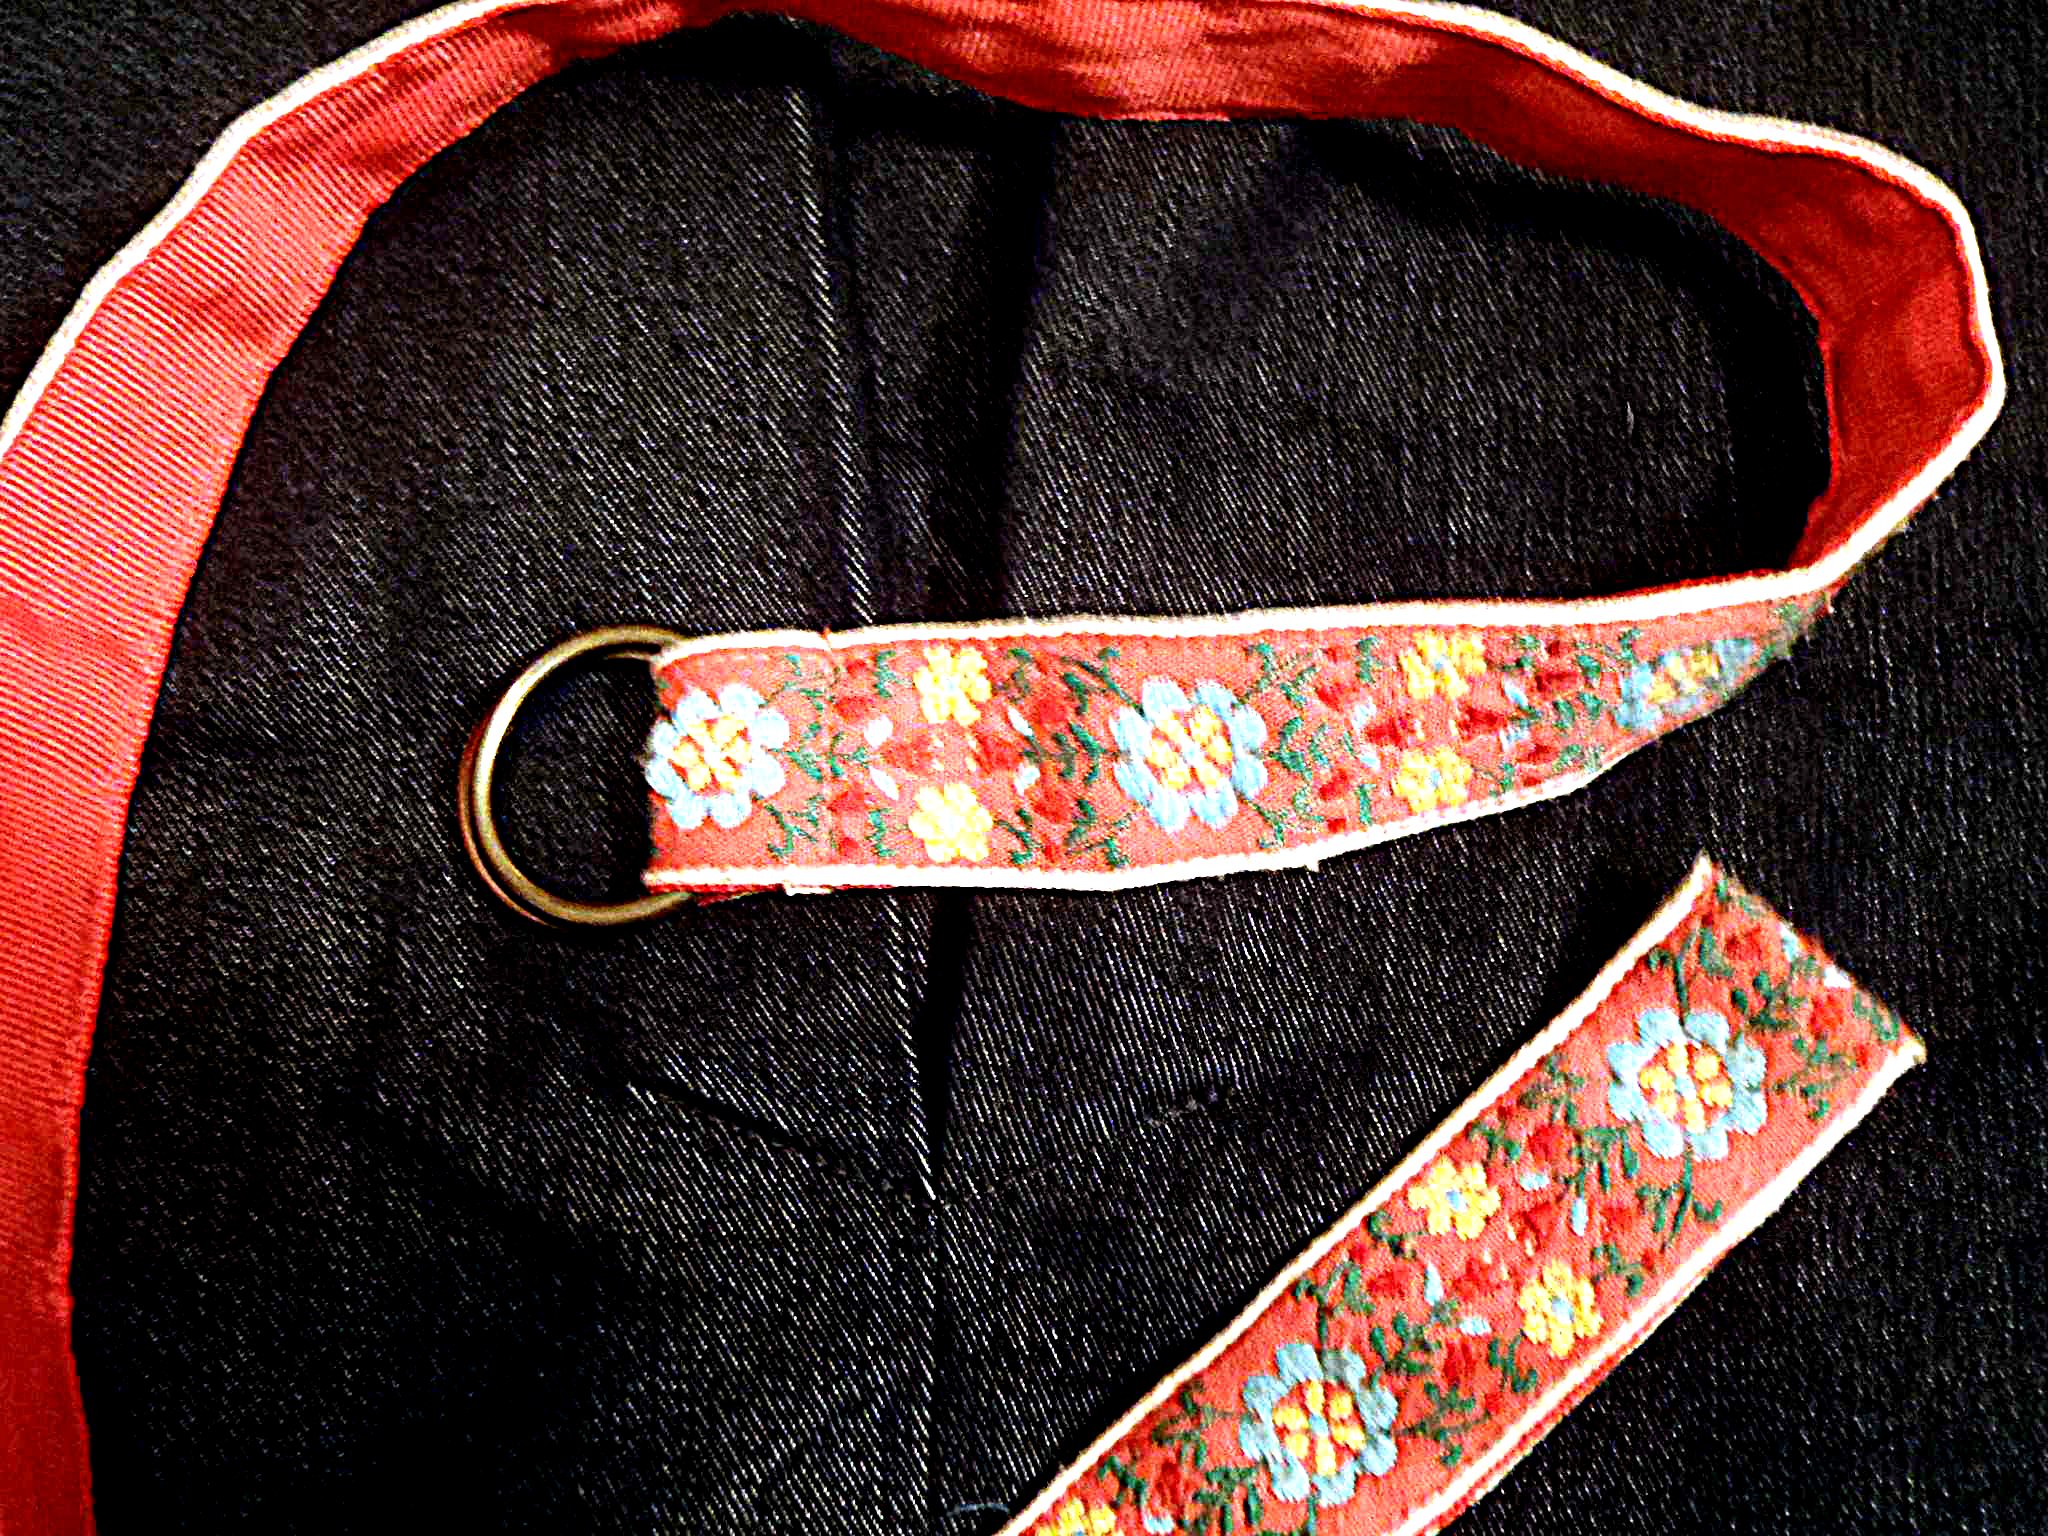
Remember what I said about making sure your kid doesn’t mind if you re-purpose the clothing before you cut? That advice is from experience. The belt I used in this project was one Nora had wanted to keep. She was kinda upset I cut it up for this project. Oops.
I also used a skirt I had from long ago before I gave birth to three kids. Yeah, it’s never going to fit me again so it felt really good to cut it up with scissors. It was also a great choice for a bag because it’s very heavy denim and will be very durable.
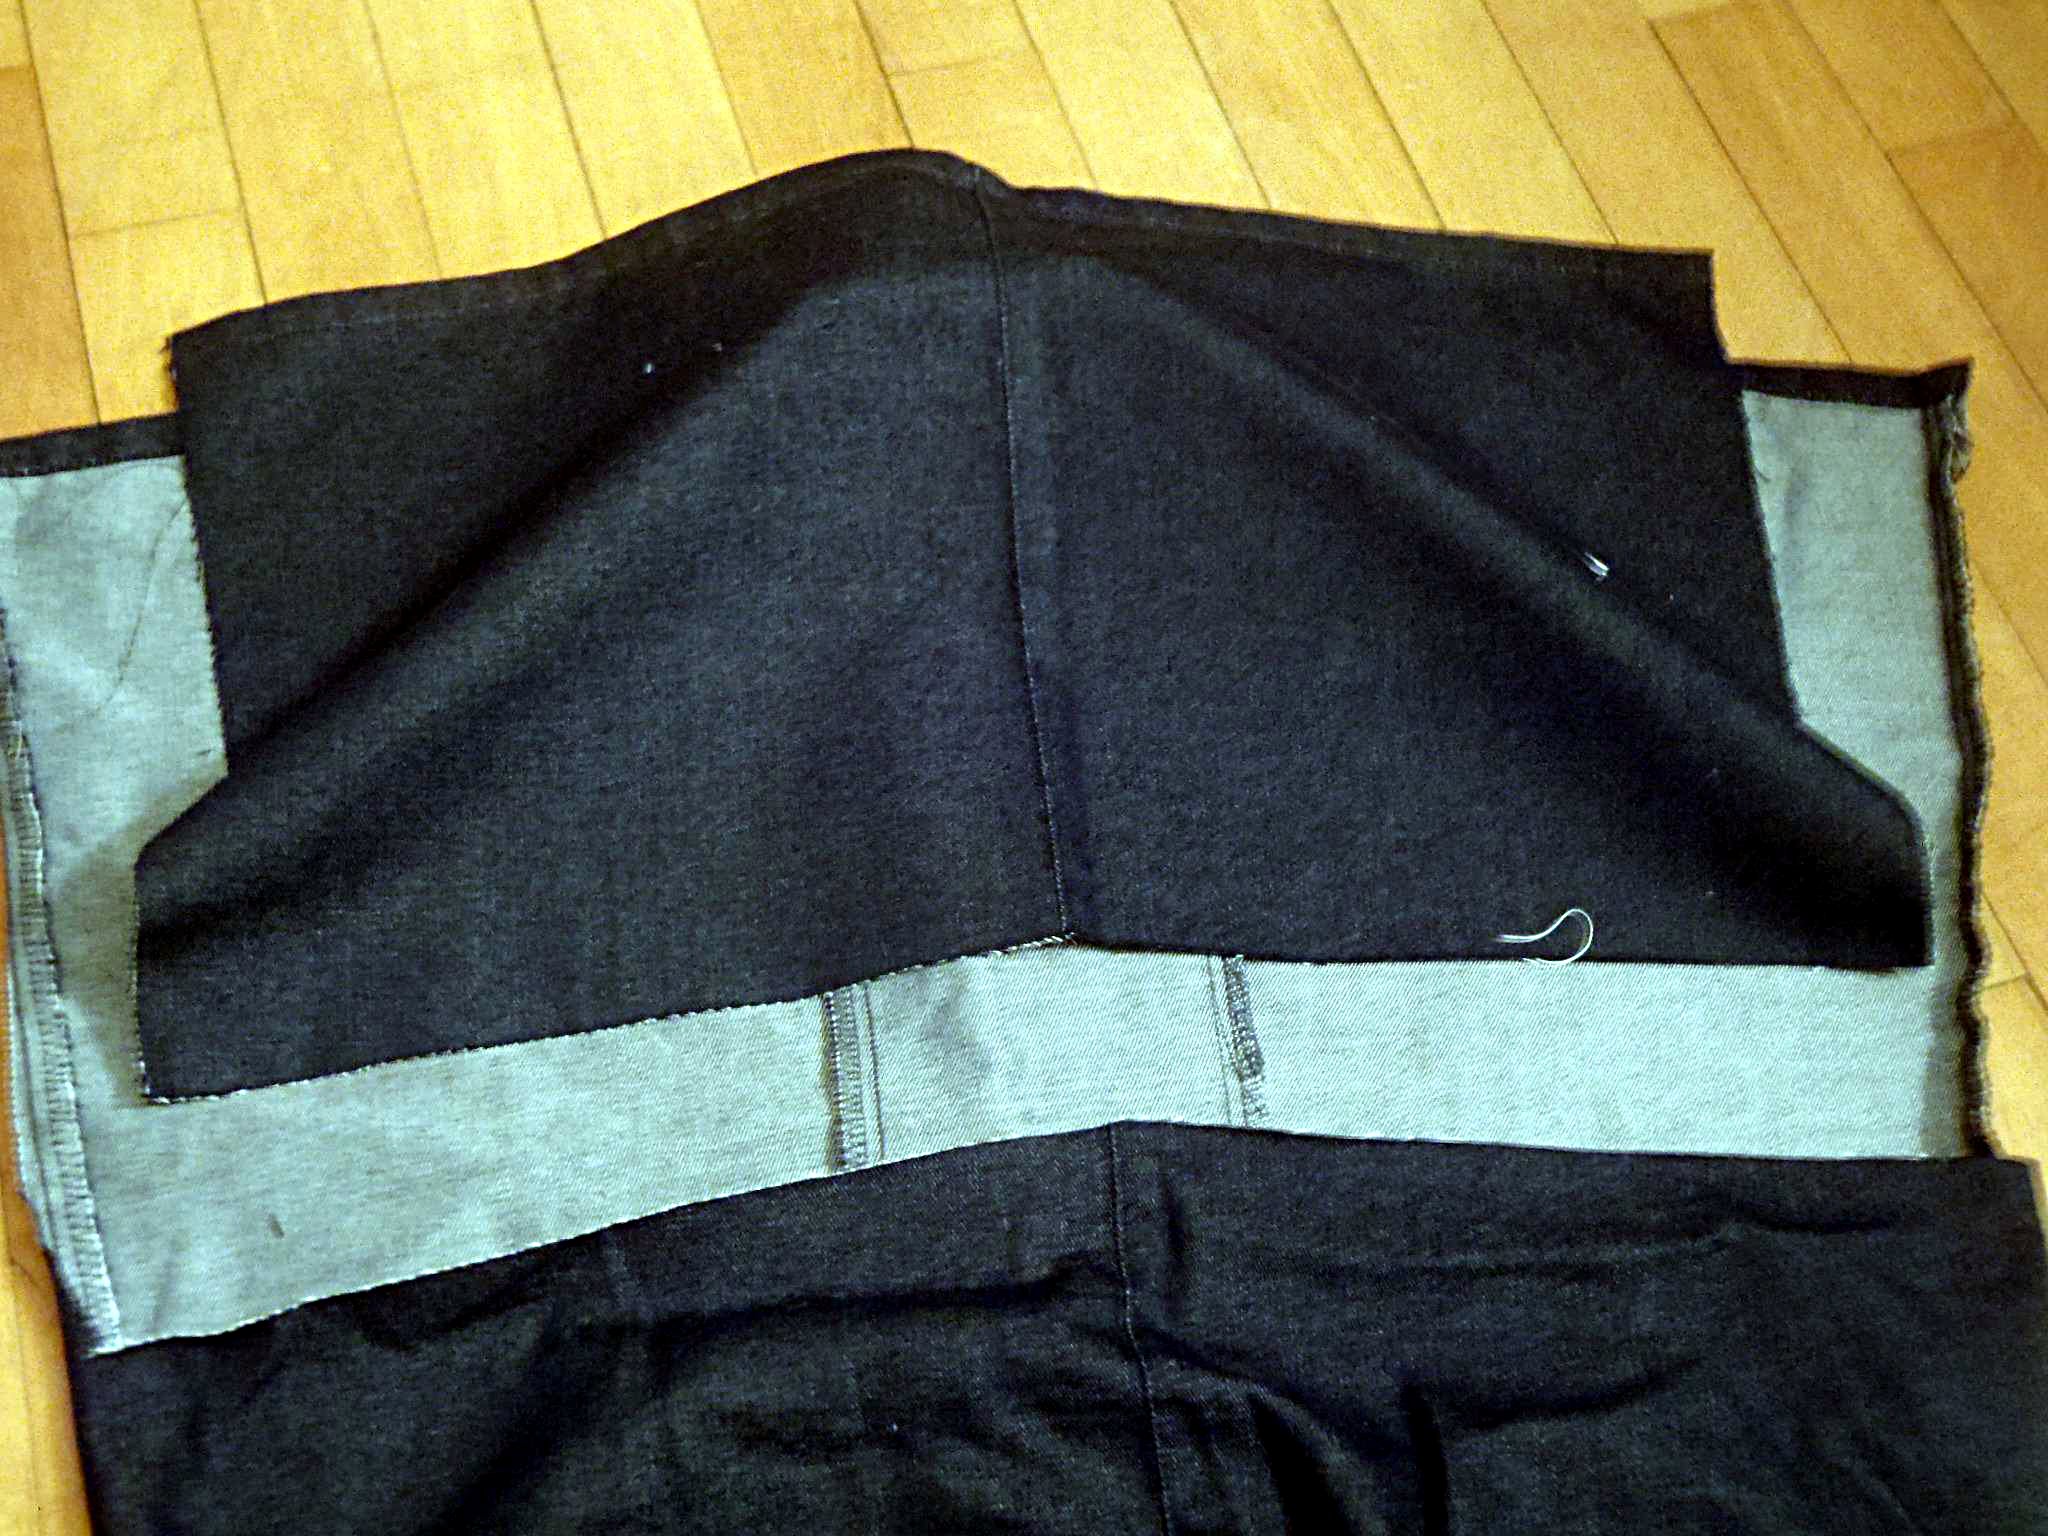
The bottom of the skirt lended itself well for a bag shape. The hem became the top of the bag so I would automatically have a finished edge. Before sewing up the seams I added the appliques. I have learned the hard way the importance of checking and rechecking the placement of appliques before ironing. Wish I had a picture to show you, but I got so into the project, I forgot to take a shot!
After the appliques were fused I added a tight zig zag stitch along the edge to secure it and add texture. Plus, this will make the bag more durable and easy to wash in the machine.
I turned it right sides together and sewed along the side and bottom to close. I felt the bag winged out a bit so folded in the bottom corners a bit and stitched along there to make it more symmetrical.
I halved the belt and added the loops to the bag. Easy peasy!
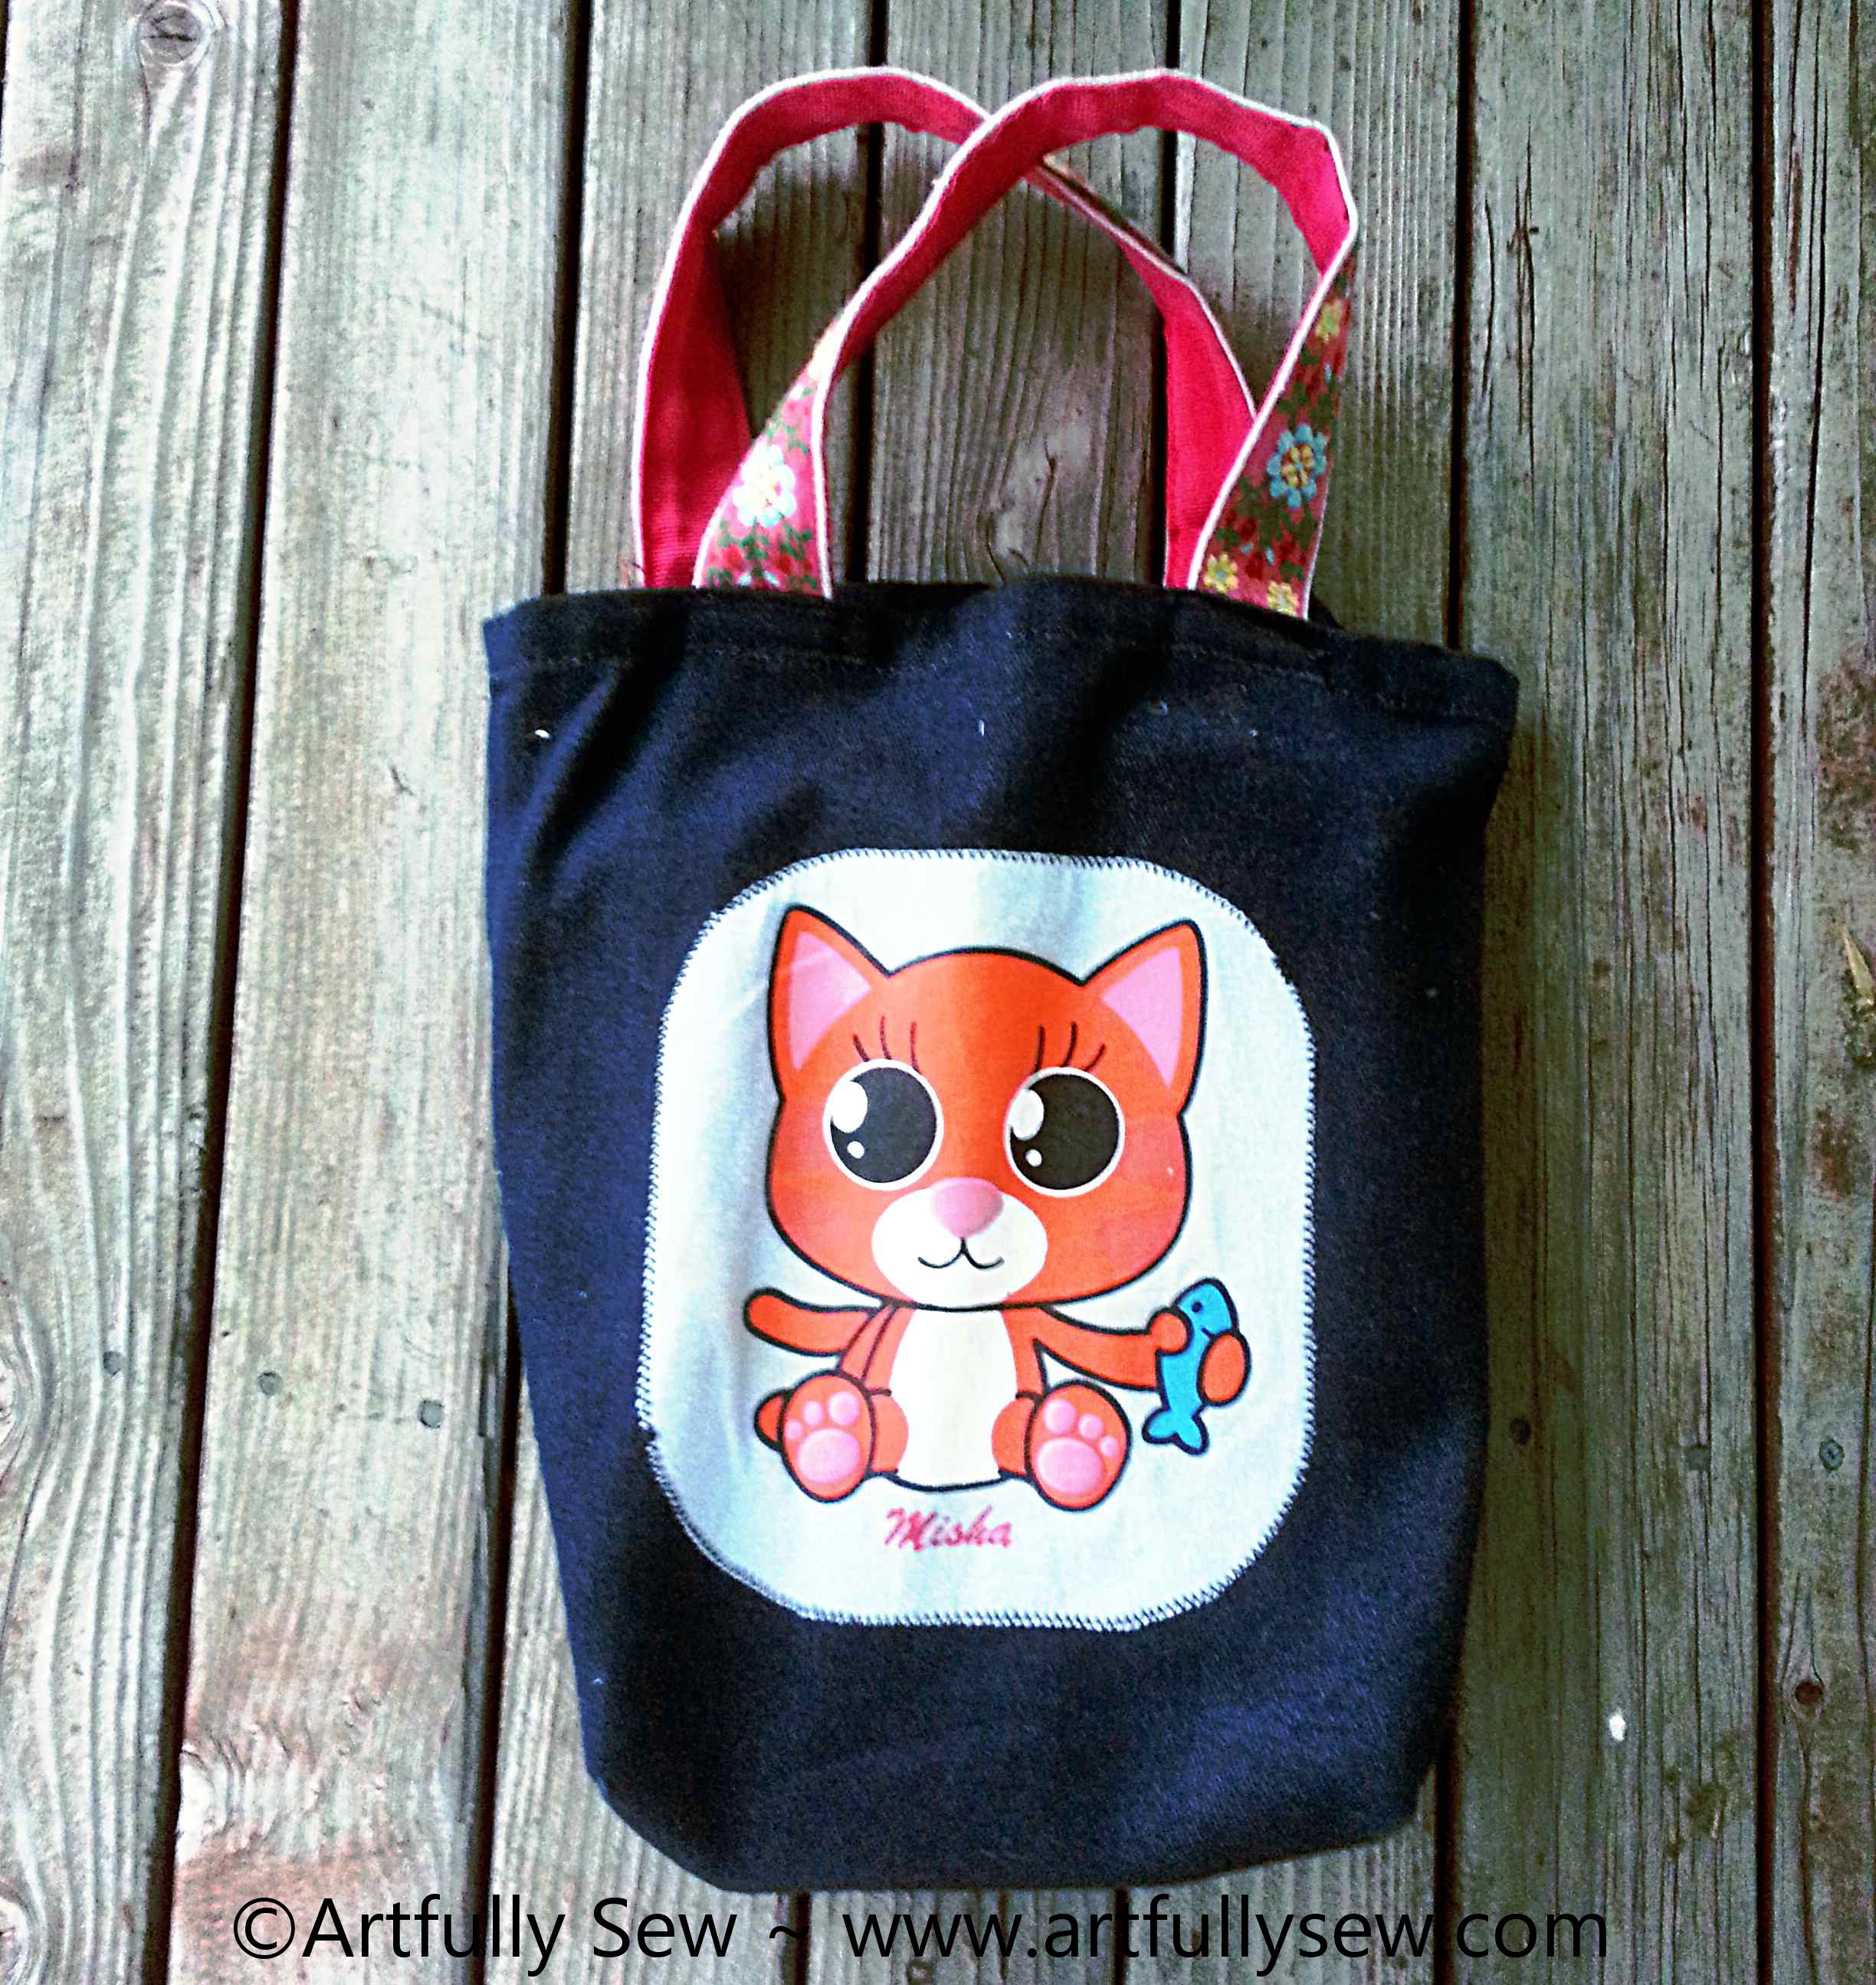
And there you have it. A finished bag that will be used for years to come!
Do you have an idea to re-purpose favorite clothes or fabric? List them below in the comments. I’d love to hear them.
Artfully sewing,
Angela Jean