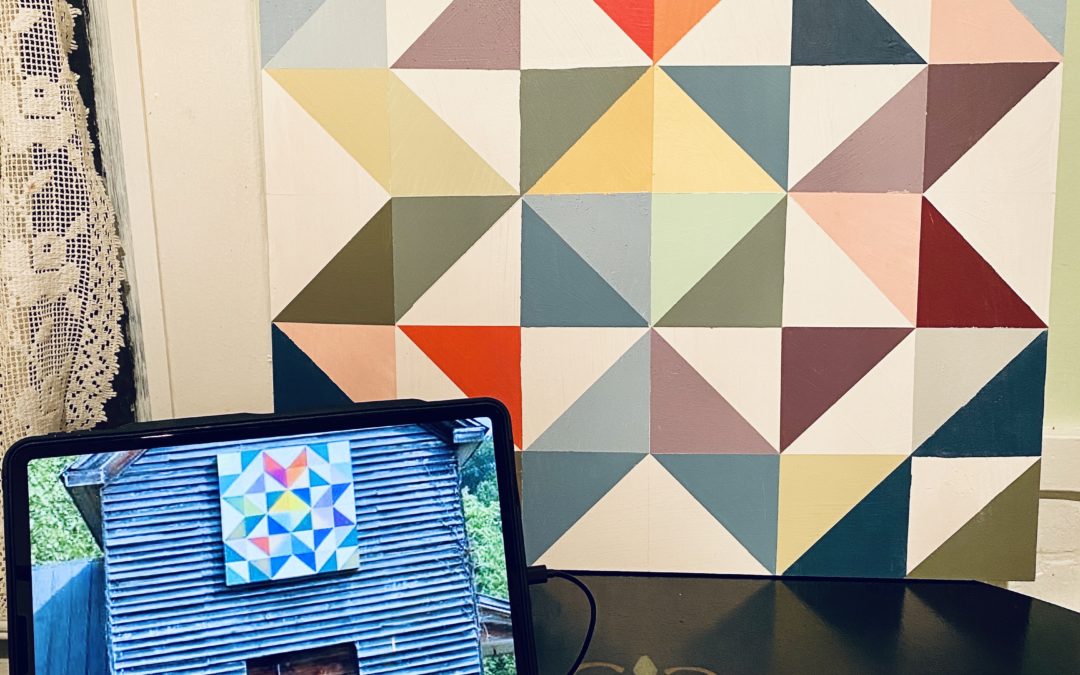
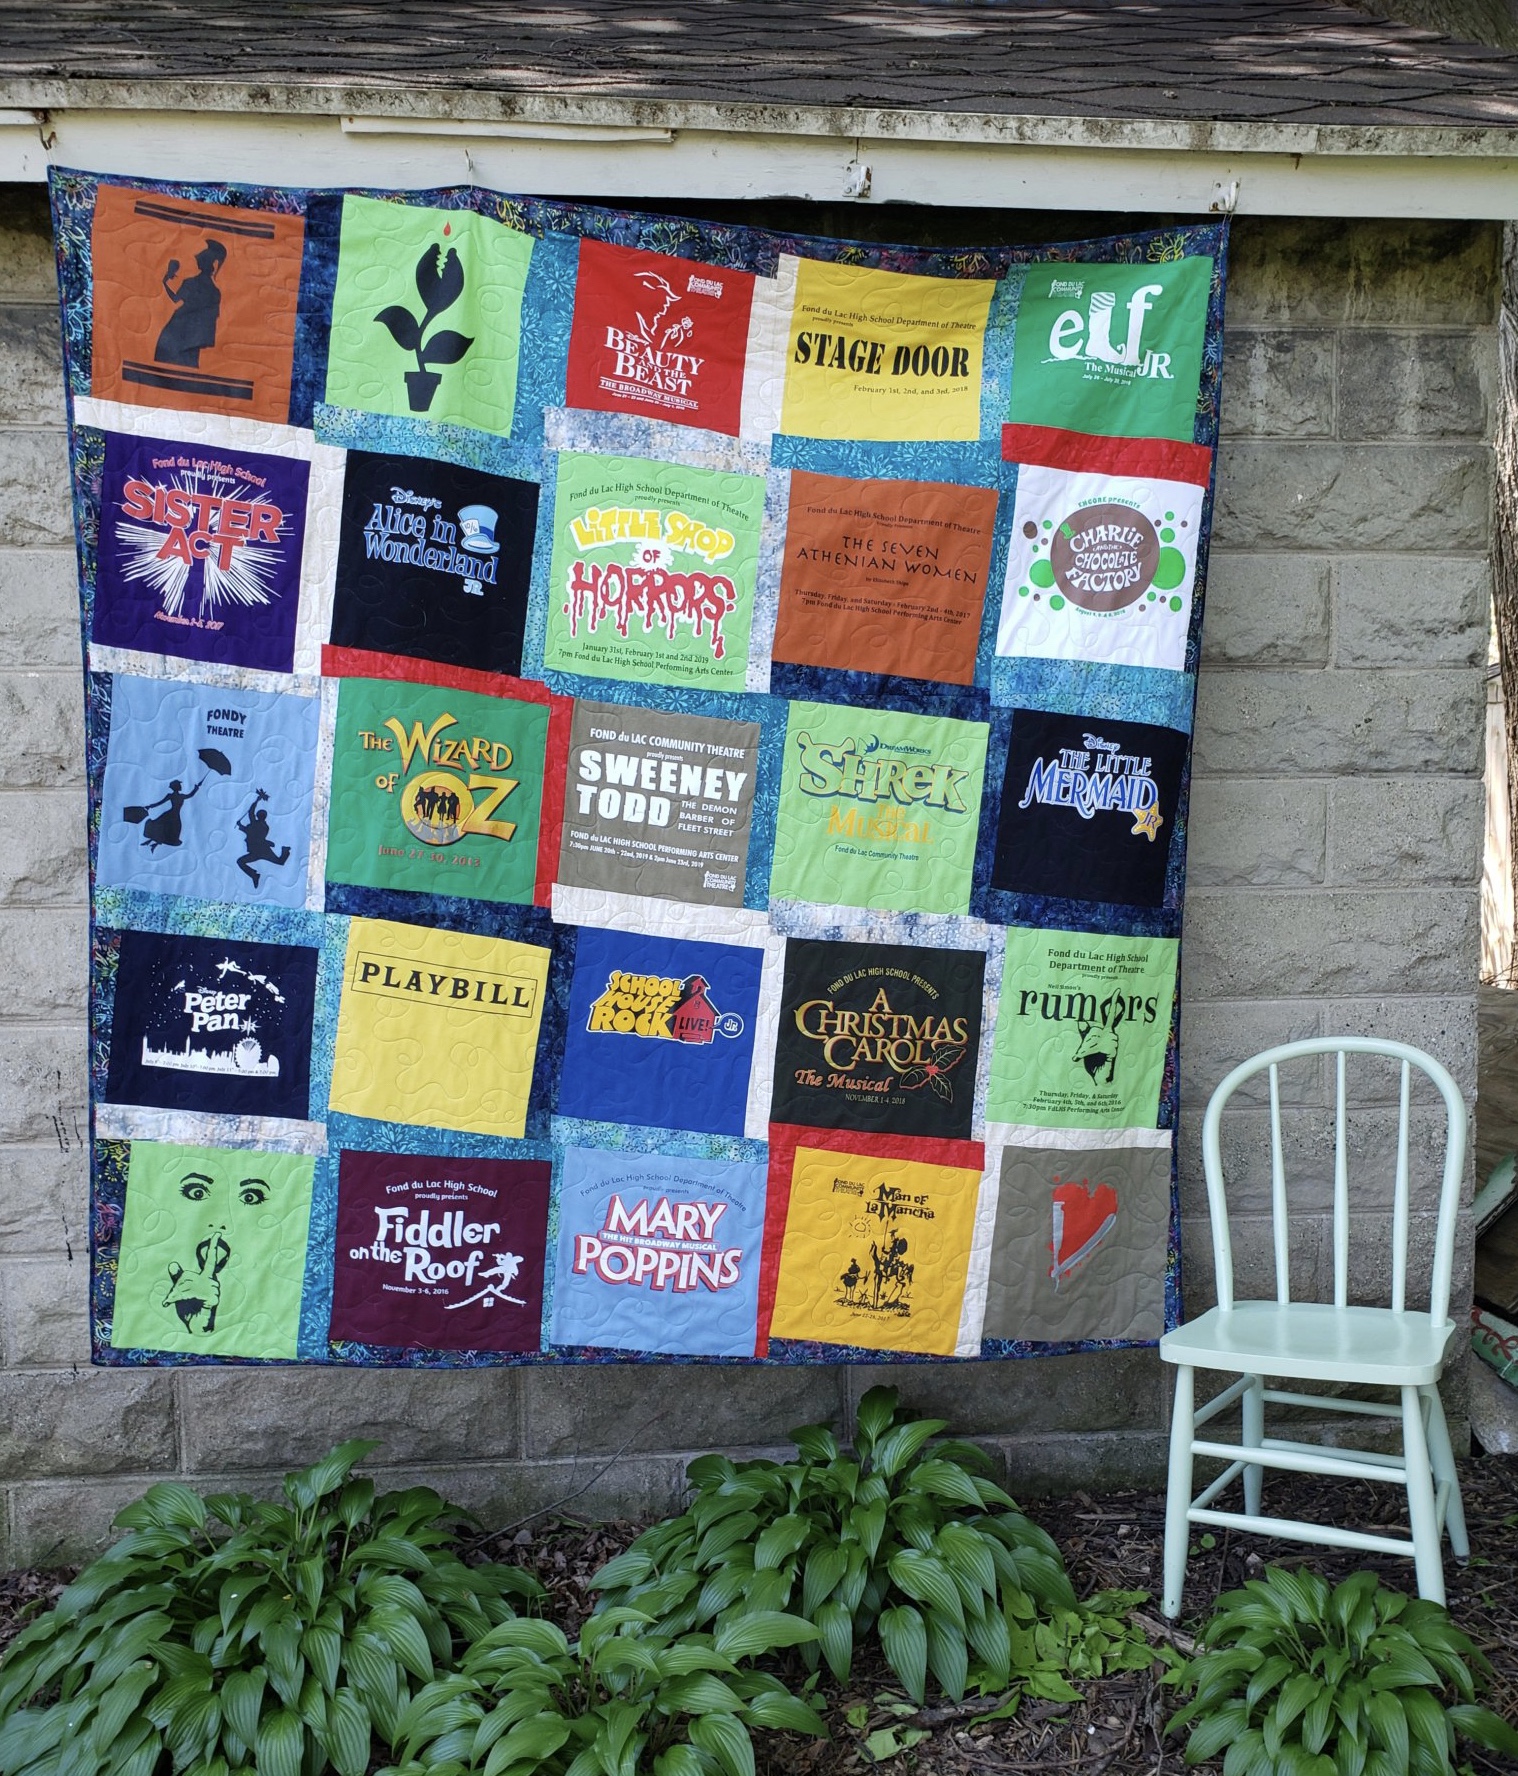
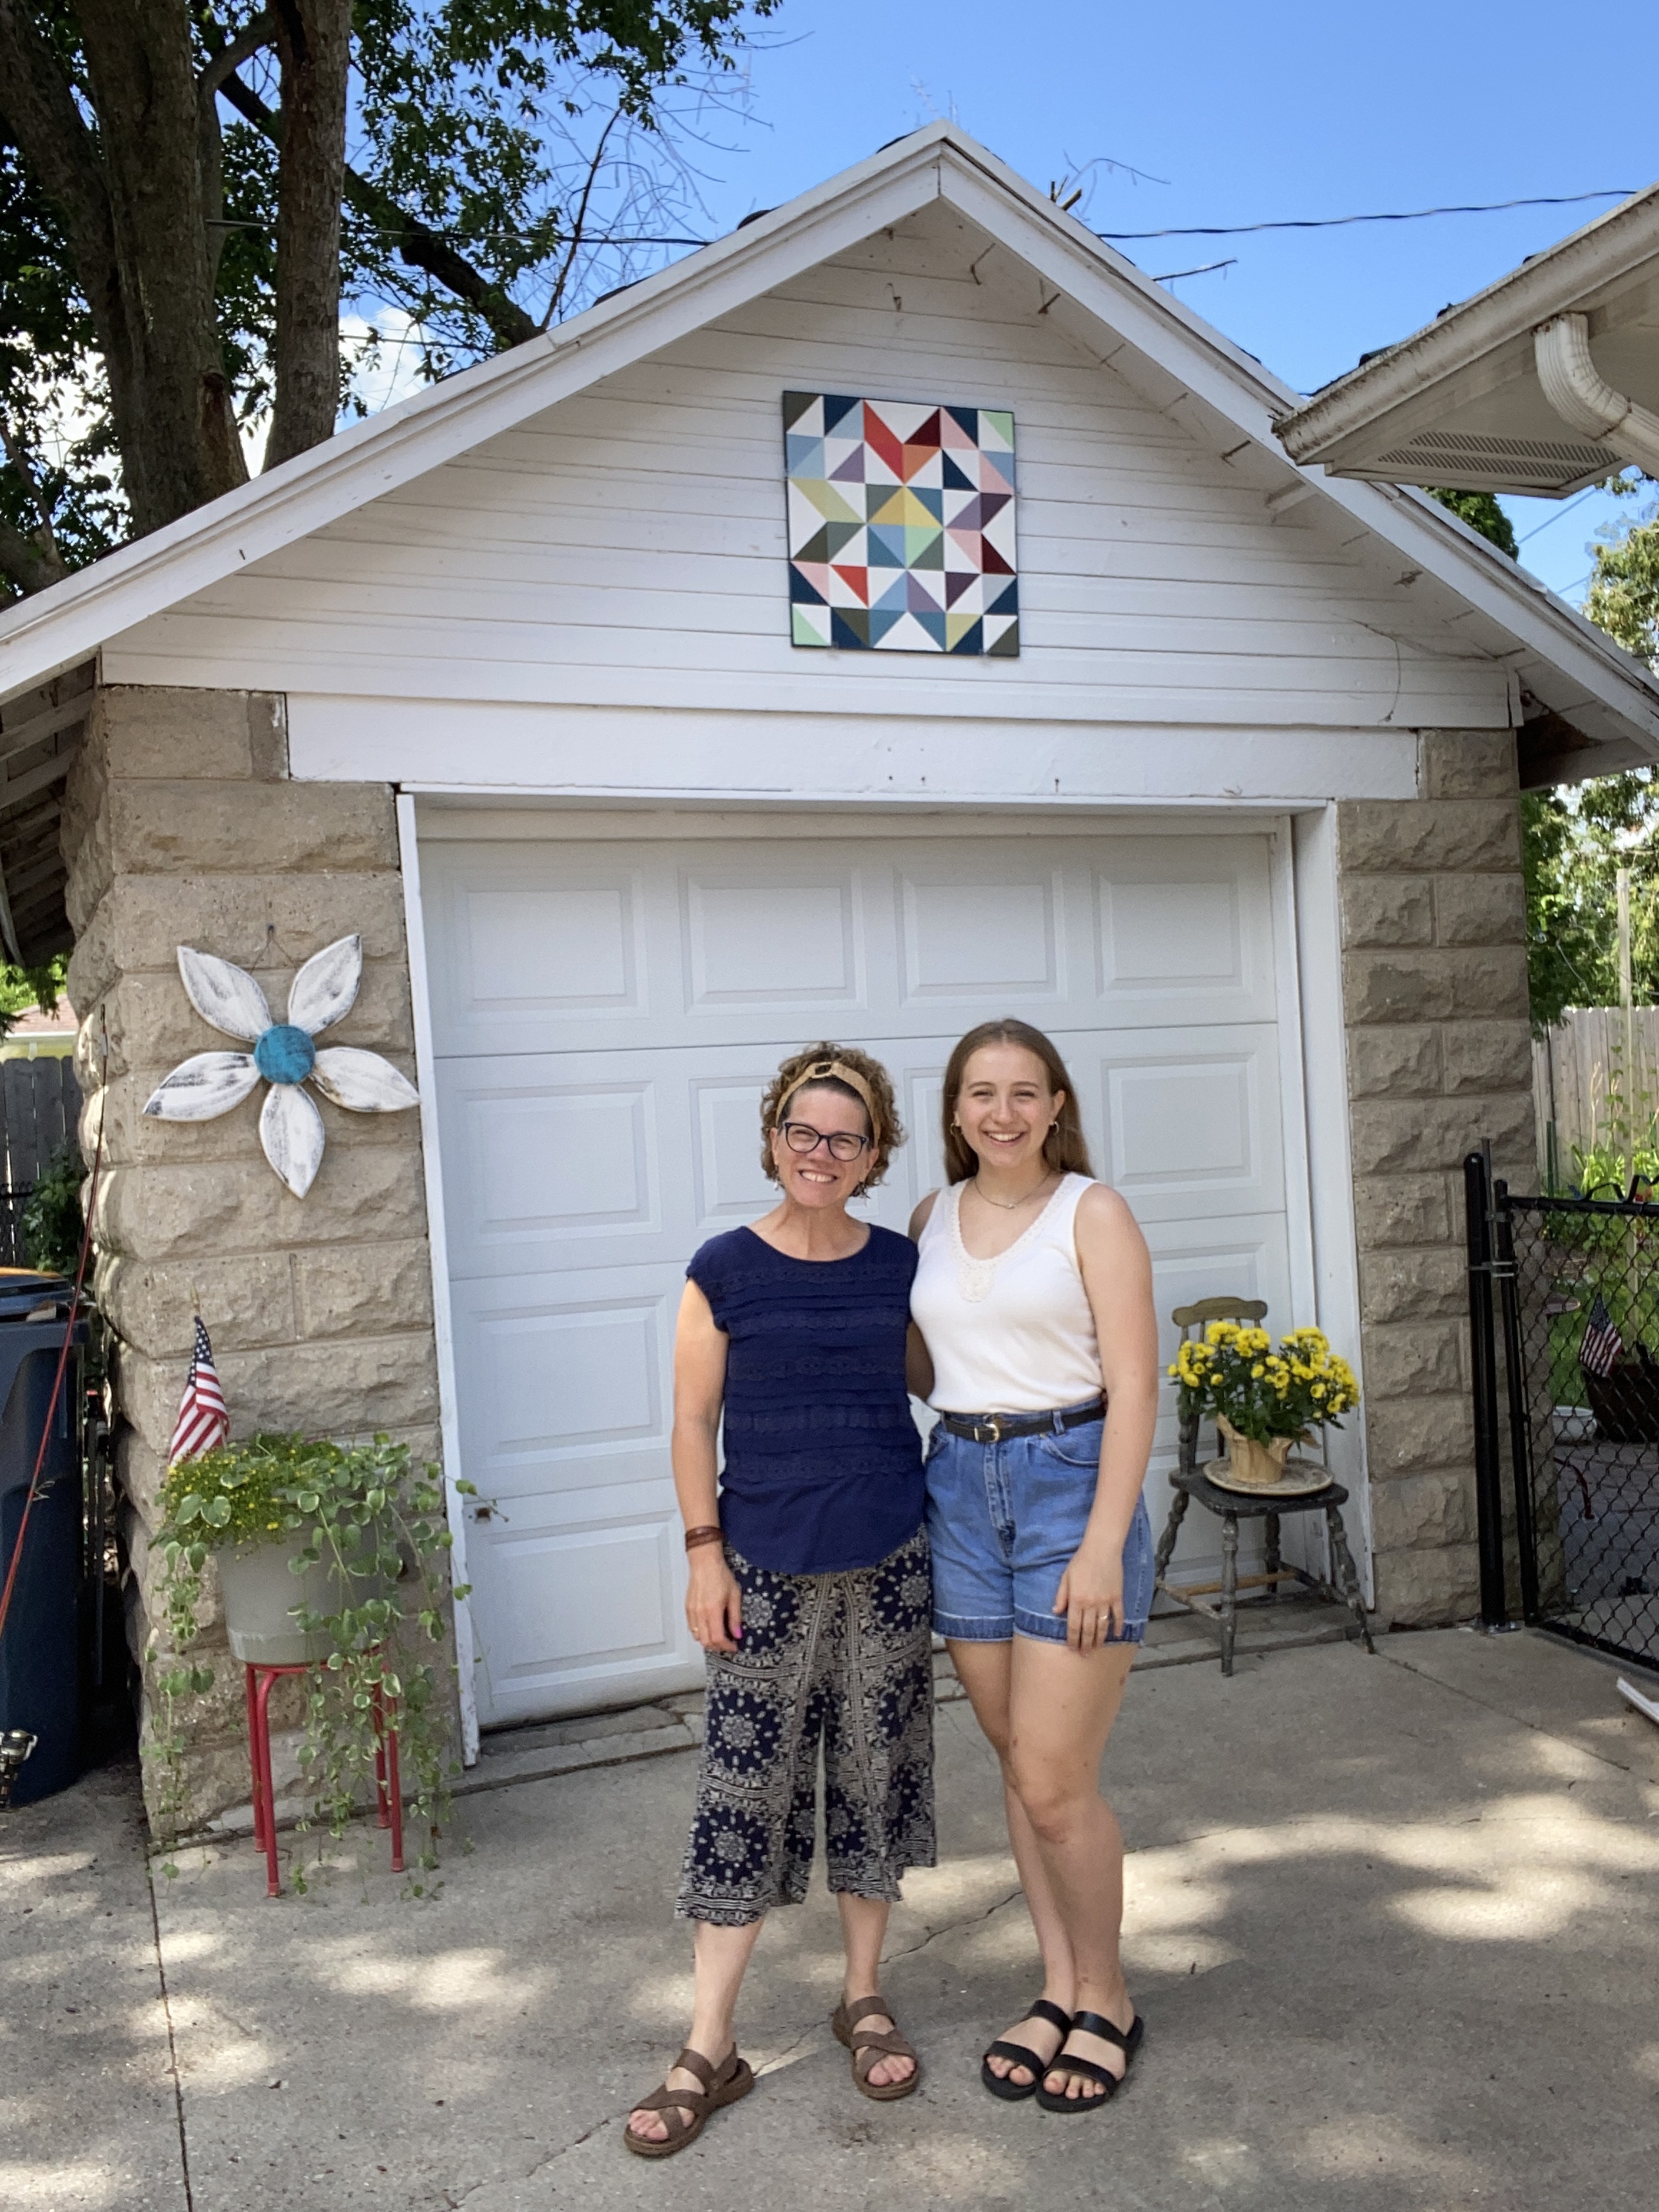
I’ve always been intrigued with the “barn quilts” I’ve seen on outdoor buildings while driving through the country. Made of wood and painted to look like a quilt square, I thought one would look perfect on my garage. In addition to looking dang cute, it would also help customers find the entrance to my quilt studio.
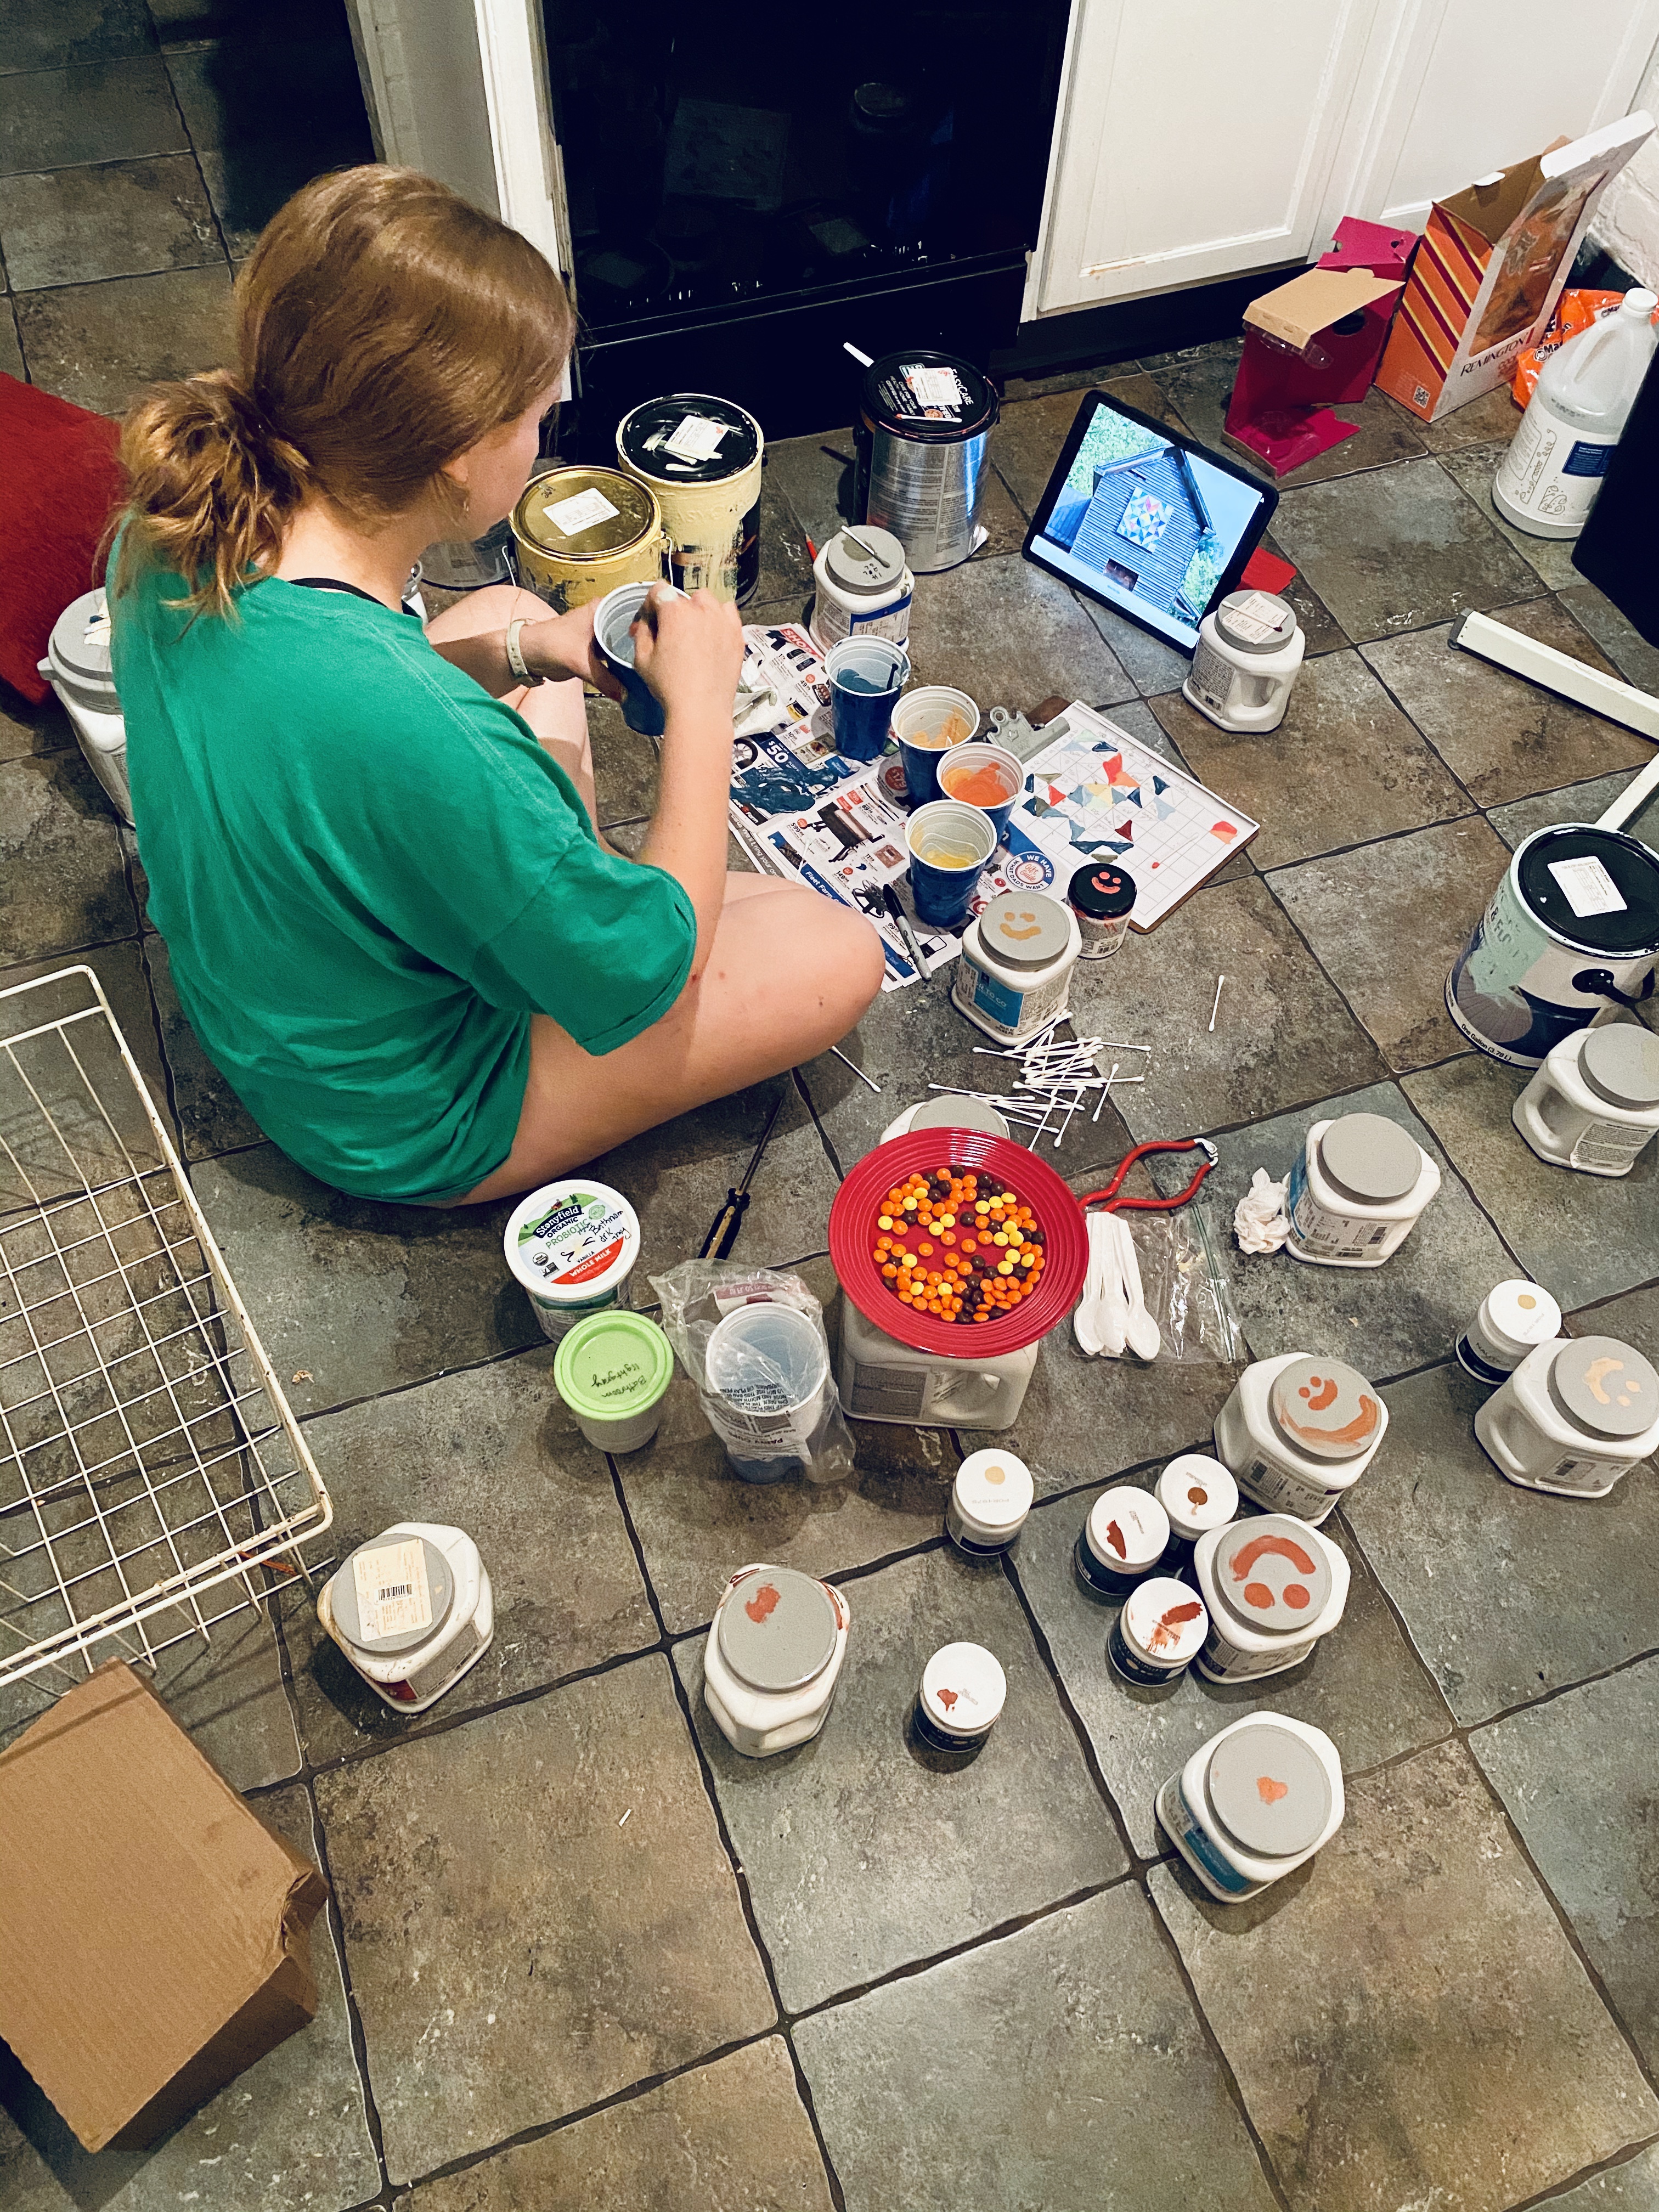
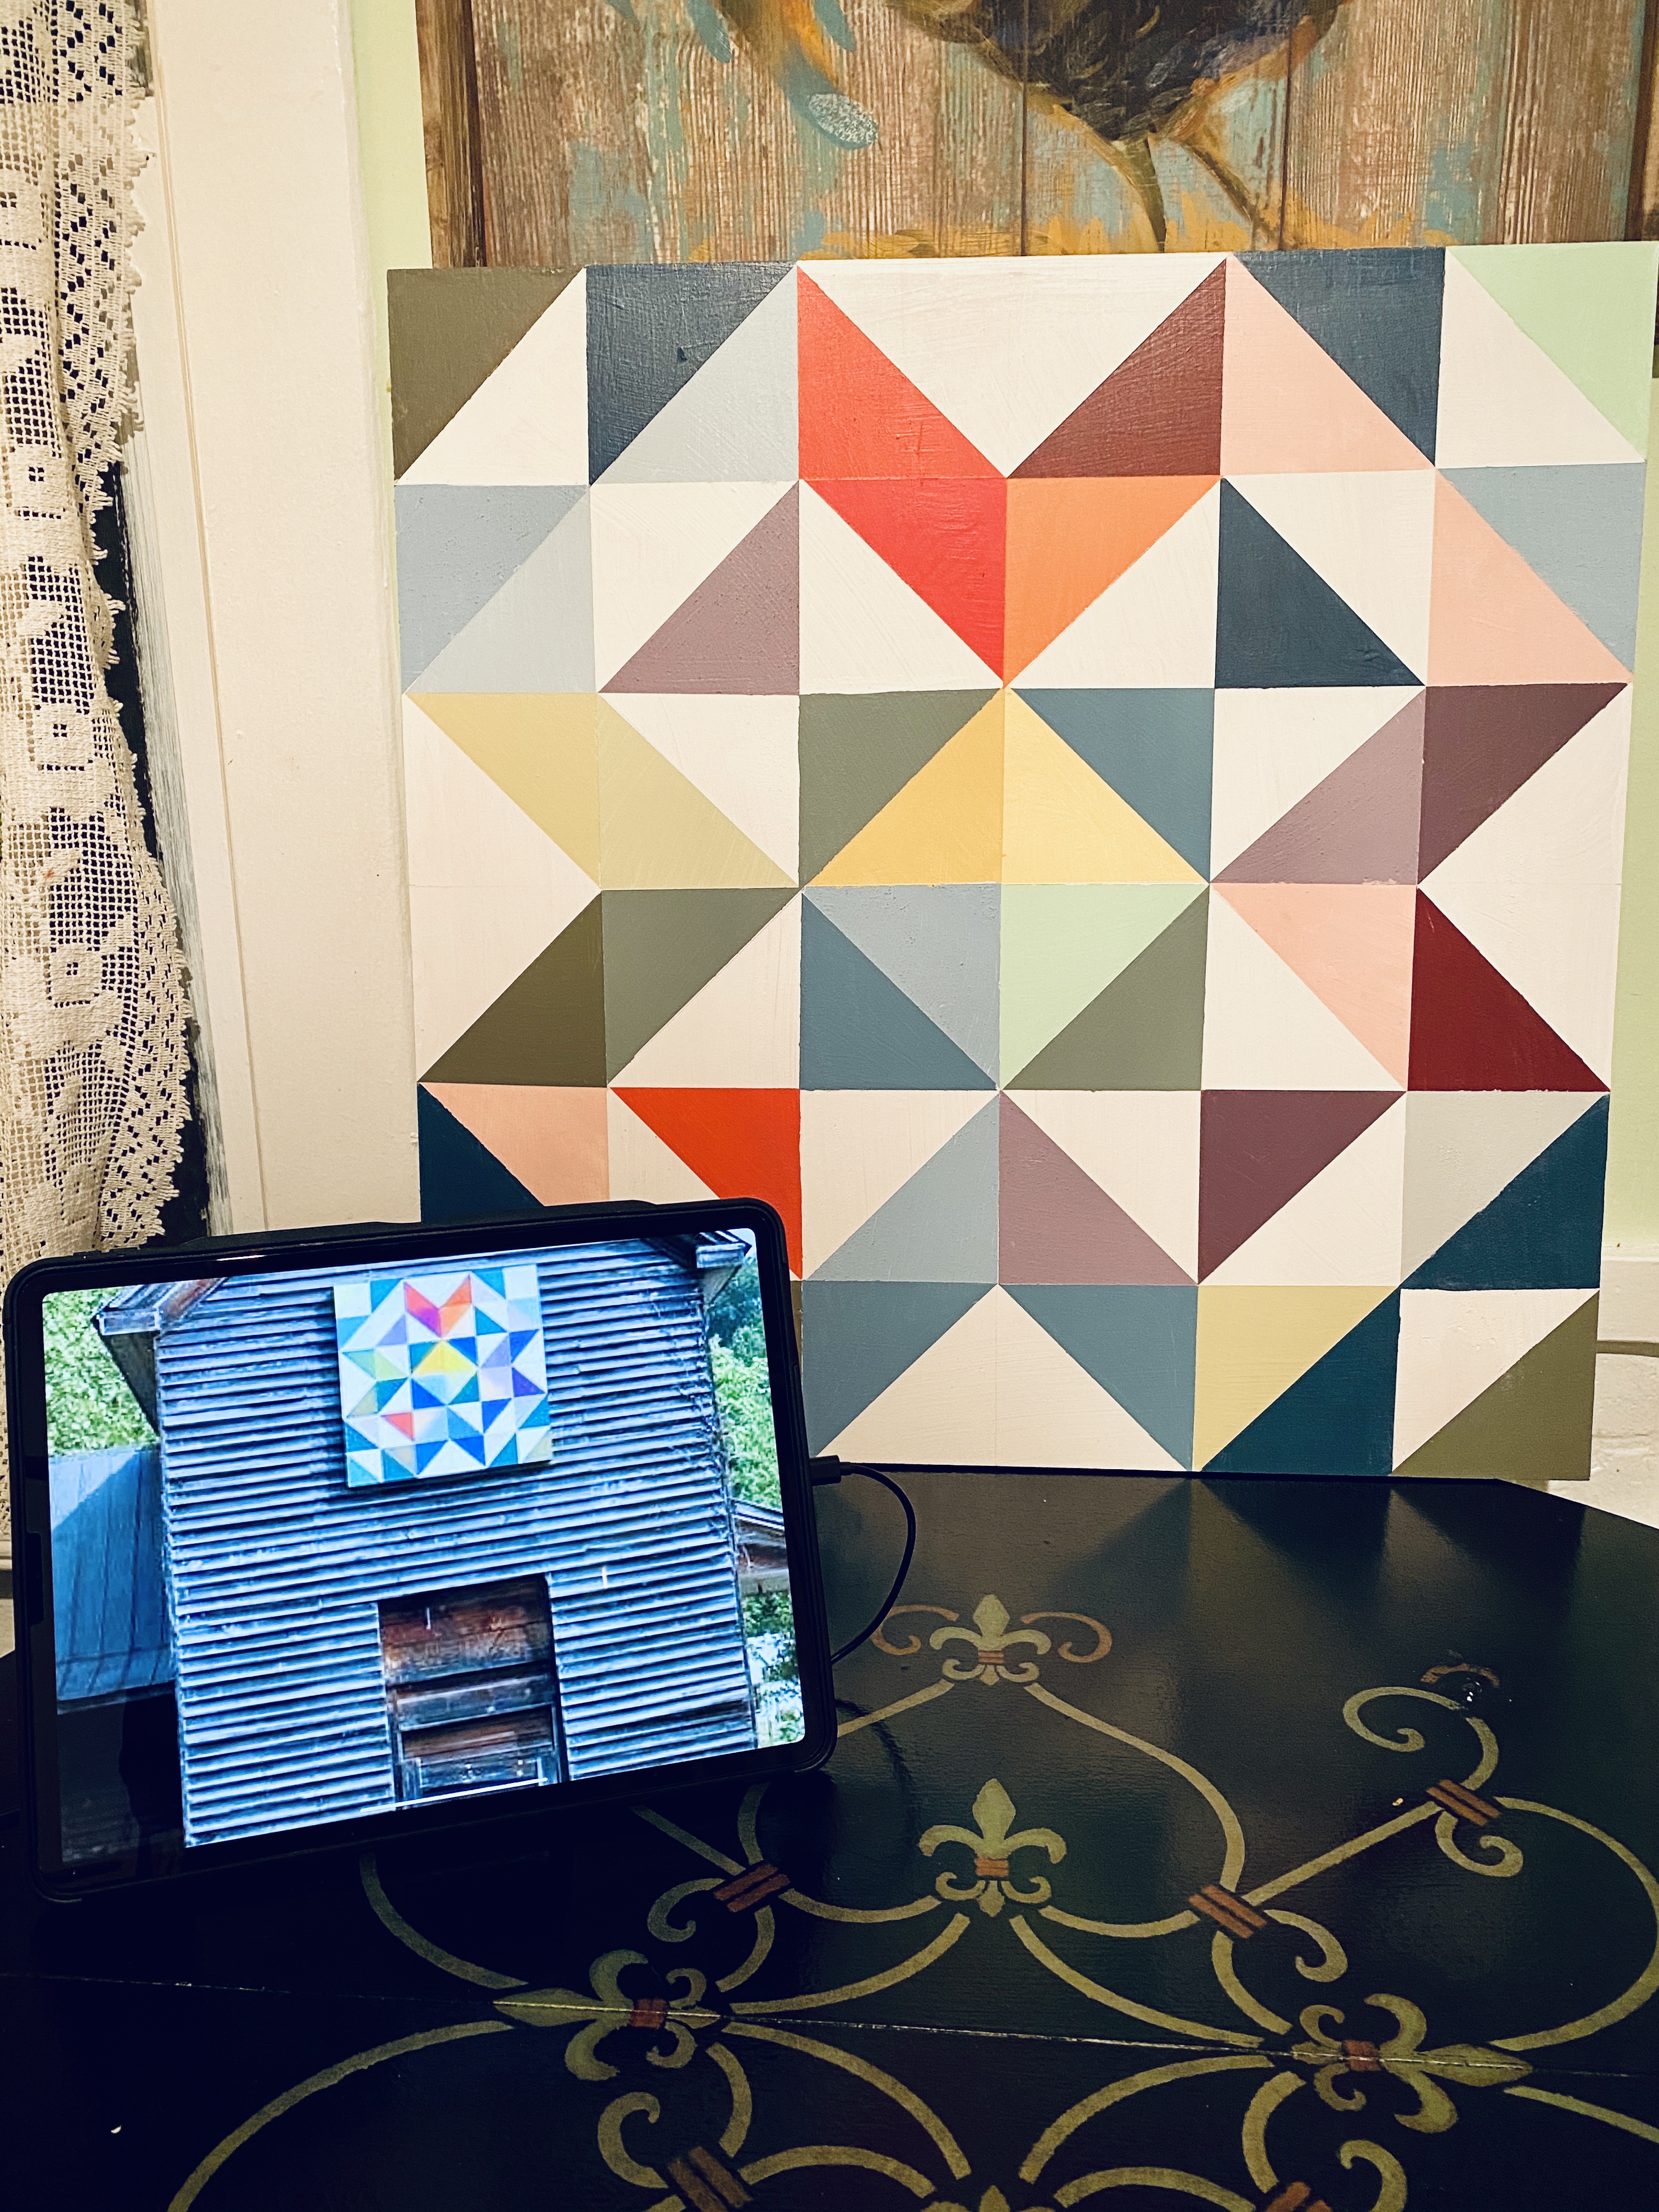
Since I’m not much of a painter, my daughter, Nora offered to help me. She may be only 16, but she’s the best darn paint mixer in the West. After searching on Pinterest, we found the perfect picture. We cracked open a couple of Bubblys, cranked the show tunes and got to work.
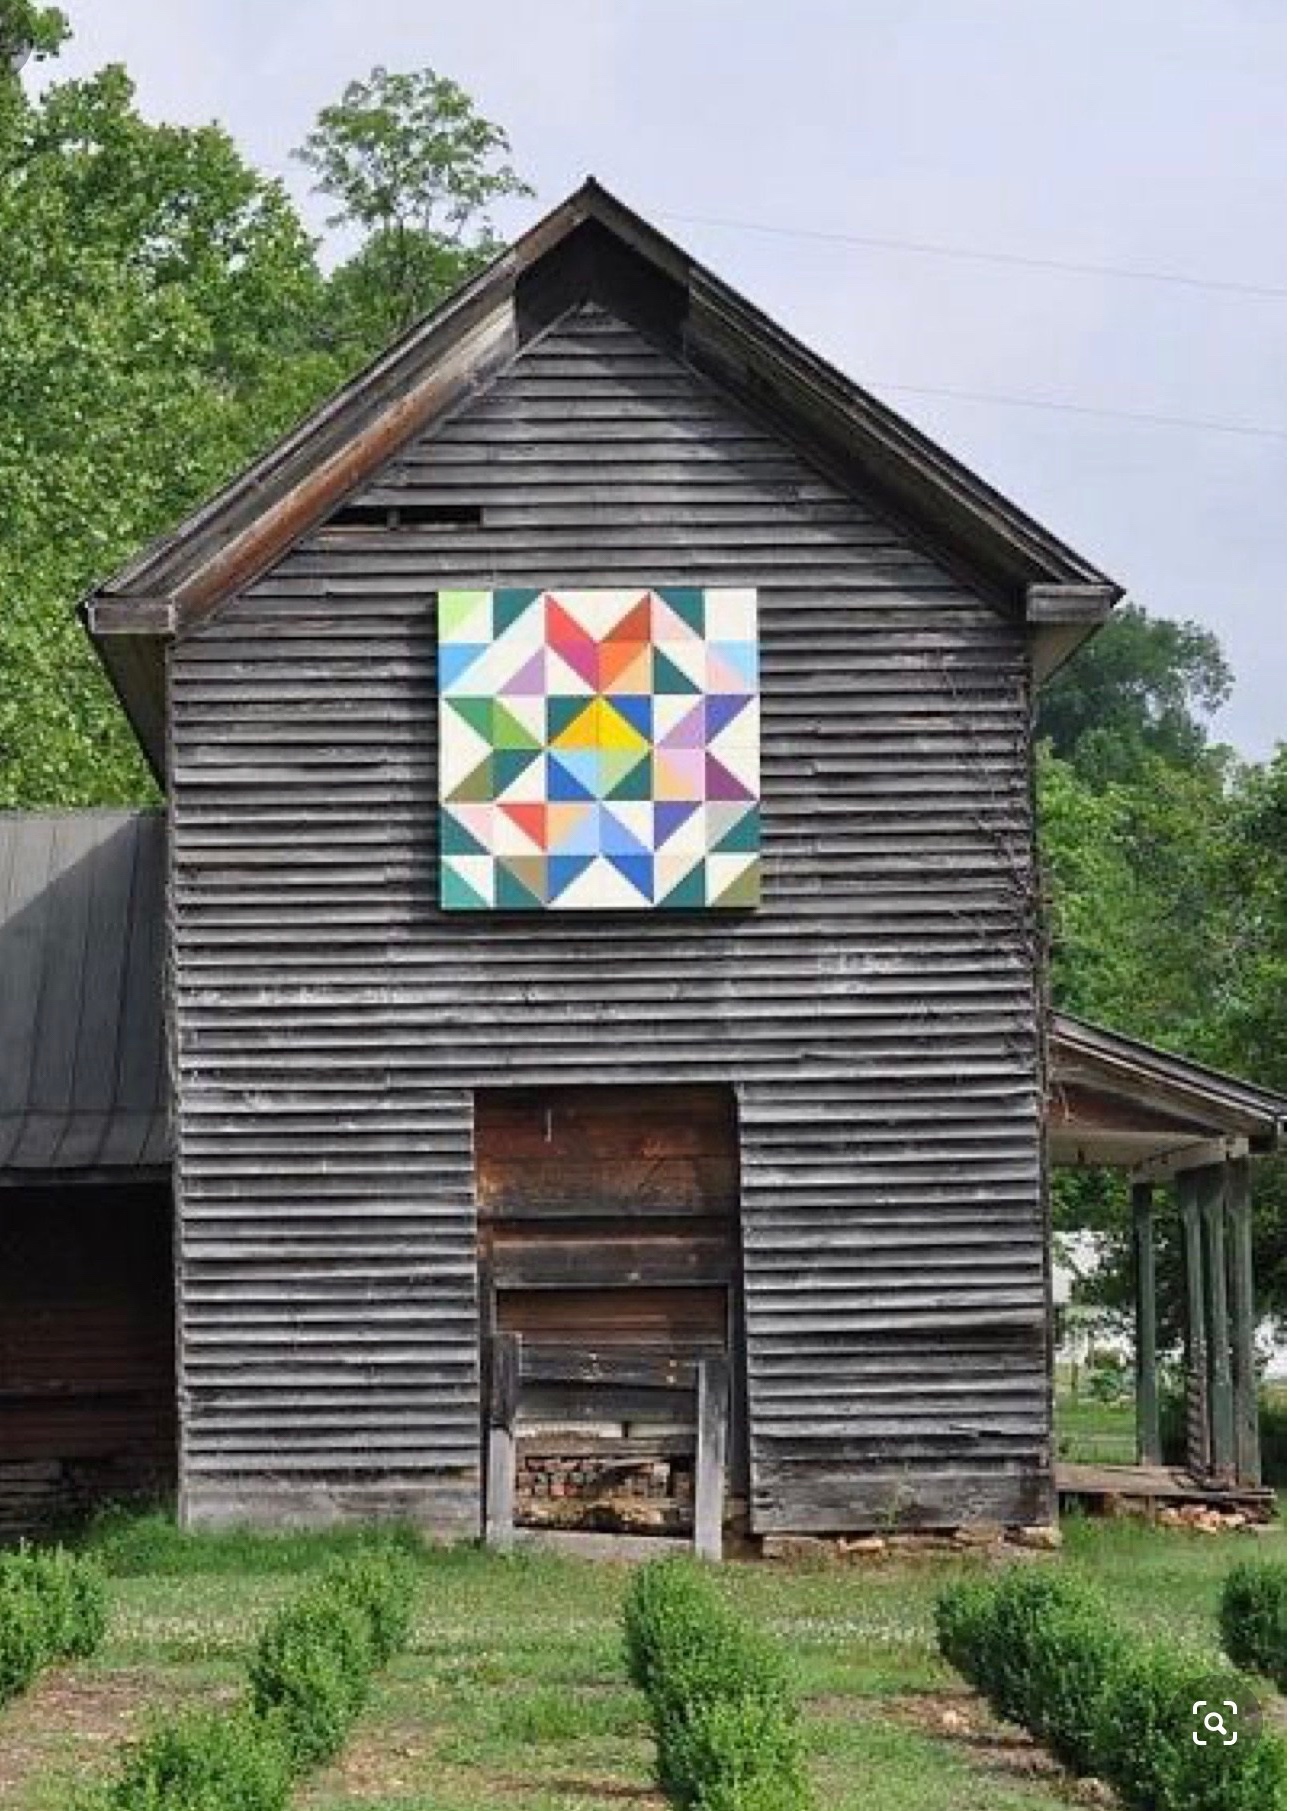
Step One – Sketching & Mixing
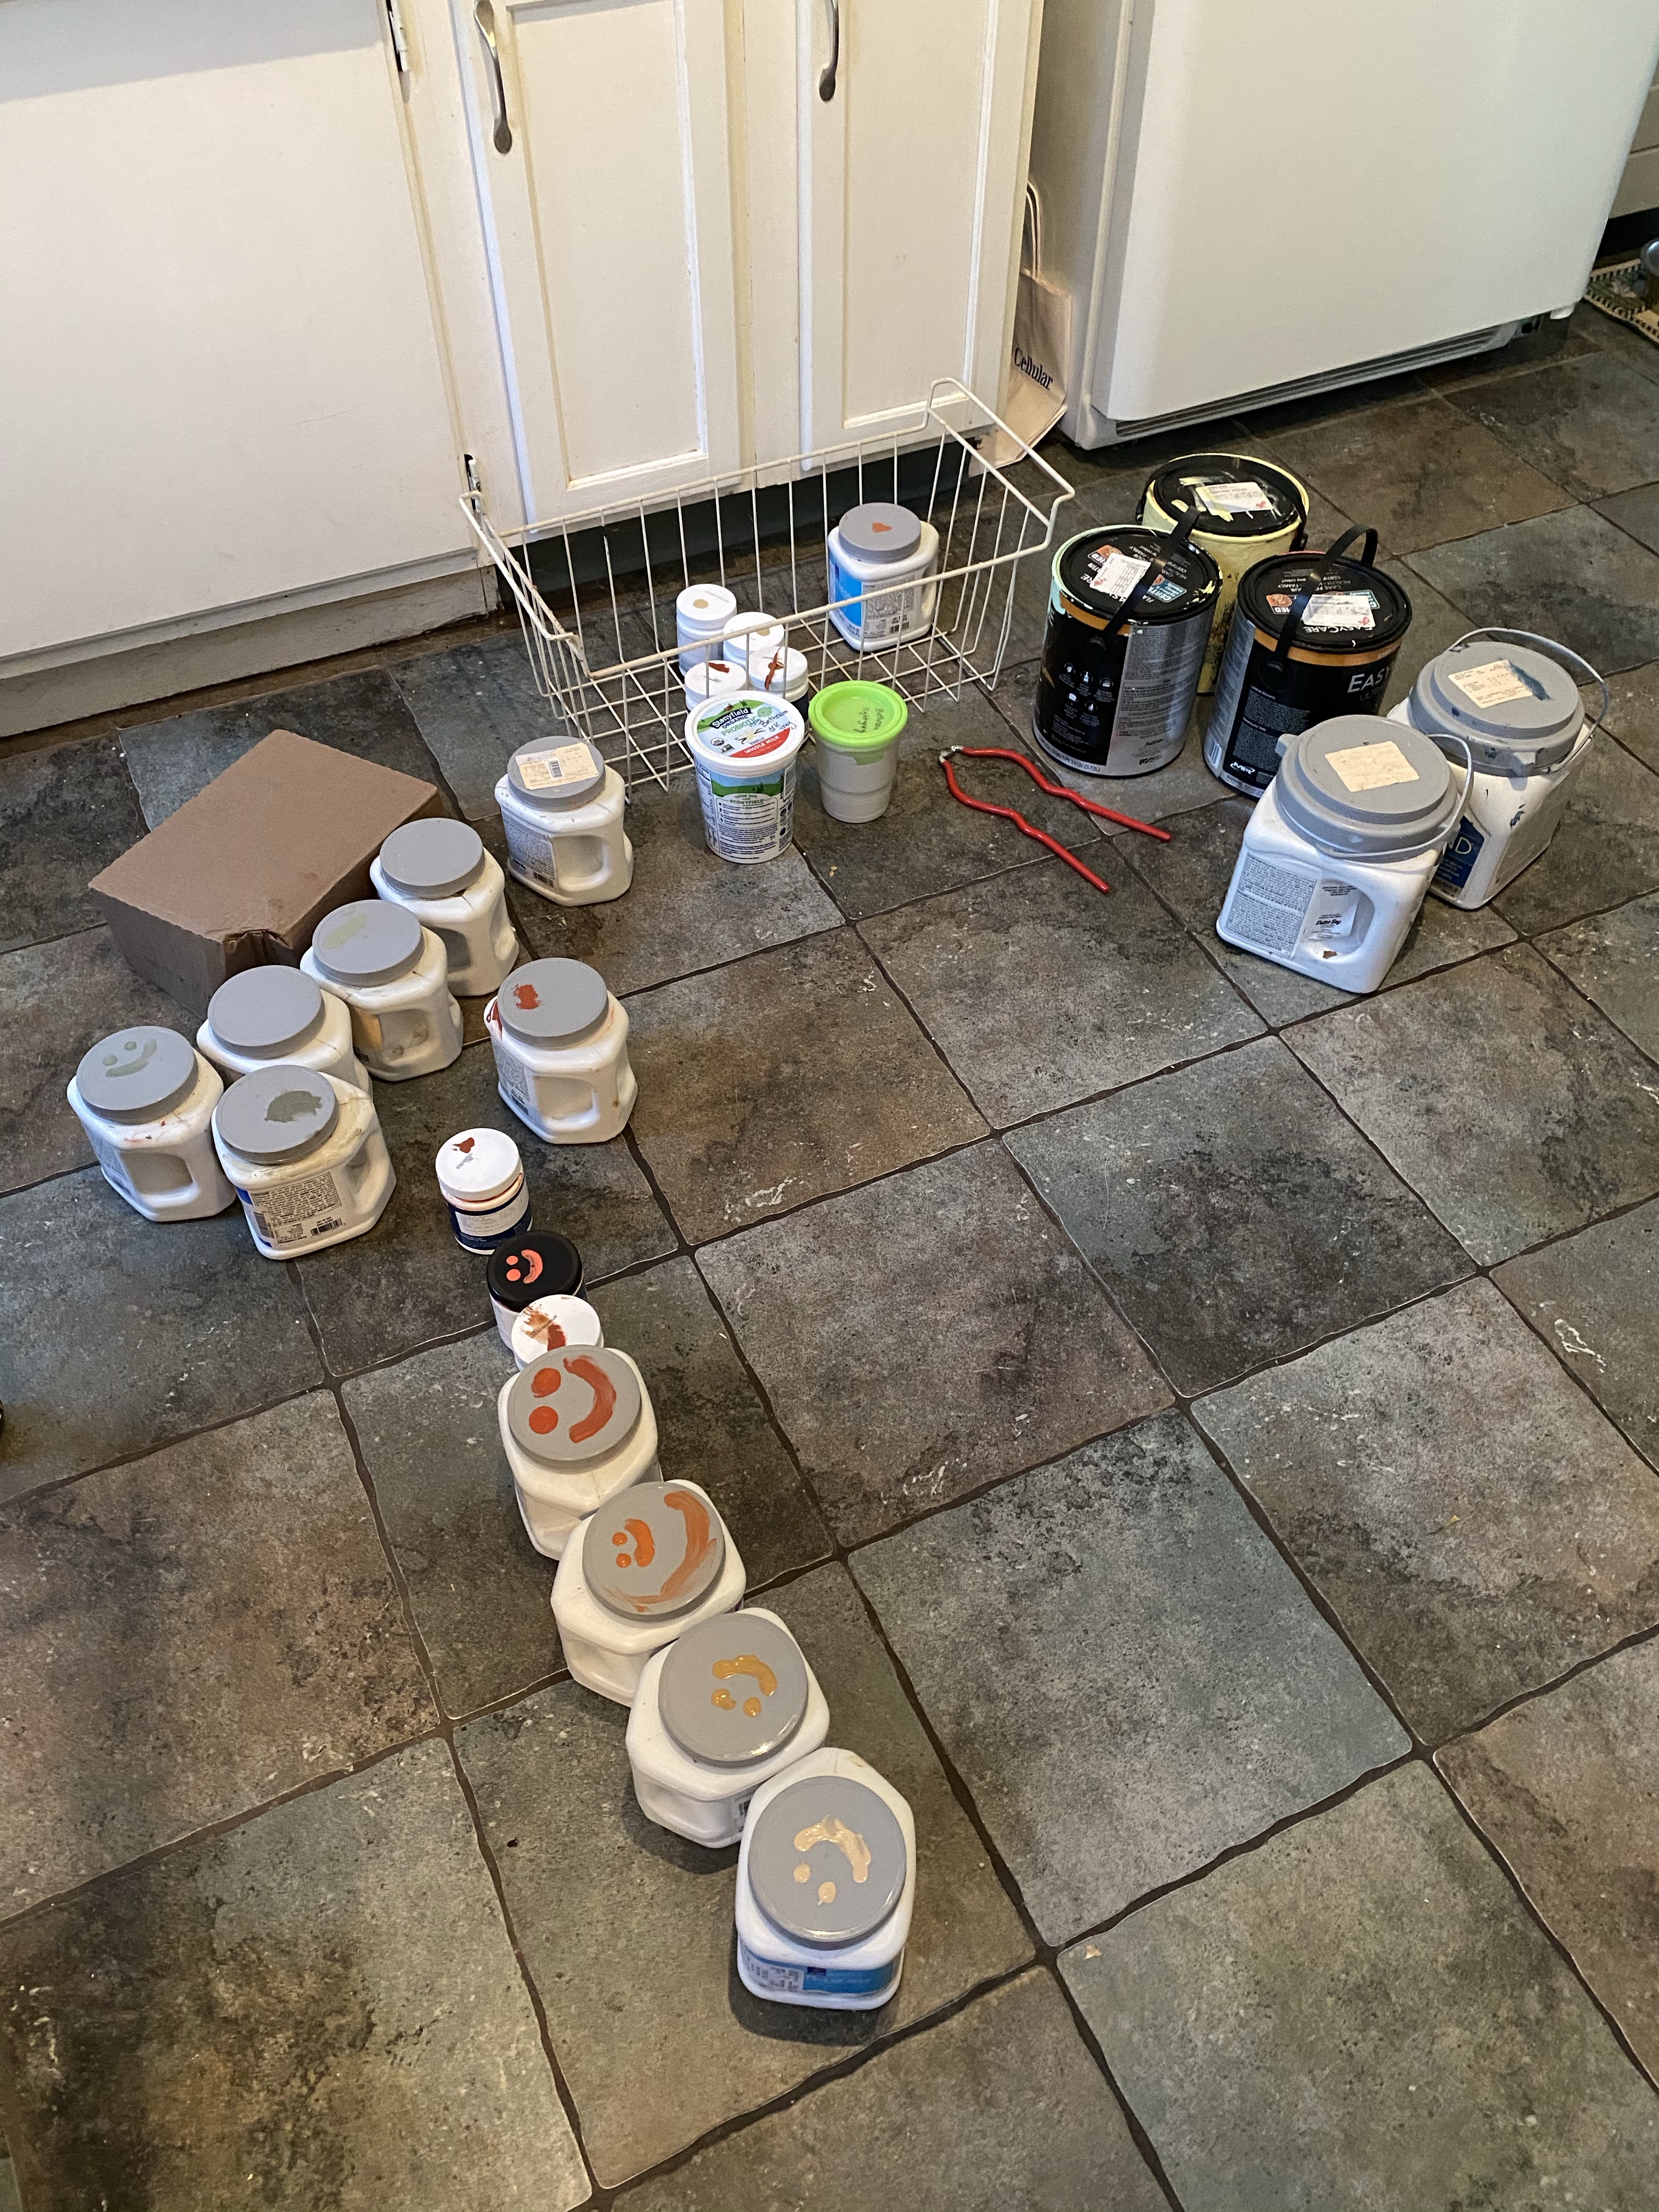
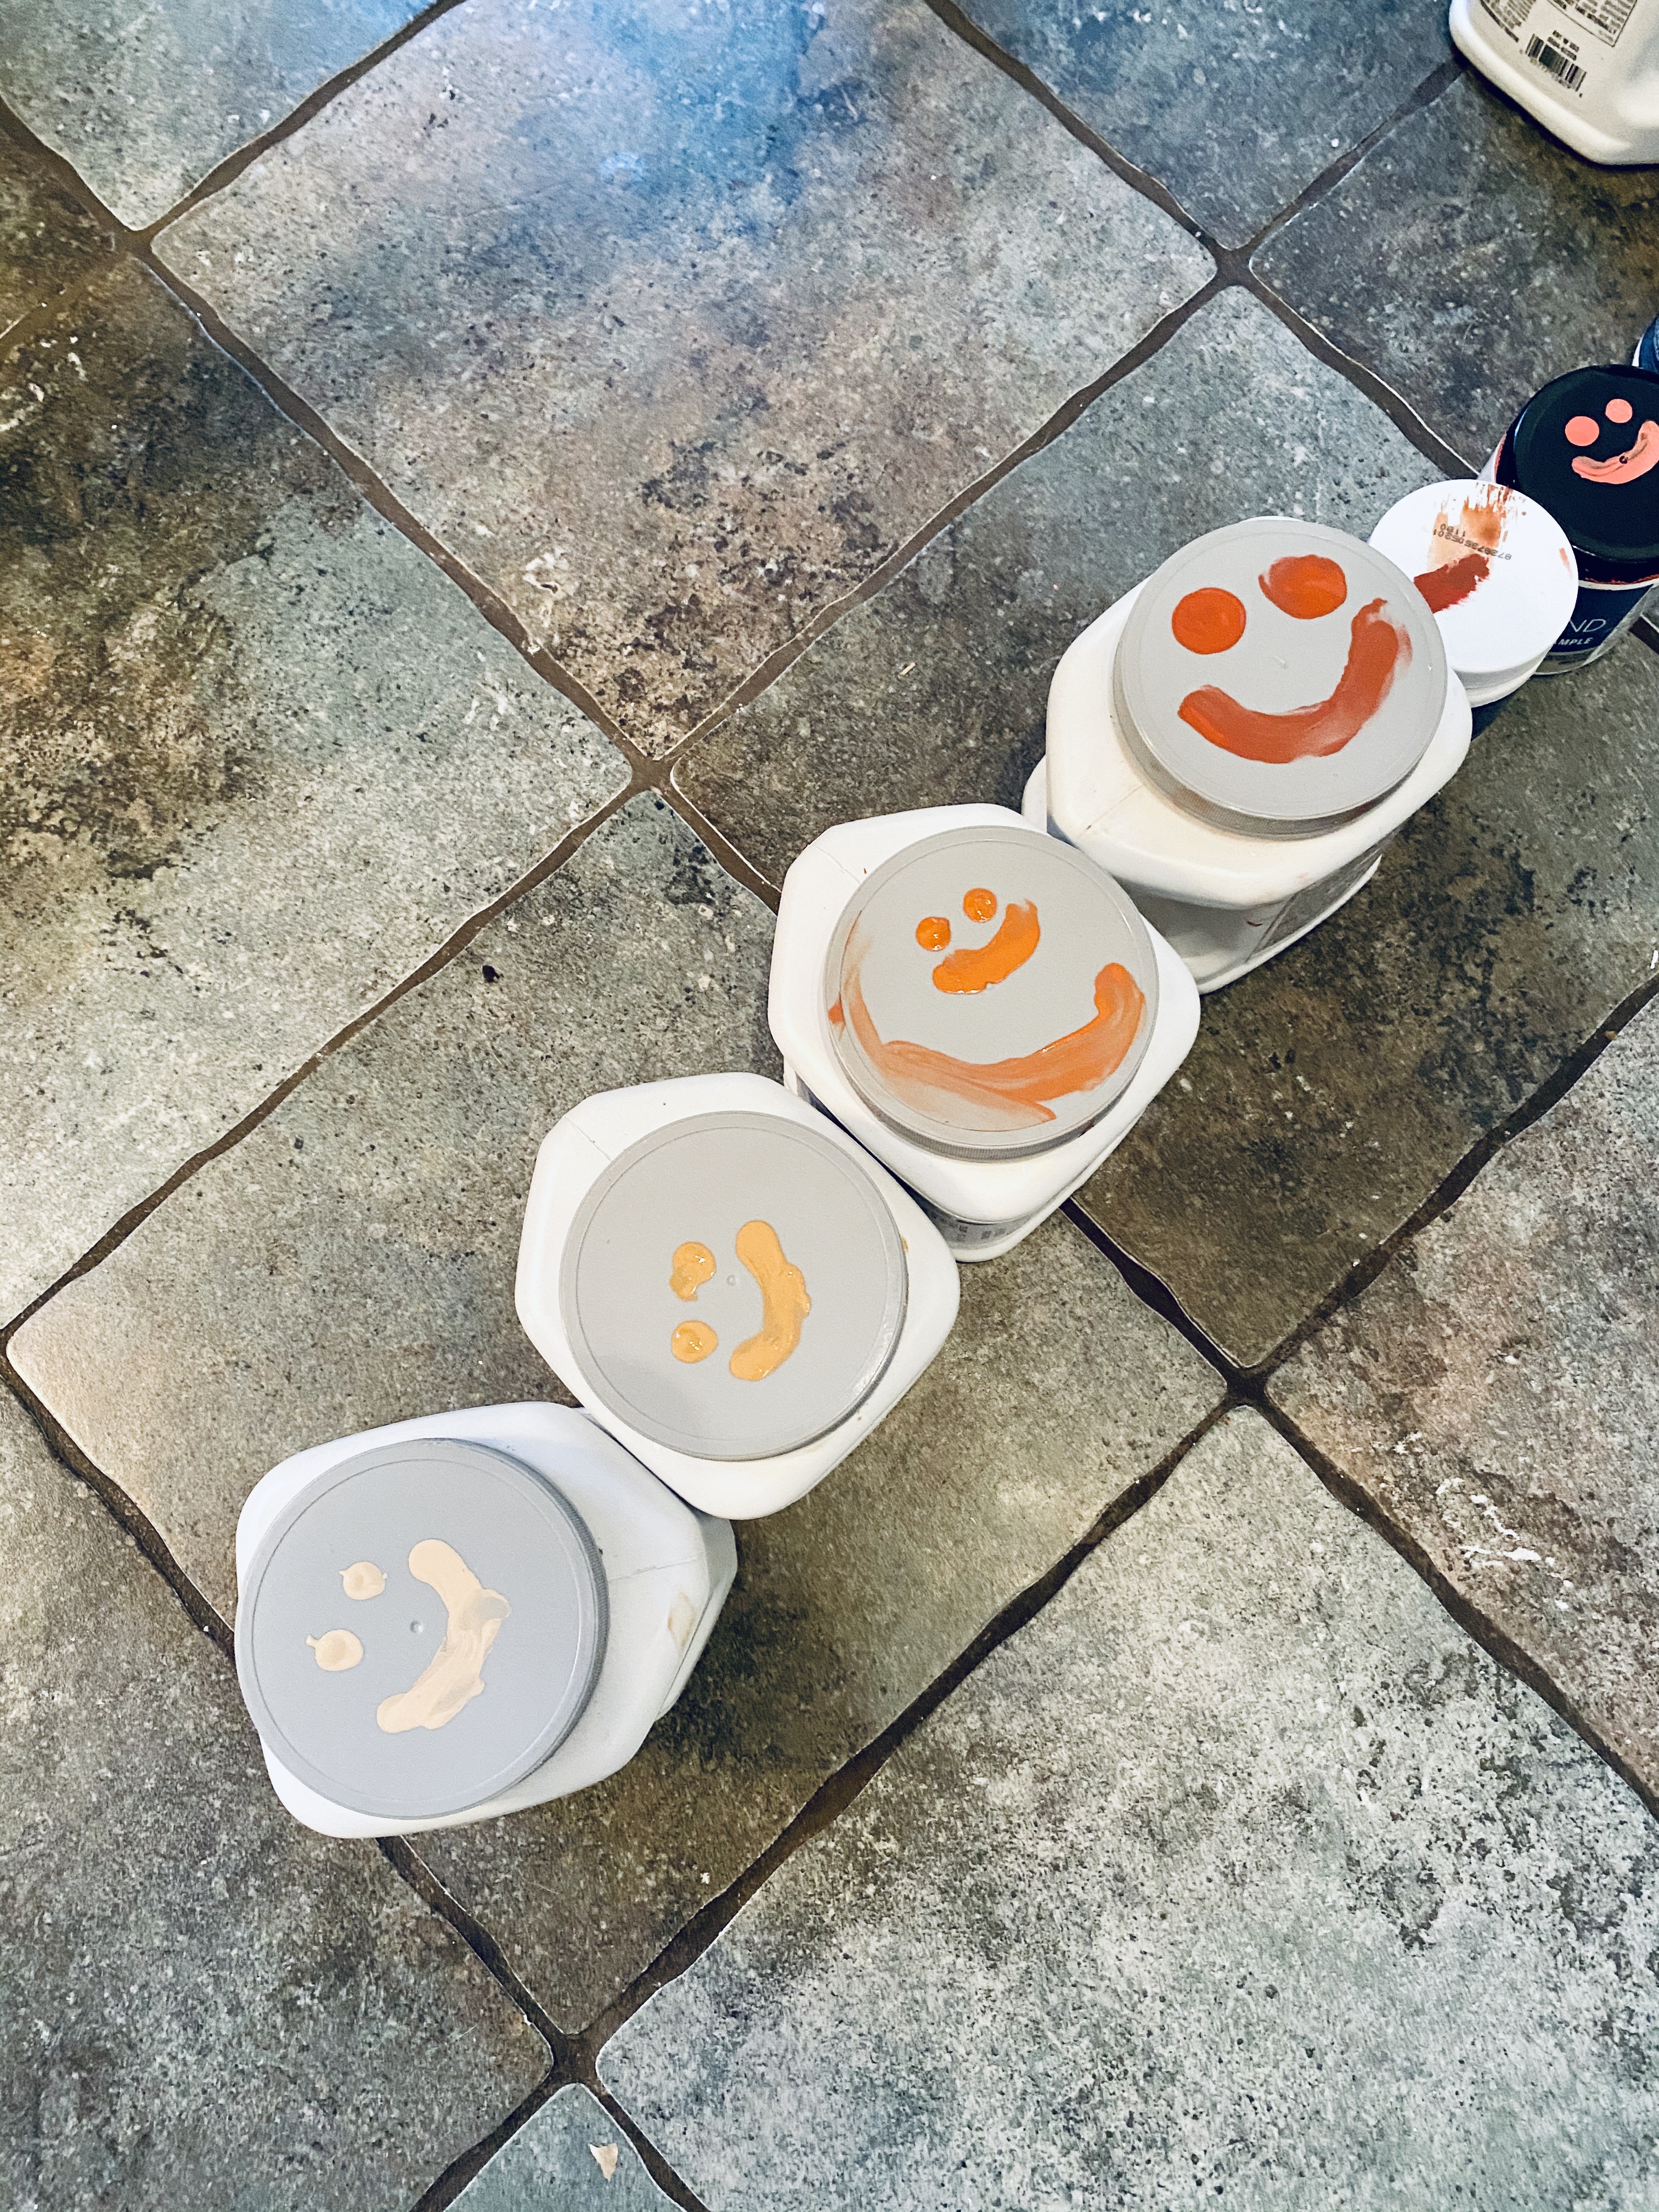
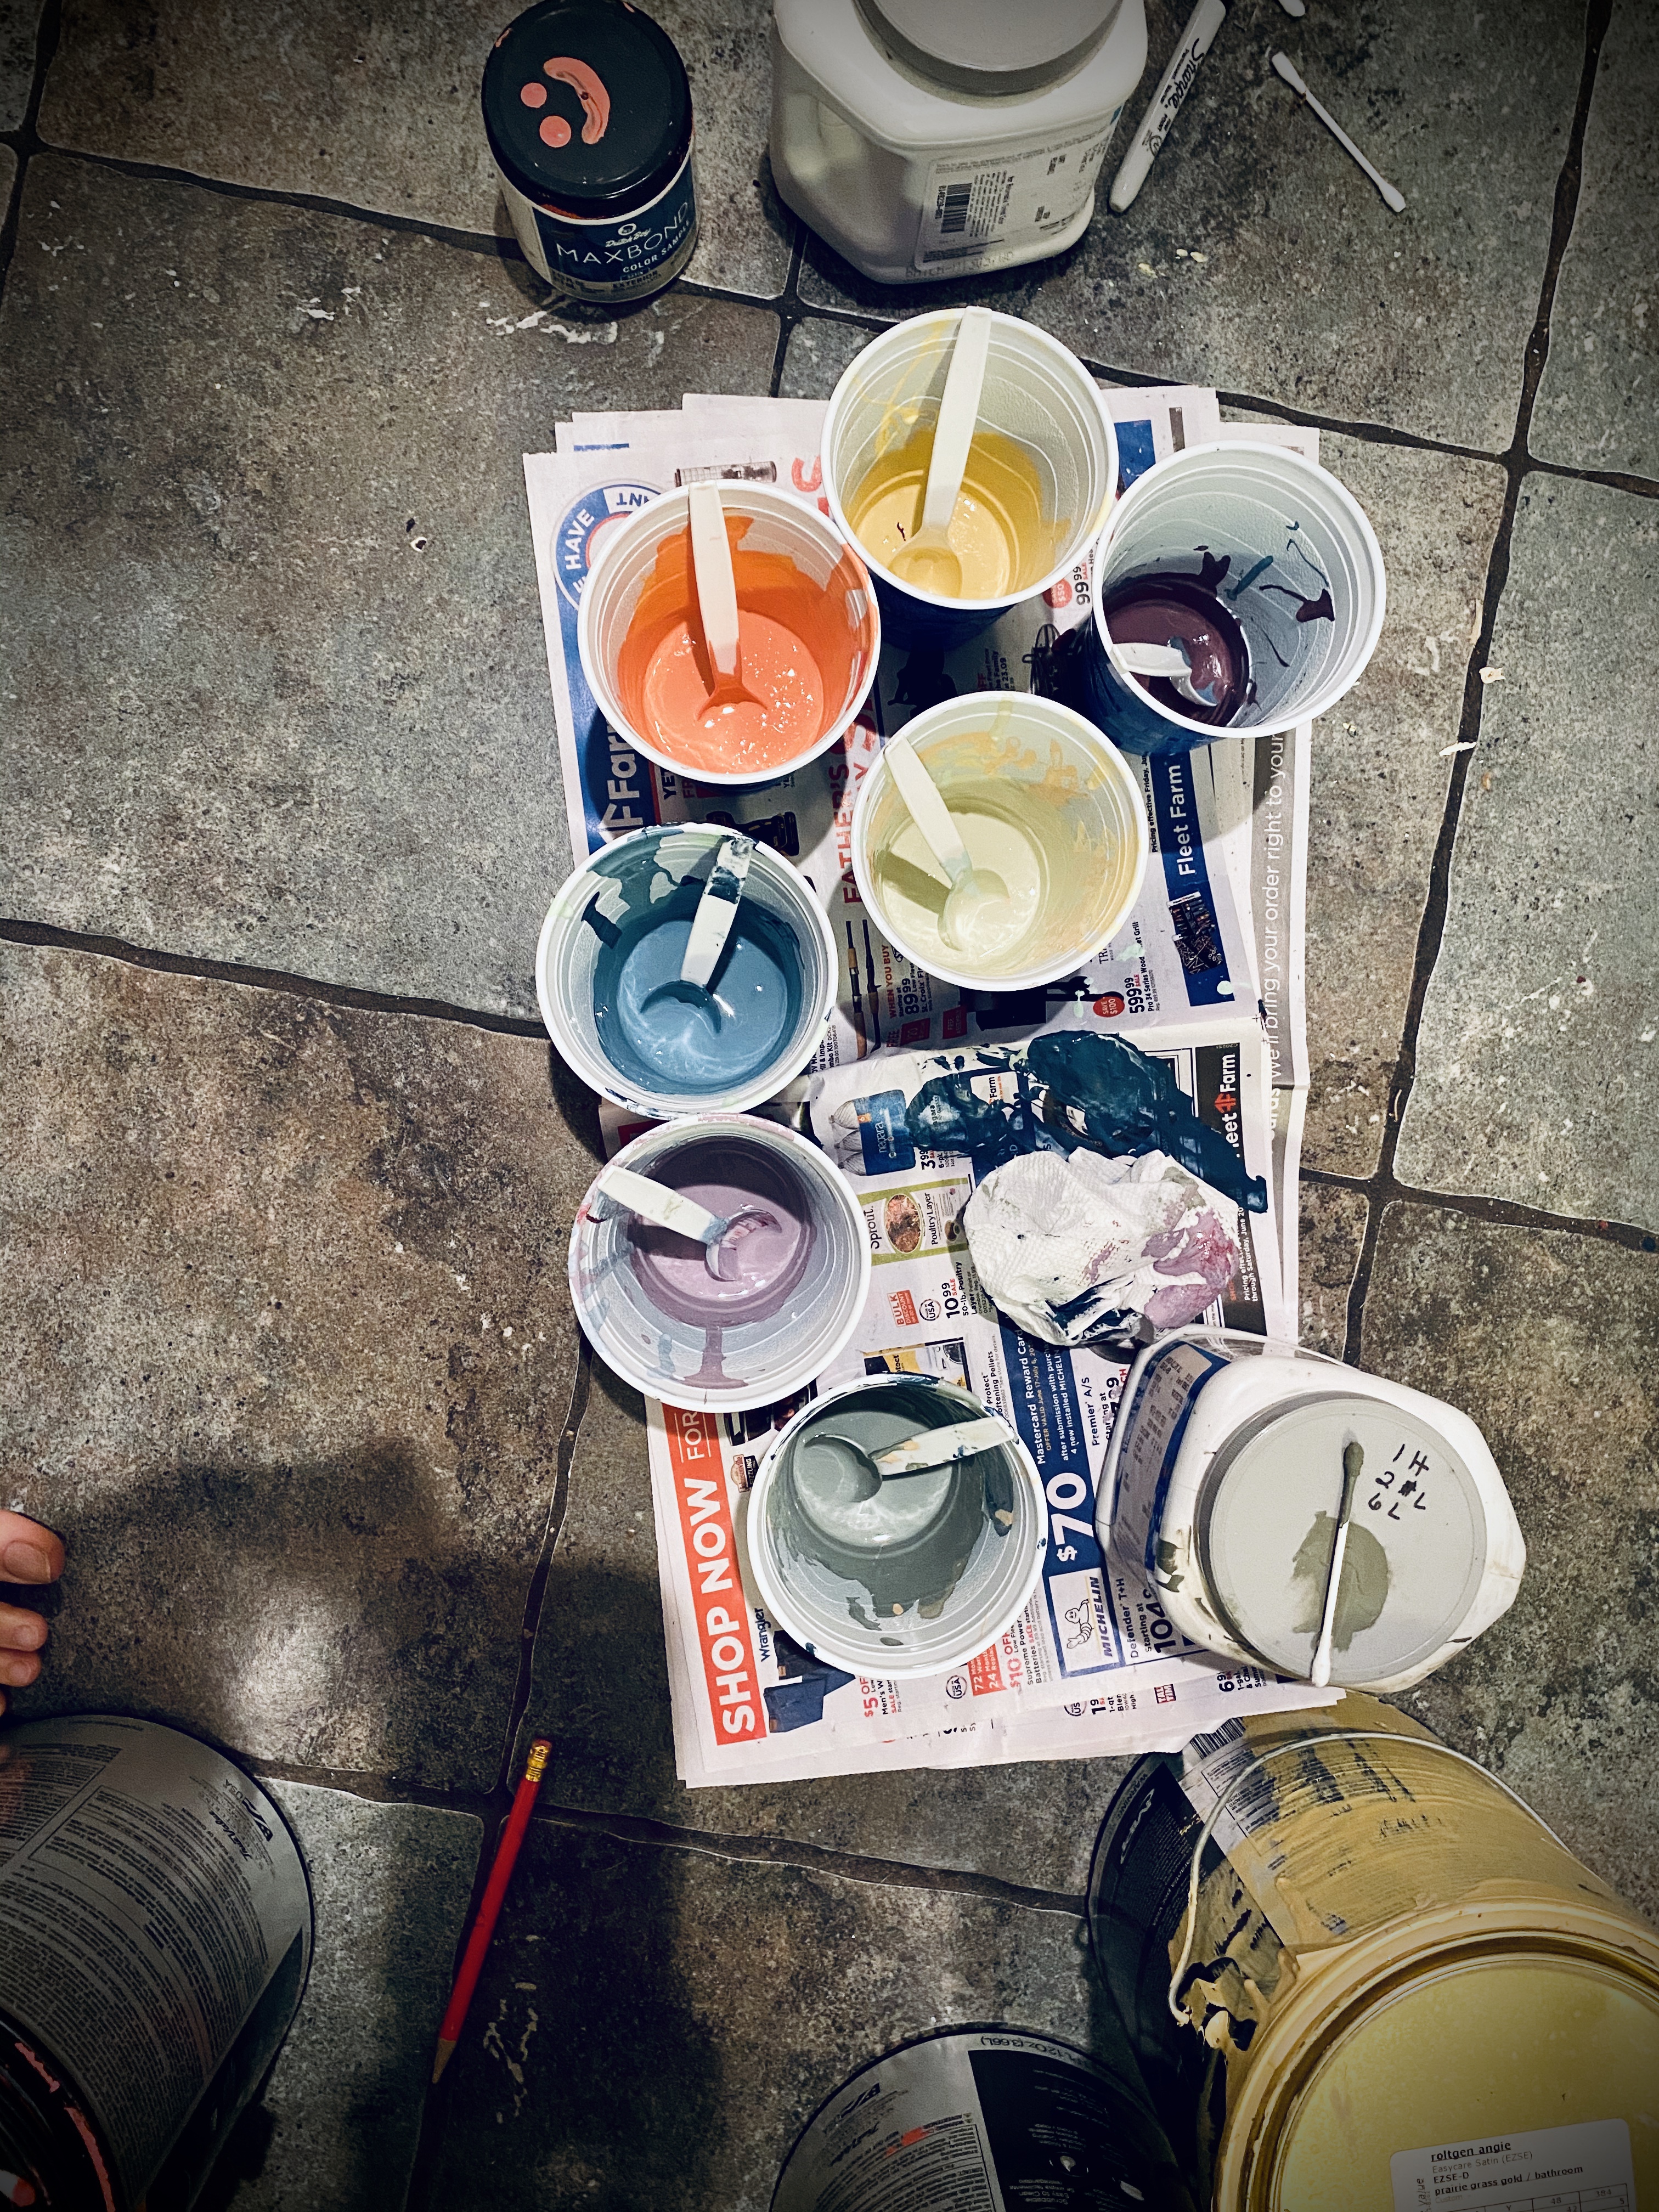
Captain Pete helped me pick out a nice square piece of pine board from Menards and we gathered all the cans of paint we could find from the basement. I really wanted to use up the paint I already had. Some was interior, some was exterior, but I planned on using a clear glaze at the end to protect it. Thankfully, I had some white left over from the front porch and used that as my base coat.
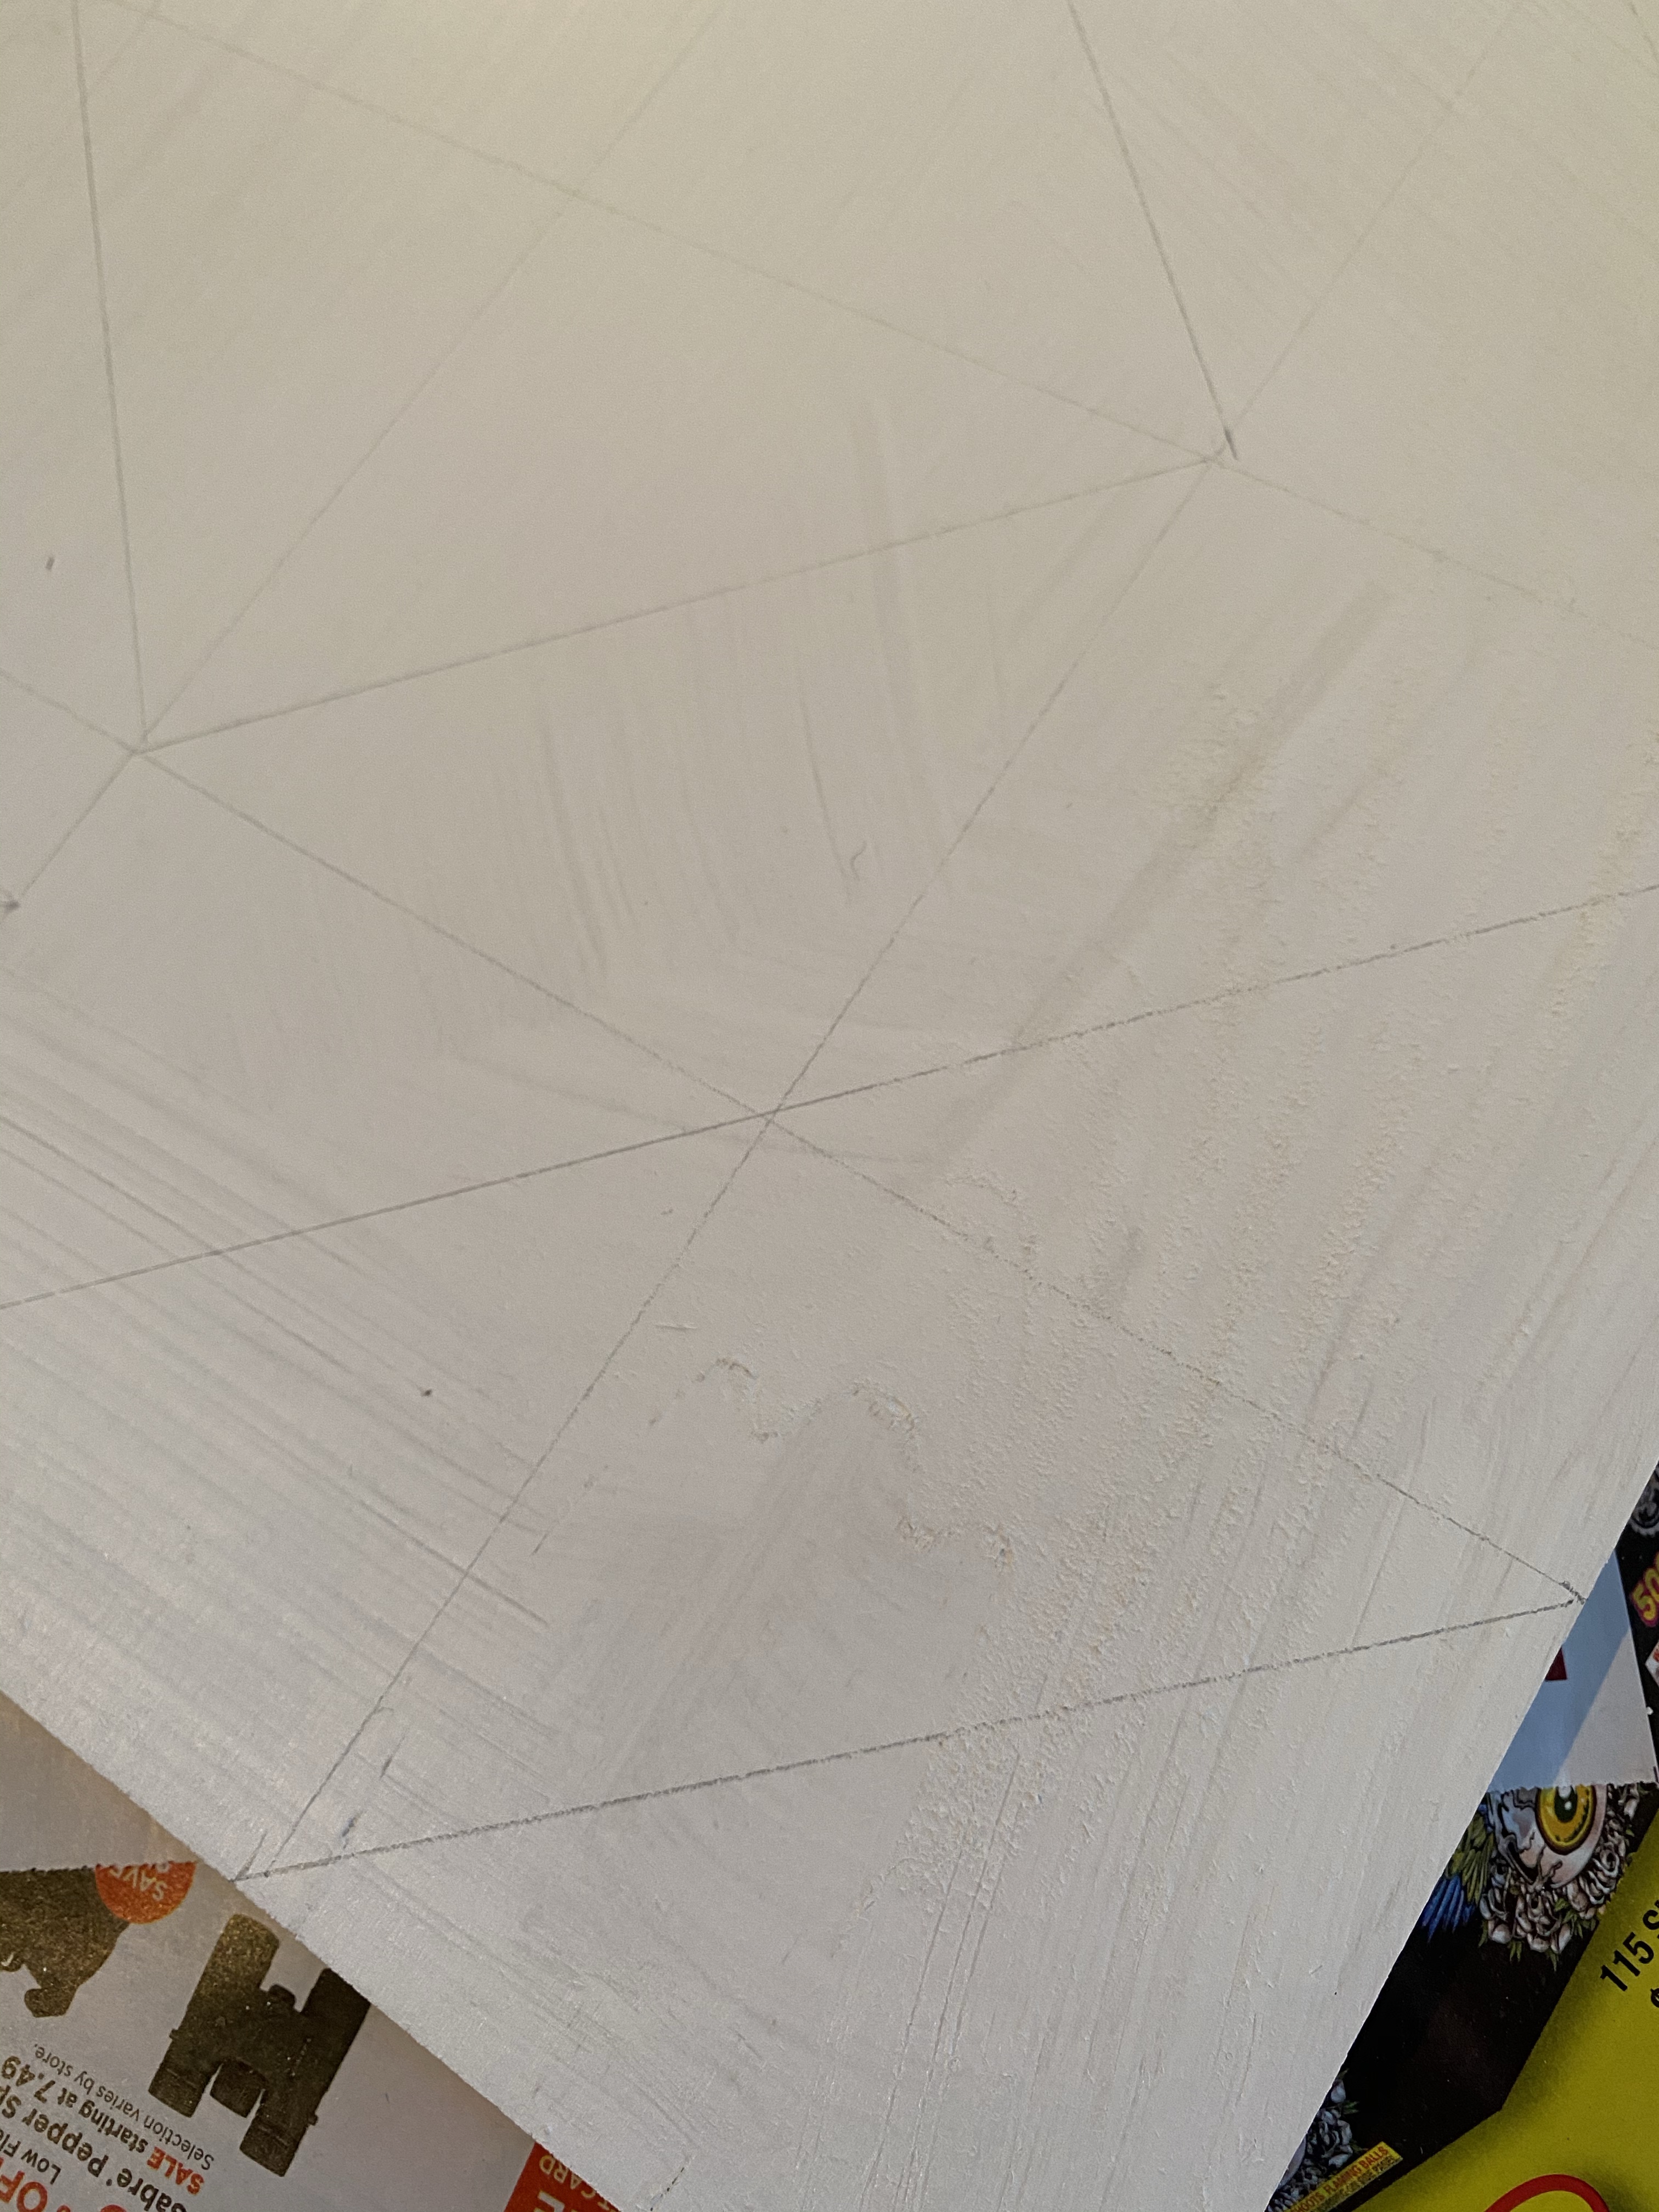
While I did the sketching, Nora started mixing paint colors. Using graph paper, I mapped out the design from the photo. From there I was able to use a yard stick and a pencil to lightly draw out the lines for our project.
Step Two: Painting and waiting…
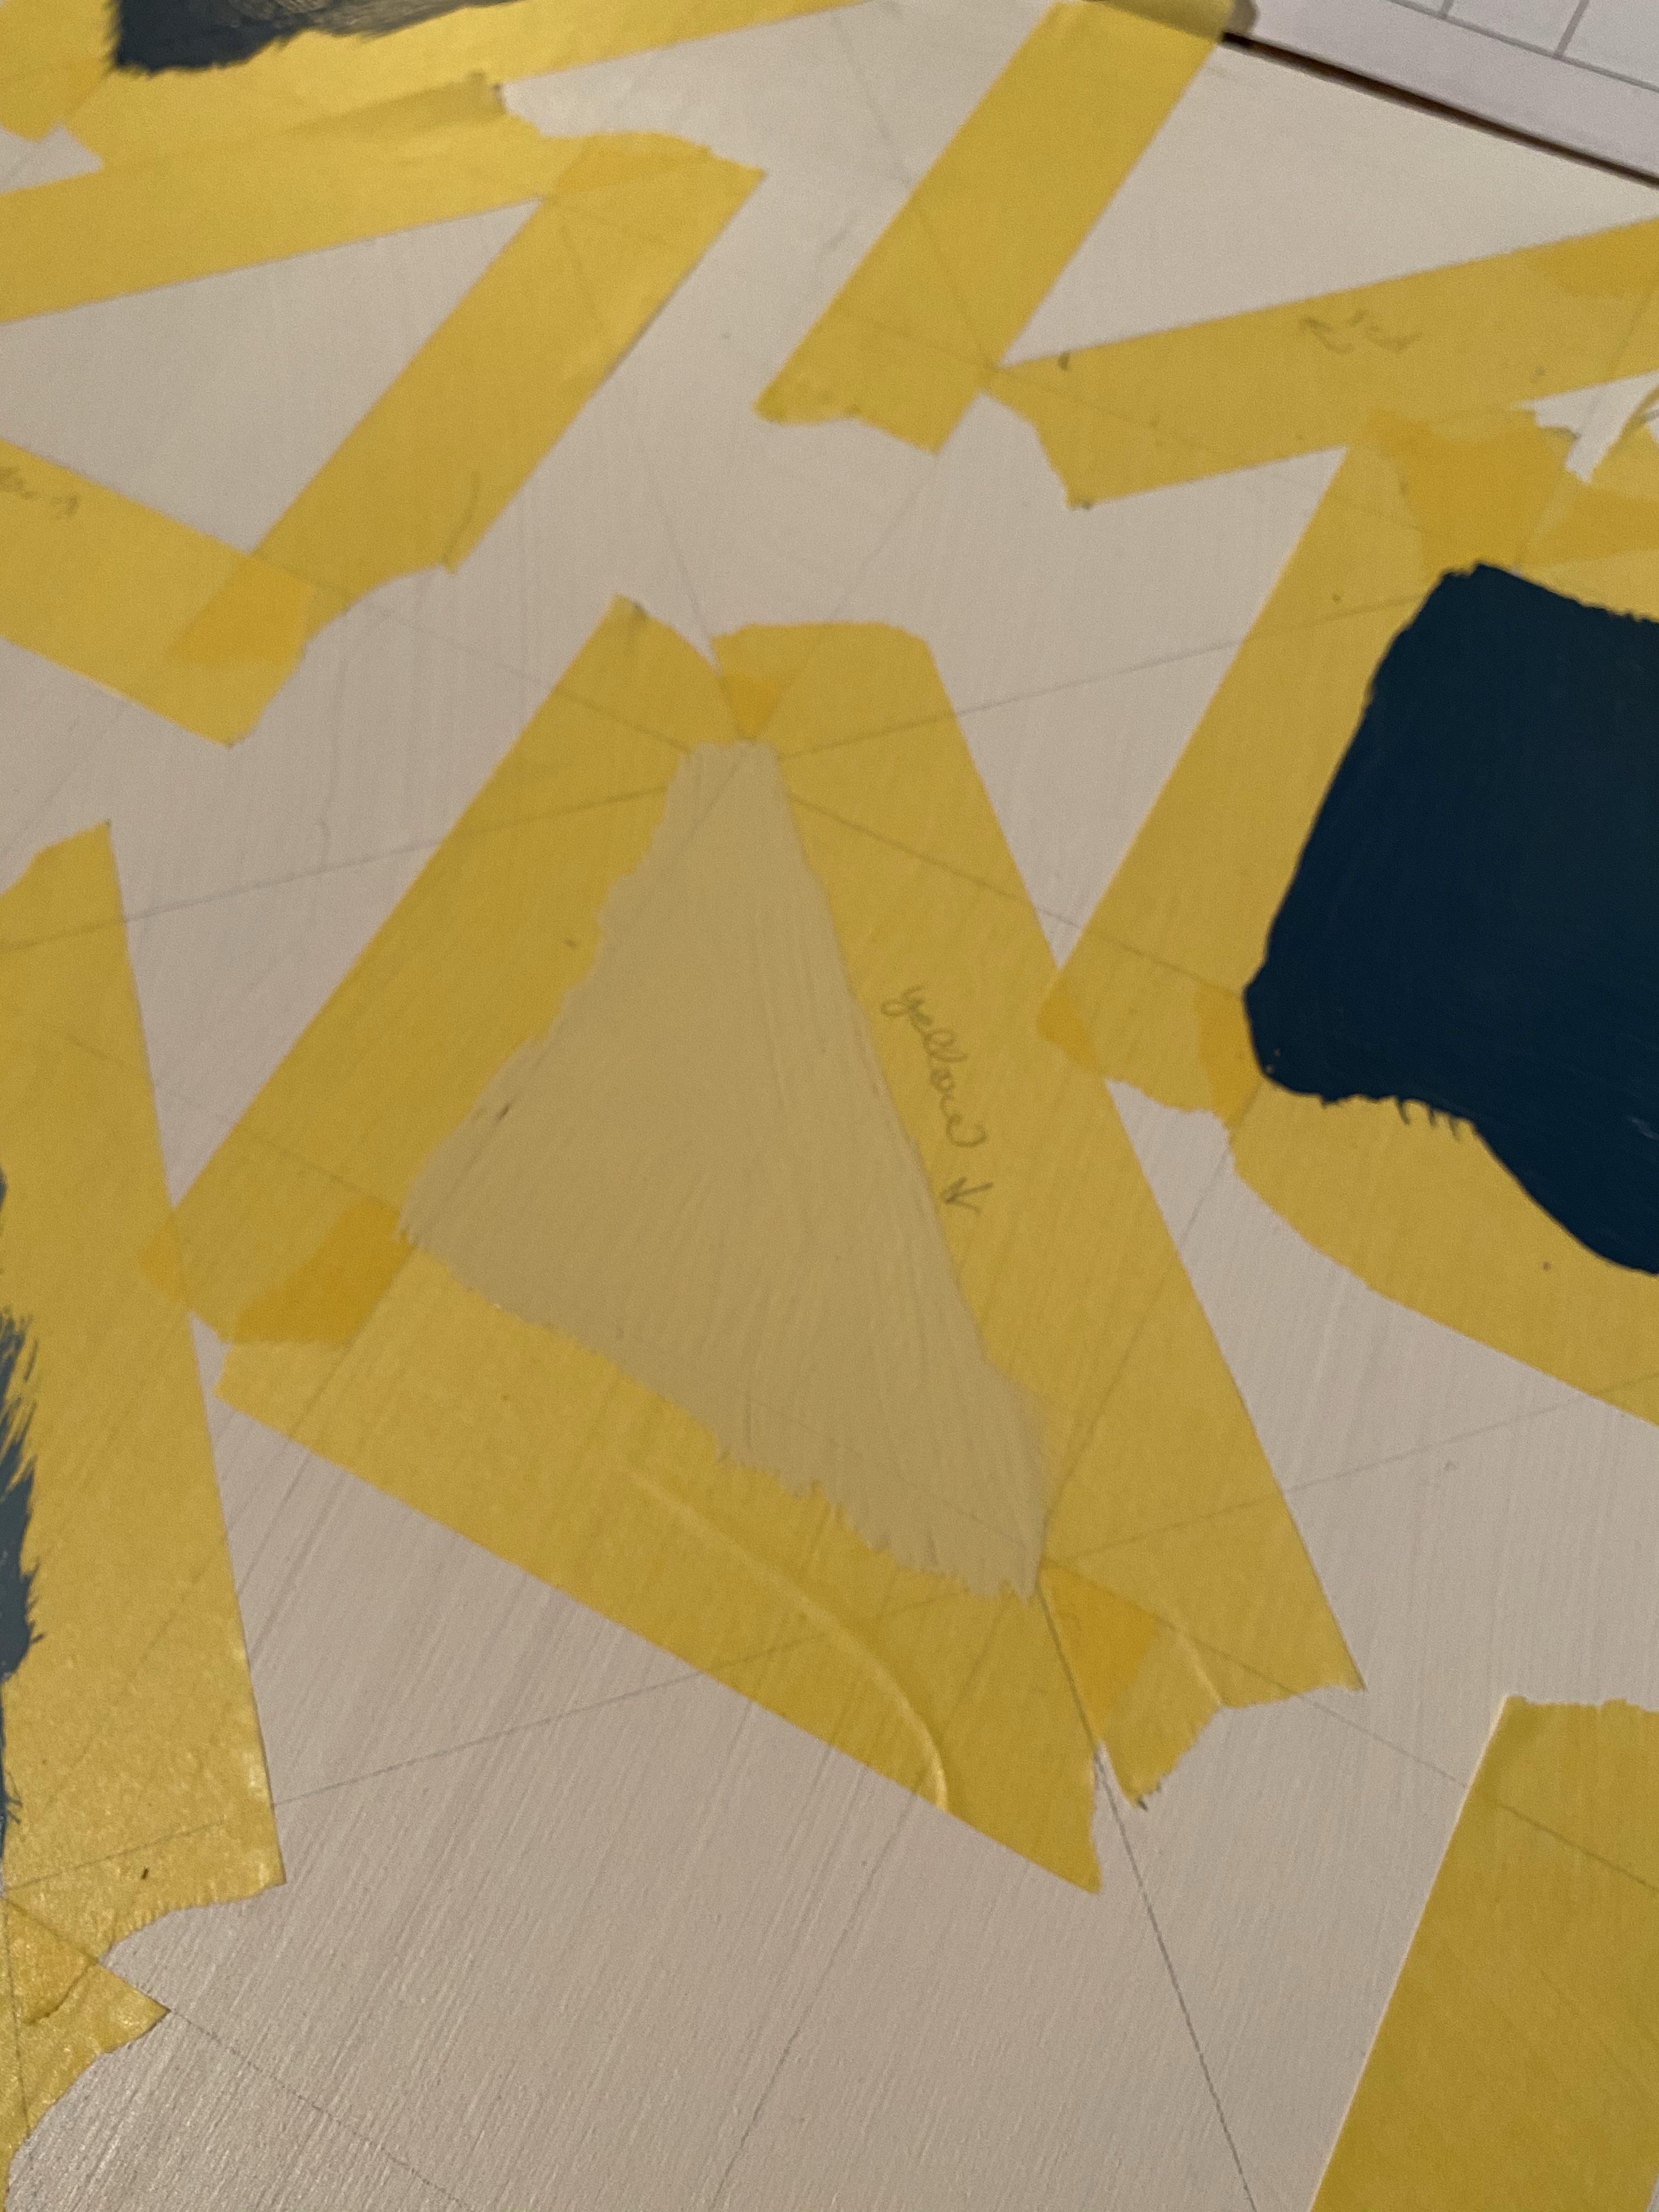
Using the map guide we drew up, we began taping off the lines and painting in the triangles. I highly suggest using Frog Tape painter’s tape. It’s really the best to prevent bleeding.
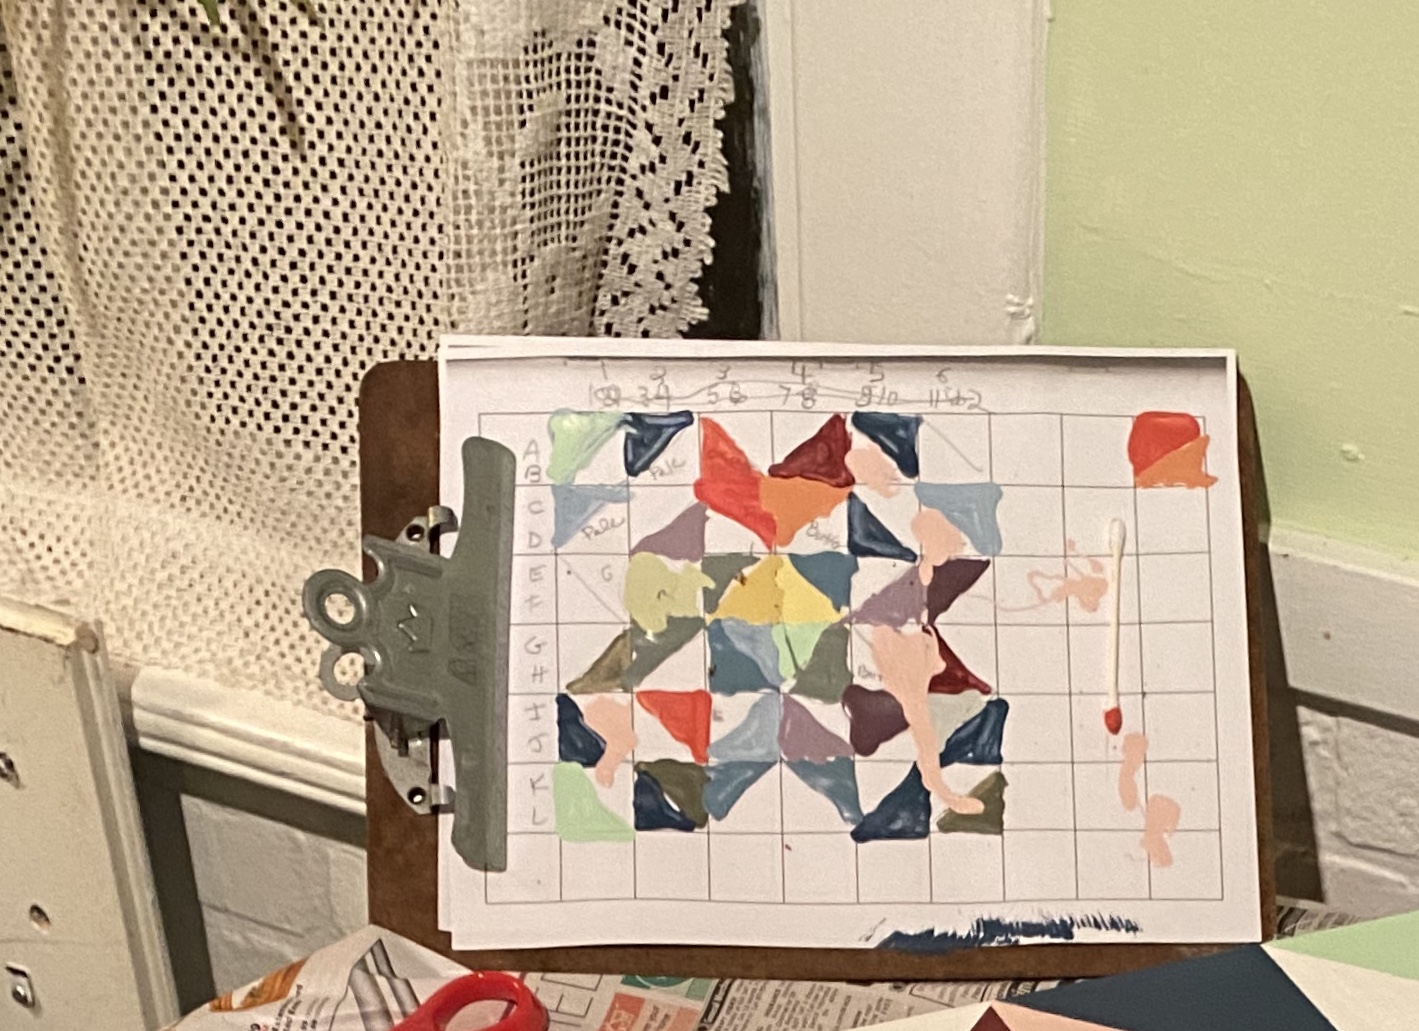
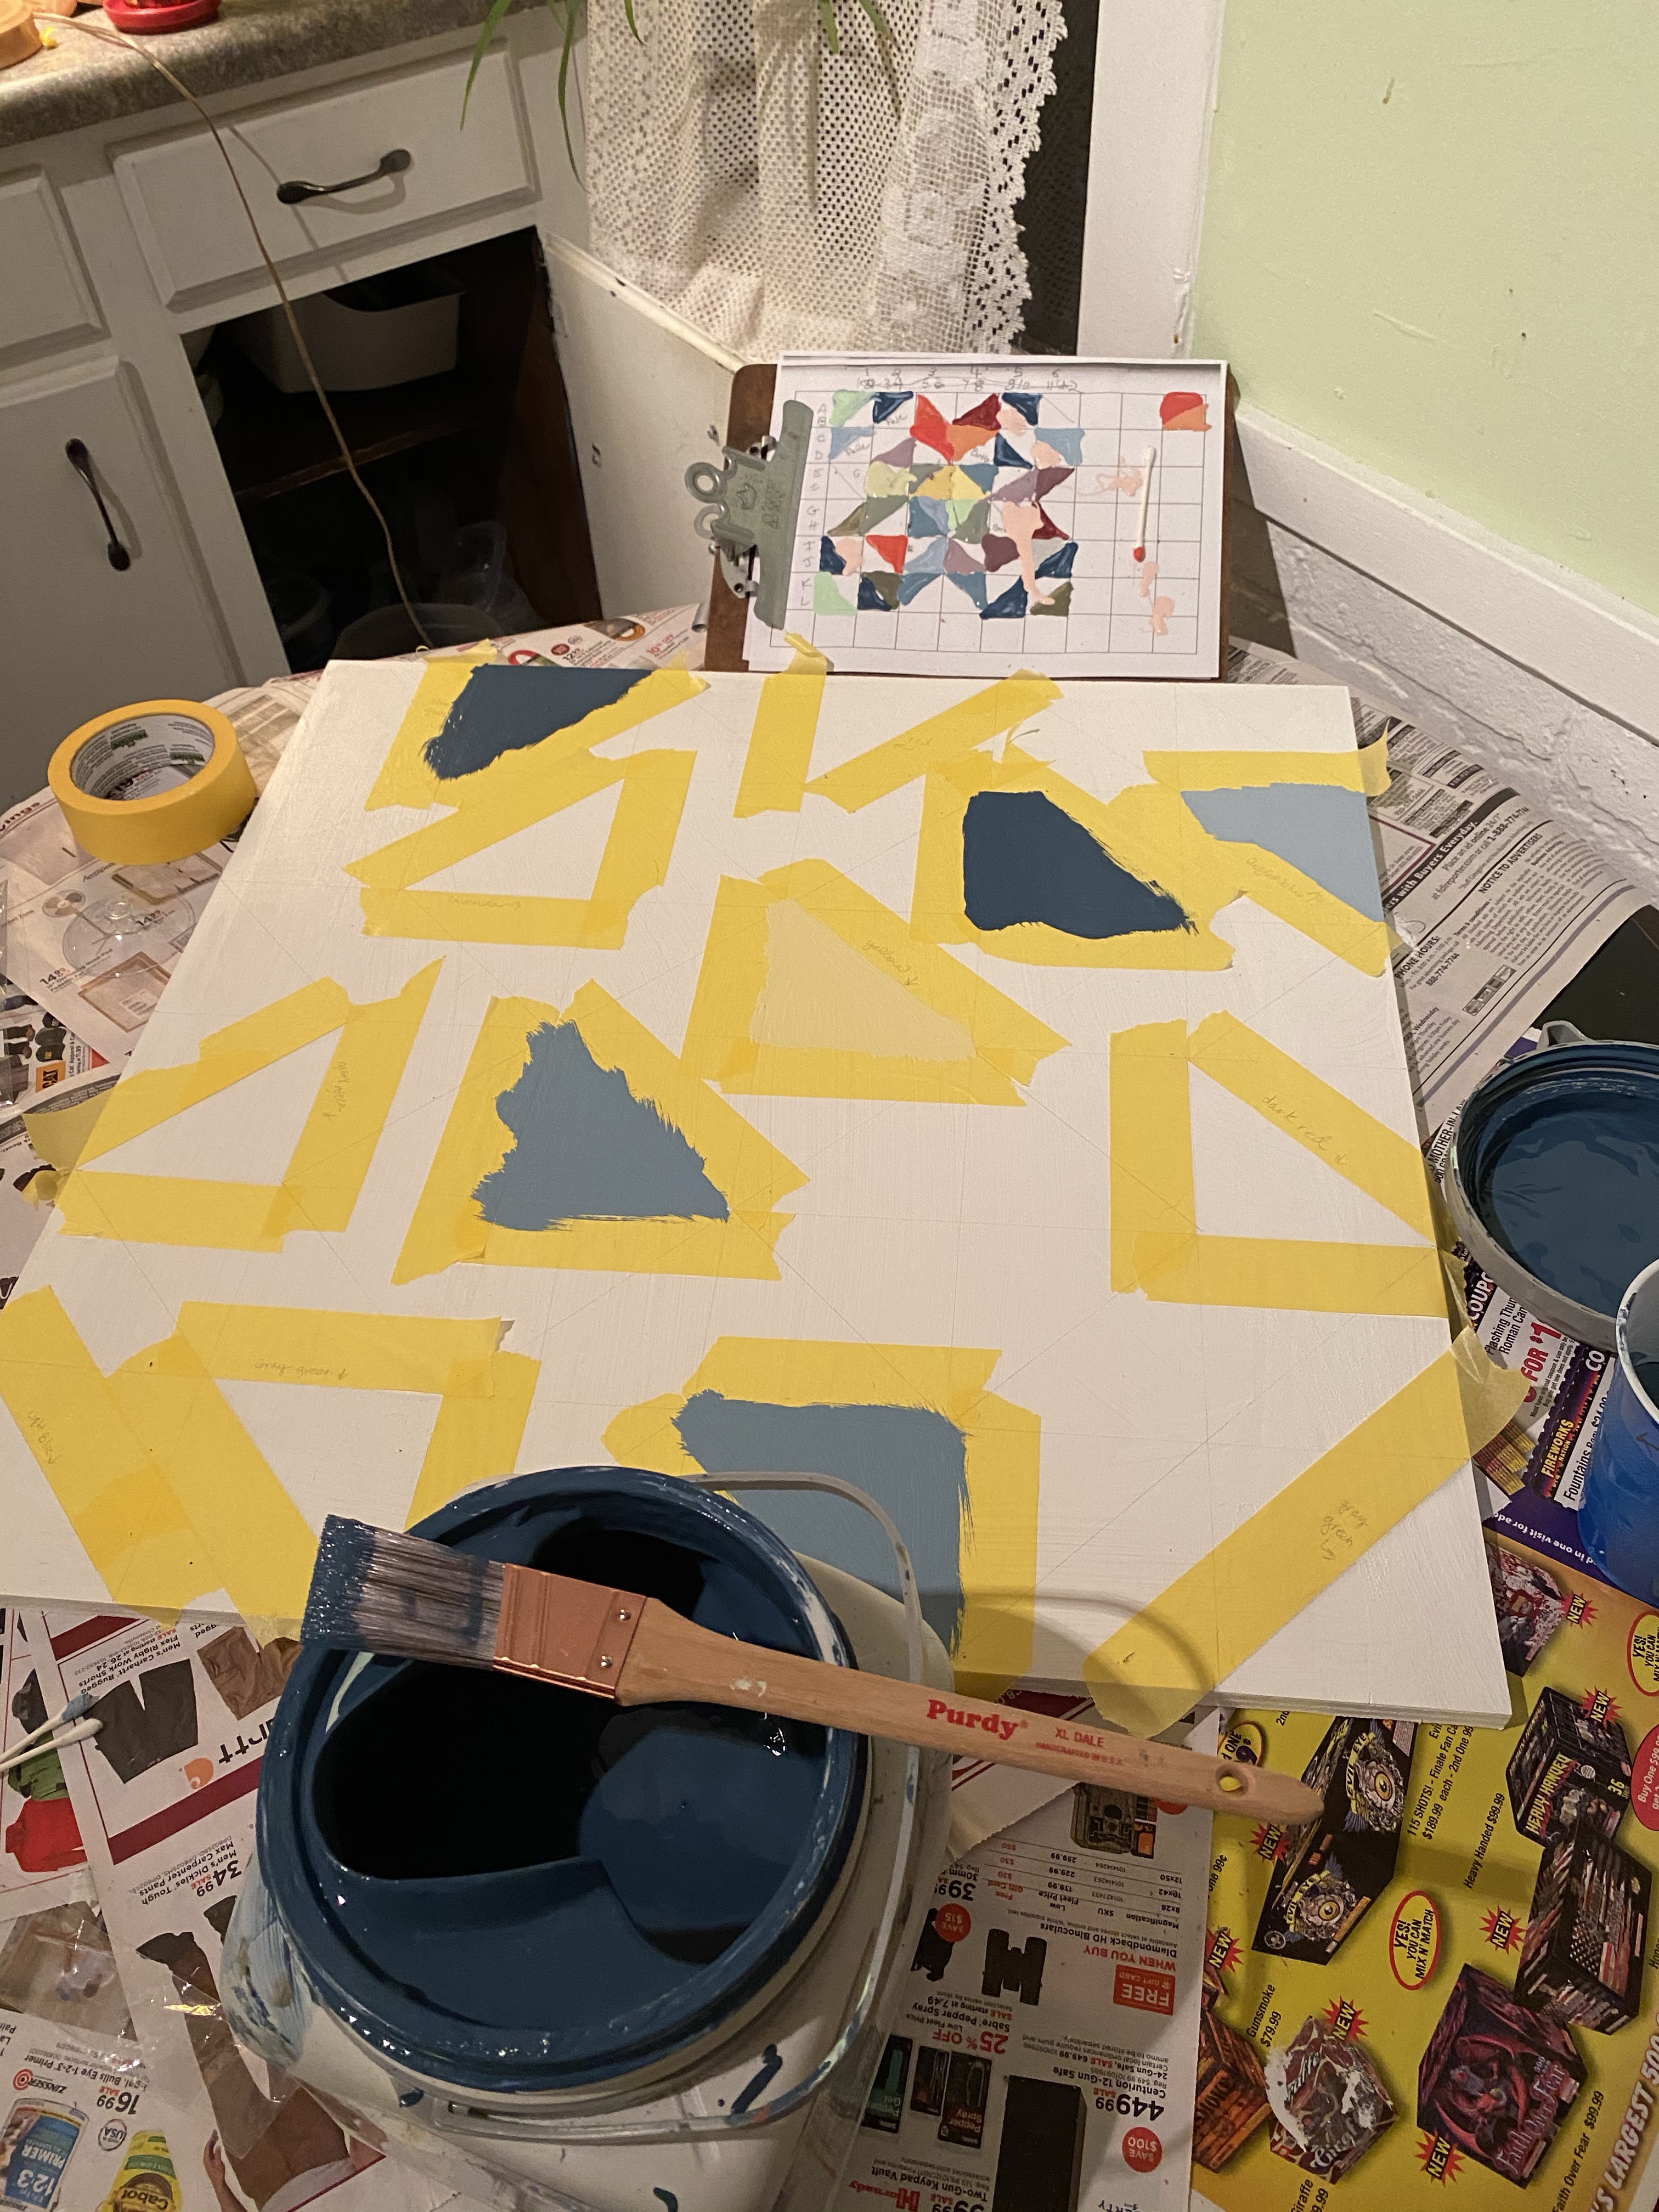
Using the pencil lines, we taped off sections. The waiting really was annoying, but gave us time to dance, sing and have snacks.
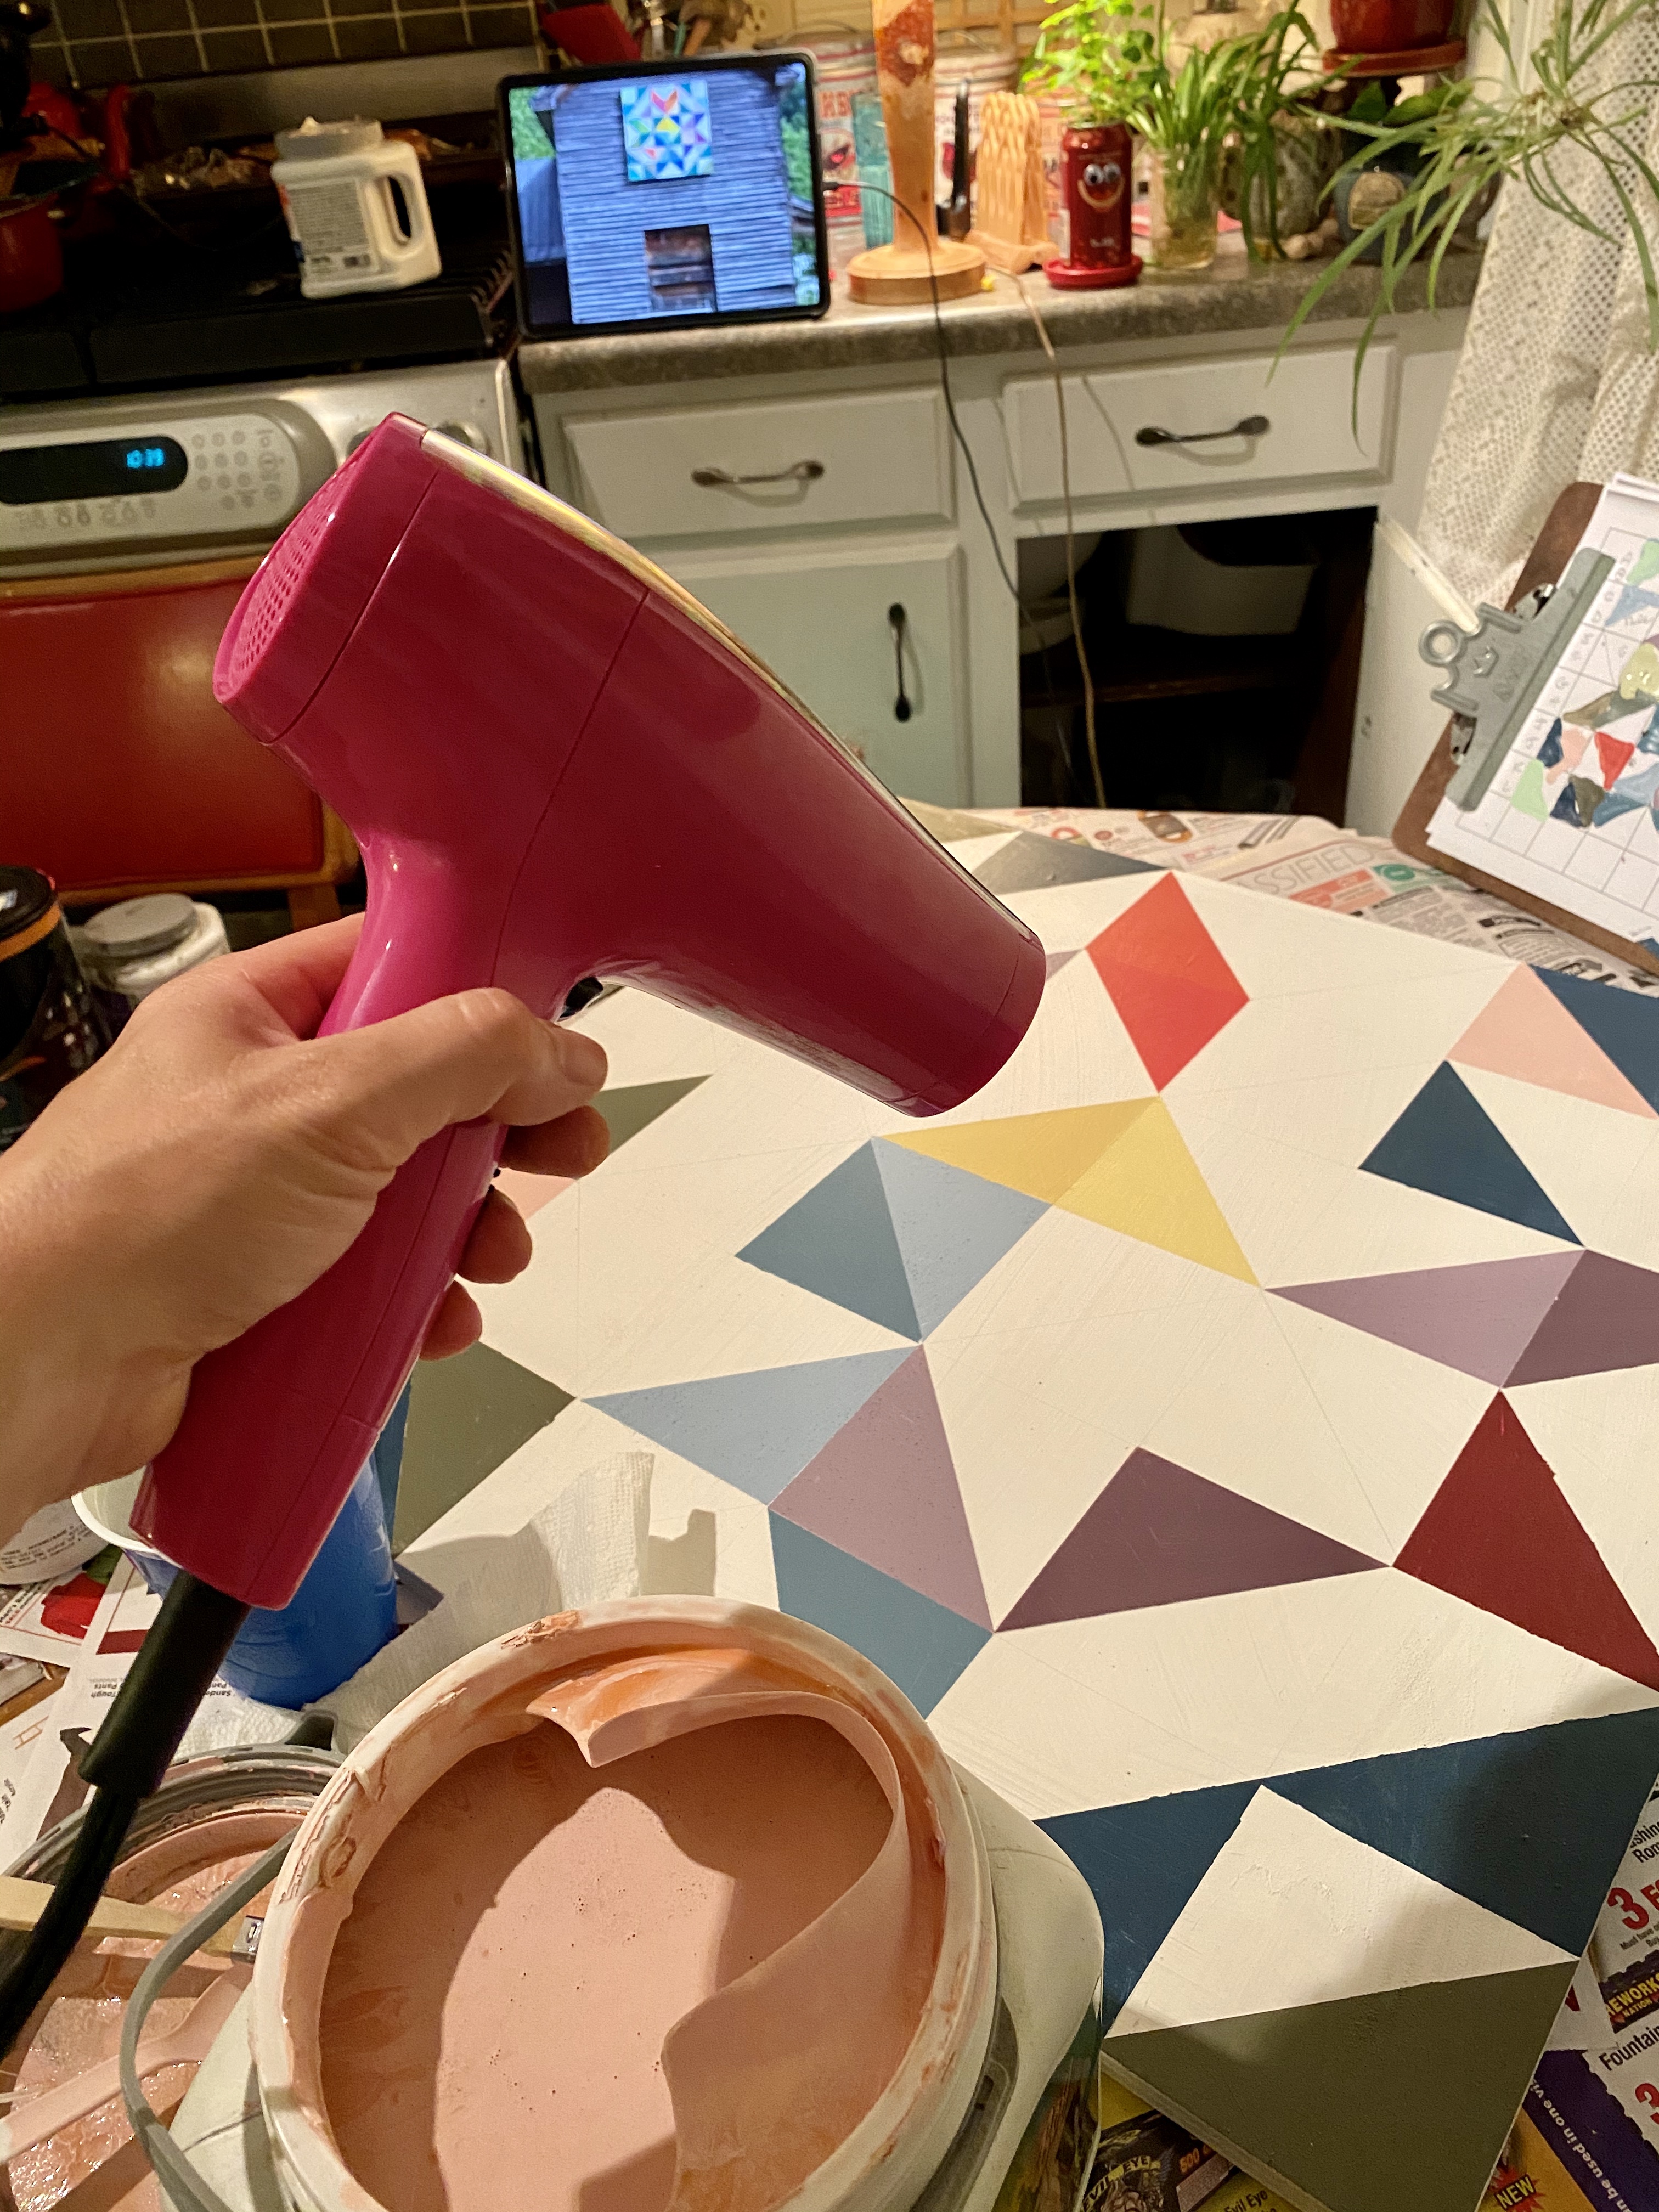
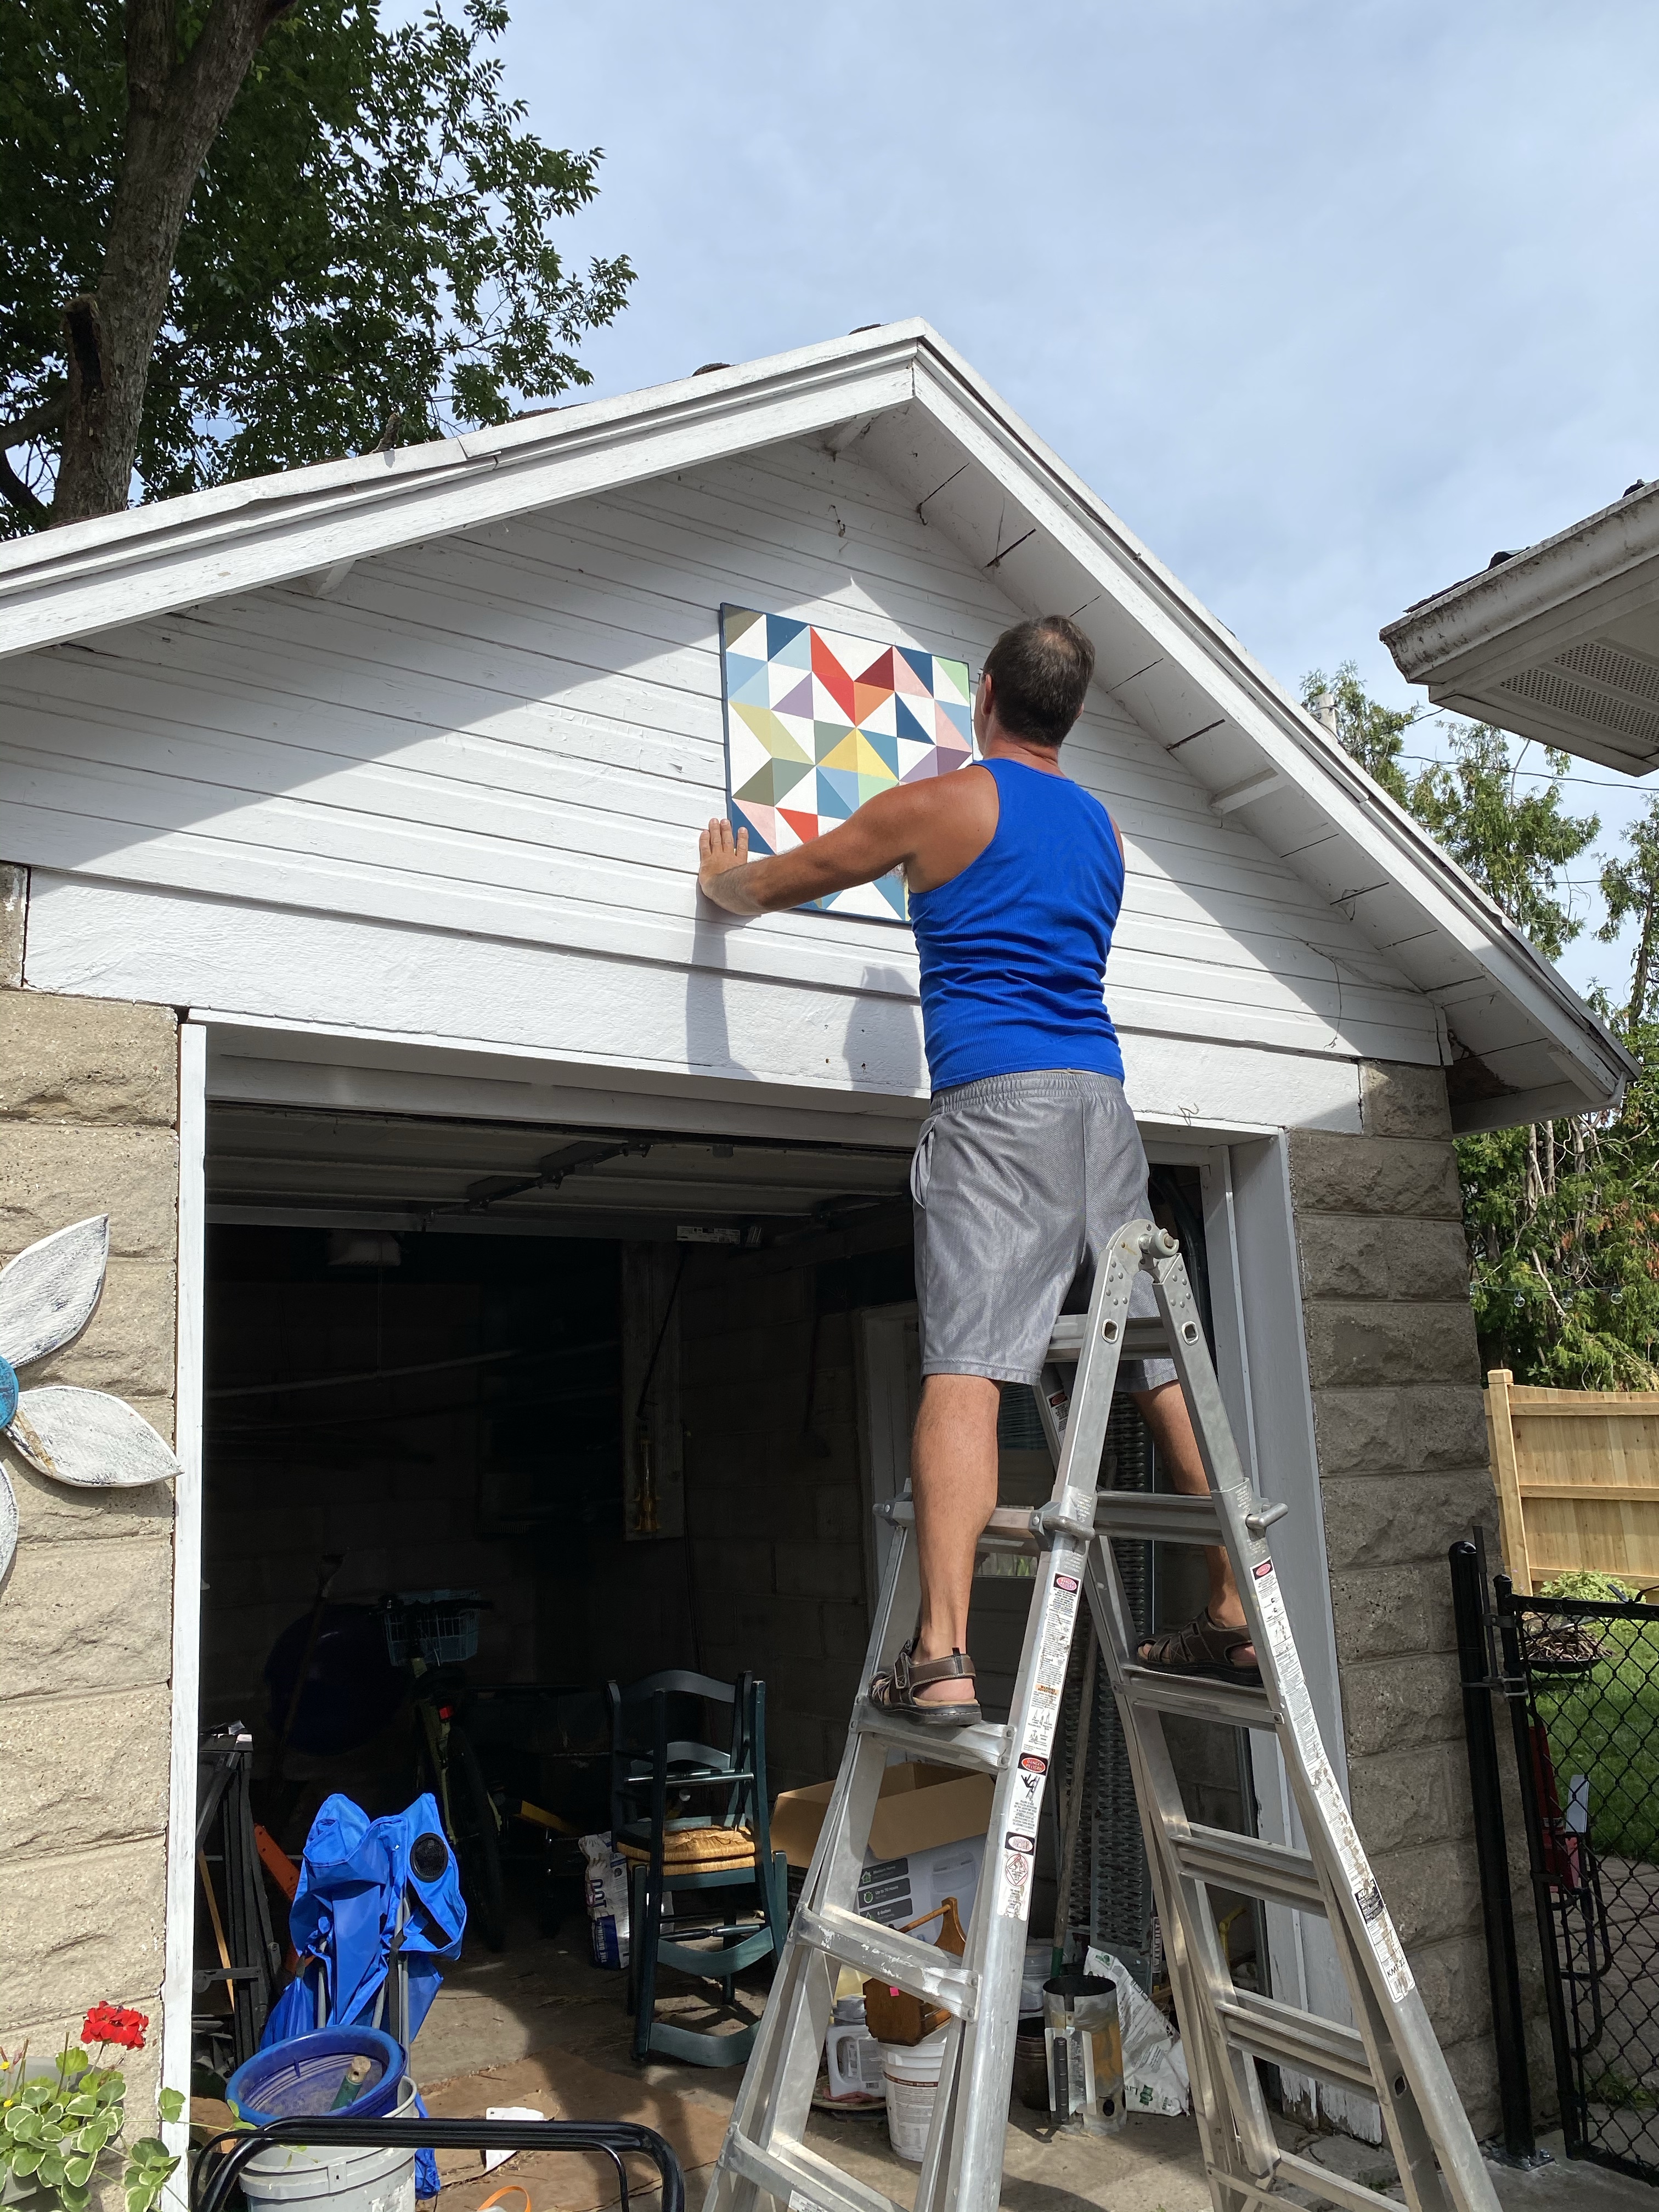
Step Three: Stand back and Enjoy!
Hope this inspires you to be creative! Check out all my Artfully Sew quilting and sewing designs on Facebook or Instagram. I’d be happy to help you with your next project!
Creatively transforming your fabrics and quilts into artfully sewn treasures

