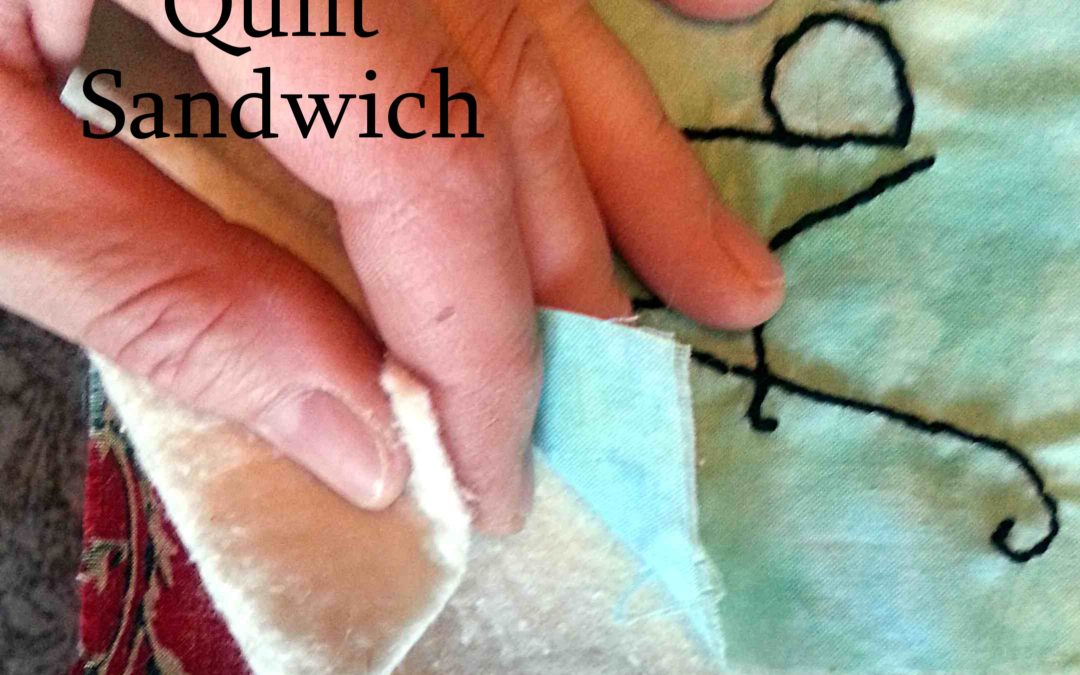
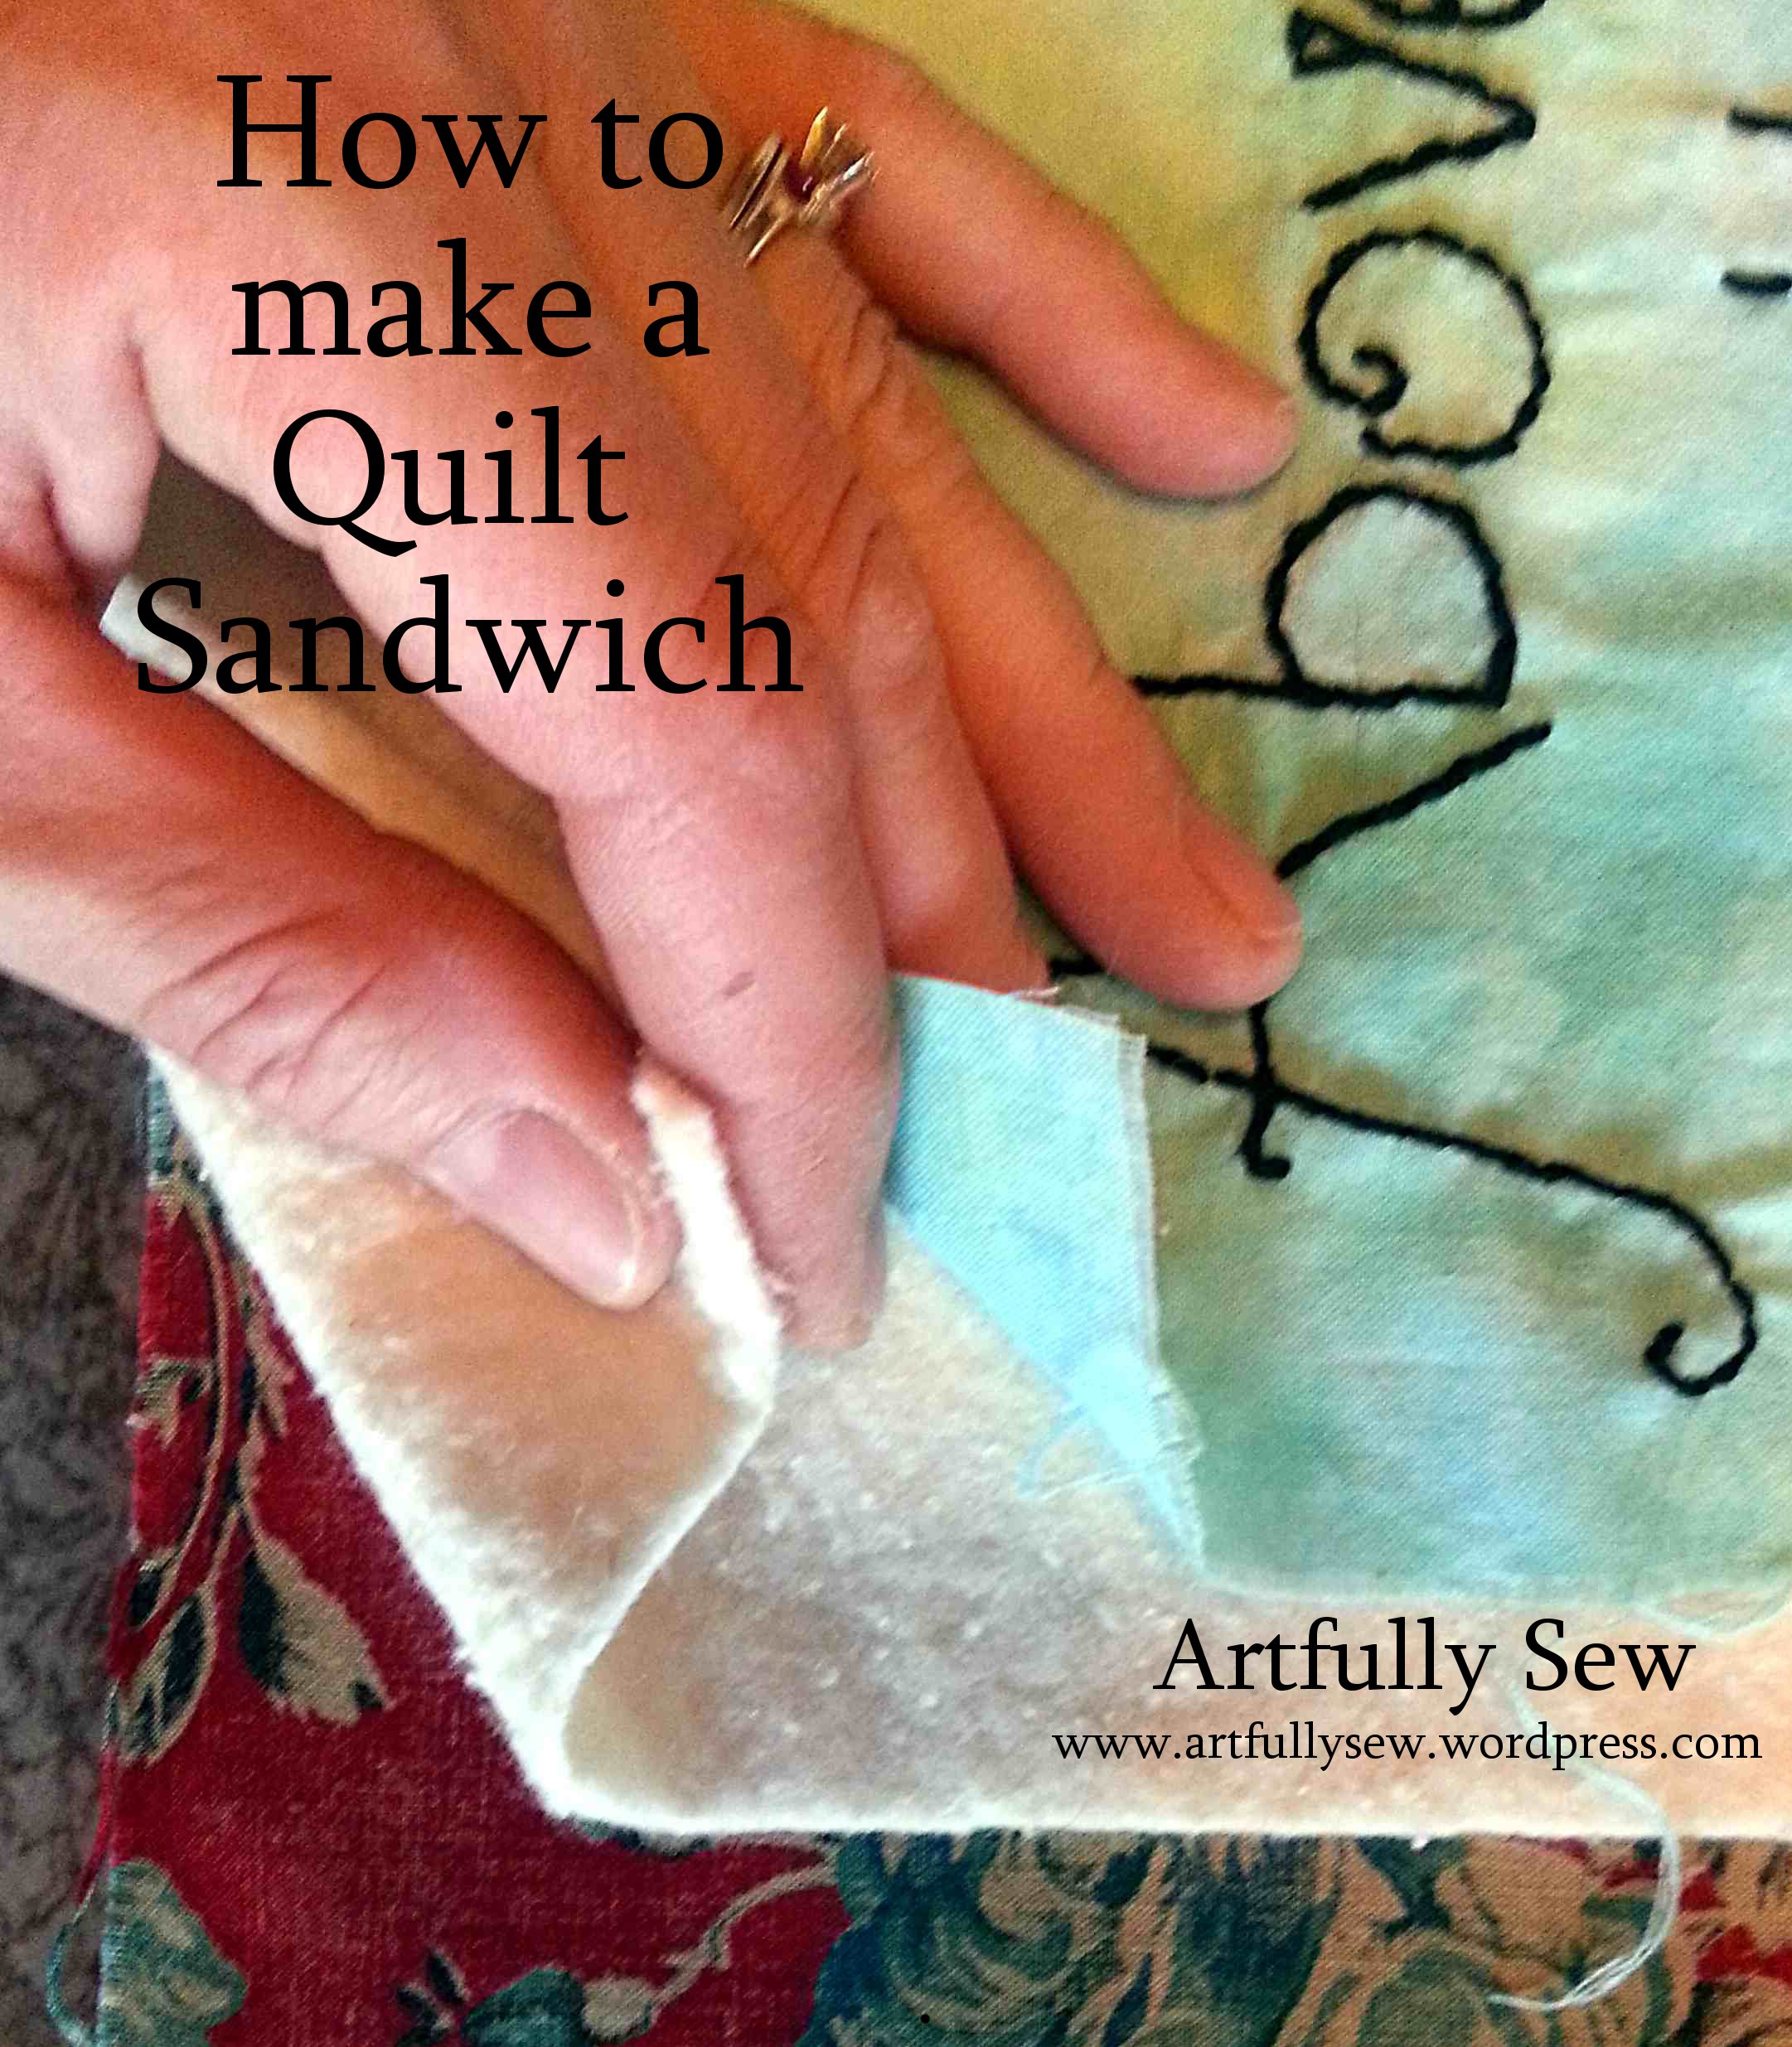
So, you’ve finally finished that quilt top! The piecing is done and maybe you’ve even added some applique or embroidery. Now it’s time for quilting. Putting together your quilt sandwich is a very important part of finishing your quilt. Take your time and do it right. Choosing the right batting and backing fabric will have a permanent effect on the look of your quilt, so don’t rush through this process.
What is a Quilt Sandwich?
A quilt sandwich consists of three layers that will be quilted together to make a finished quilt.
1. Top piece – This is the layer you’ve been working on for the last few days or weeks (or years). The top piece is the side that will show to the world. I bet it’s beautiful! Be sure to trim any loose threads, especially on the backside. They may show through after quilting which, from experience, can be very frustrating. If you have a lot of piecing, you may want to stitch a 1/8 inch around the outside to prevent your piecing from coming apart.
2. Batting – This layer makes the quilt officially a quilt. The thickness and type you use depends on your desired look. I tend to use Warm and Natural 100% cotton batting from JoAnn Fabrics. The quilts I make generally aren’t washed so I don’t have to worry about shrinkage. If you’re making a table-runner or quilt that may need washing now and then, use batting with some poly in it to reduce the shrinkage. The batting should be cut a few inches larger than your top piece.
3. Backing – The bottom layer of your quilt can match the front but is not necessary. Sometimes I use plain muslin which shows off the stitching beautifully. The backing fabric should also be a few inches bigger than your top piece to allow for stretching and maneuvering.
Watch for future posts on free-motion quilting tips.
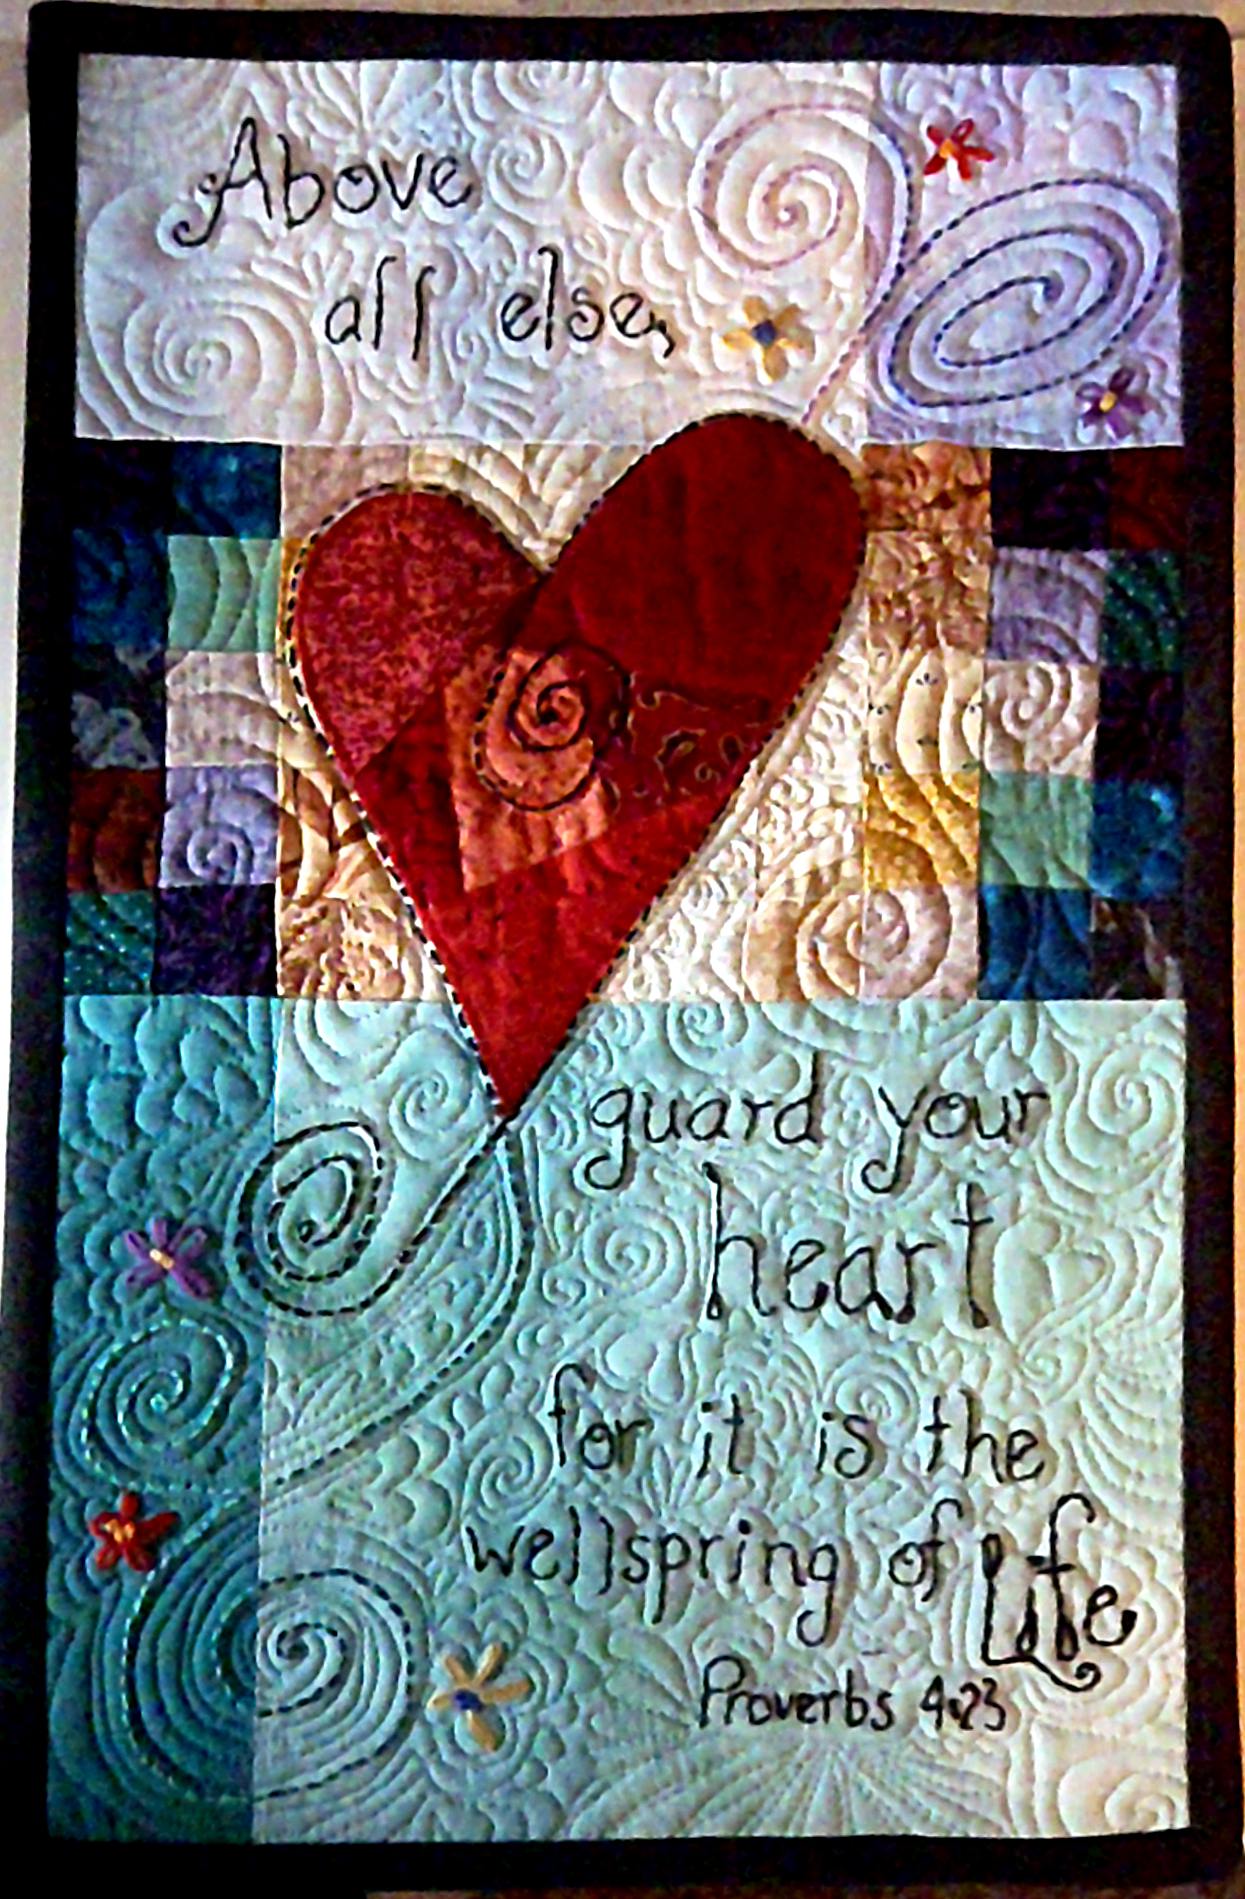
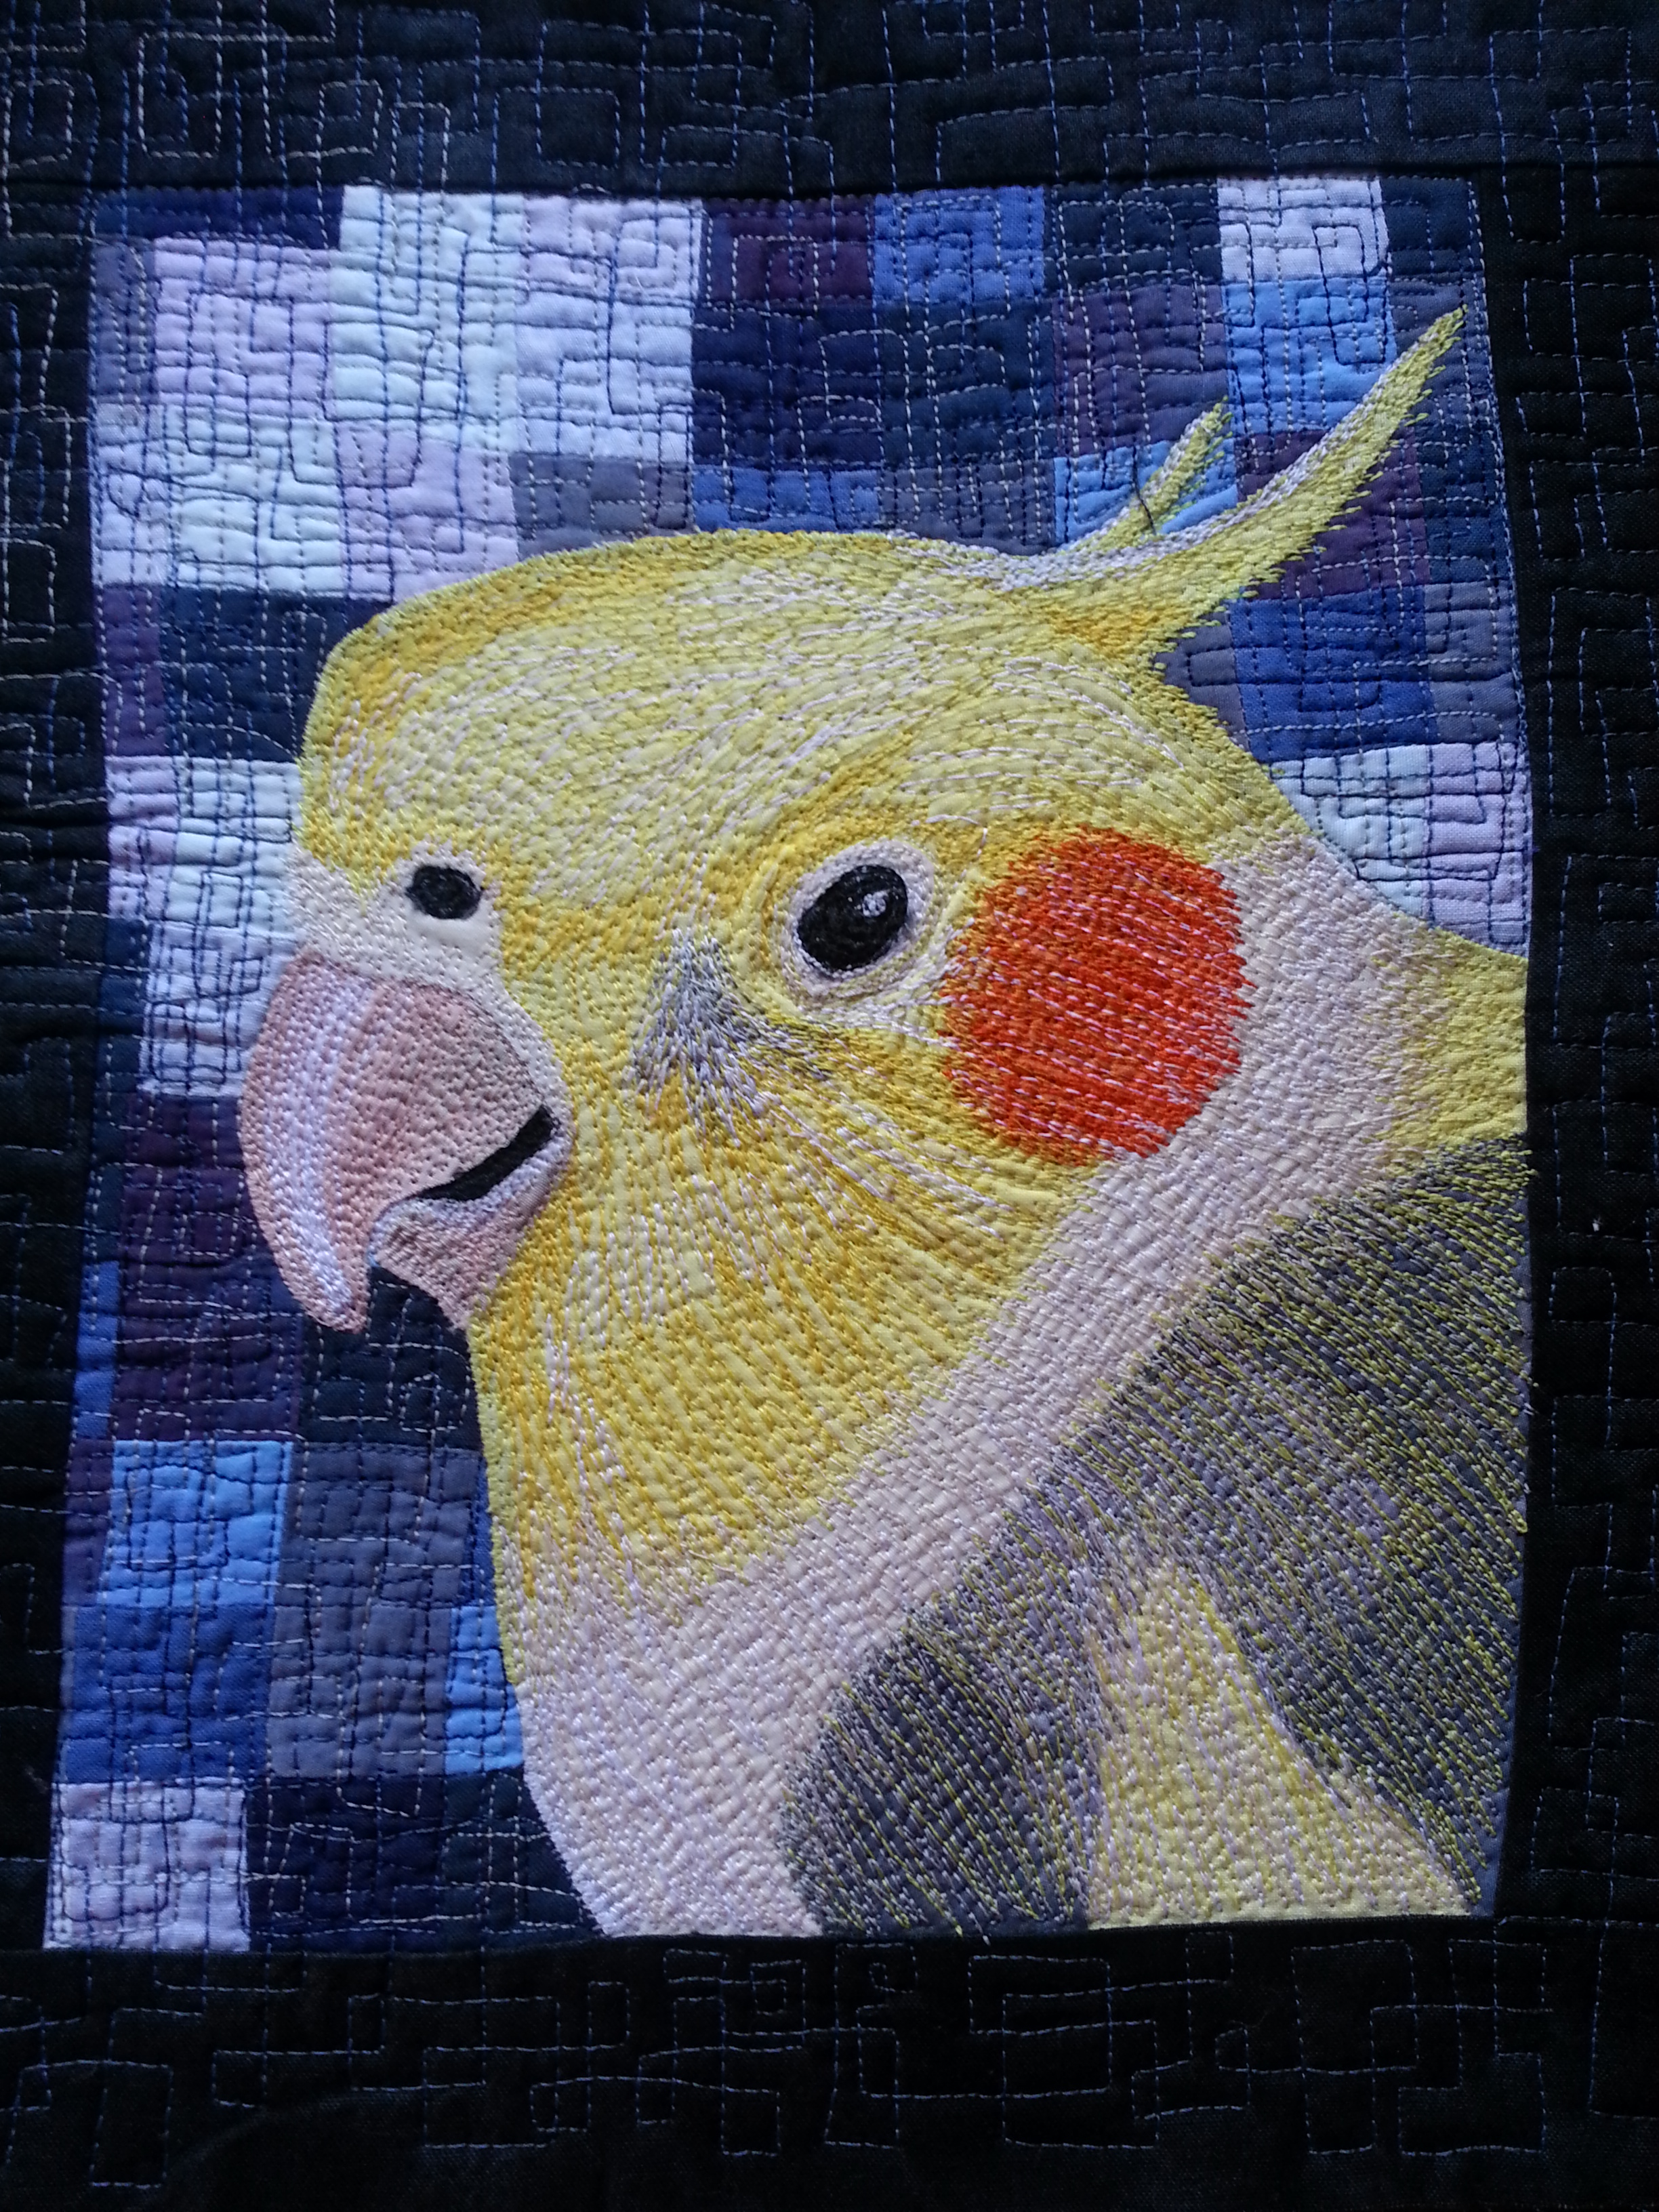
Quilted examples
Here are some Artfully Sew examples of quilted wall-hangings I have done. Some are available in my Etsy shop at www.artfullysew.etsy.com. I also love to make custom orders, so don’t hesitate to ask!


